

Delivering Devils is the third mission of the UC Vanguard and follows Grunt Work. As the journey to Tau Ceti II to repair the settlers’ comms took such an unexpected and ominous turn, we are looking for some answers as to what kind of threat the Terrormorph may be. A biological one caused by the species’ evolution or a manufactured one caused by humans delivering the Terrormorph to the settlers as a welcome gift?
With the Terrormorph Cell Sample, our only clue, we must search for Hadrian’s colleague. Dr. Percival Walker for a proper analysis of the sample.
- UC Vanguard Mission 03
- Planets: Mars
- Rewards: 250 EXP and 7,500 Credits
Ask About Percival at the Trade Authority

The first objective will take you to Cydonia on Mars in the Sol System. Assuming you are in New Atlantis, you must open your Missions menu and “Set Course” to the objective to perform the Grav. Jump to Mars.
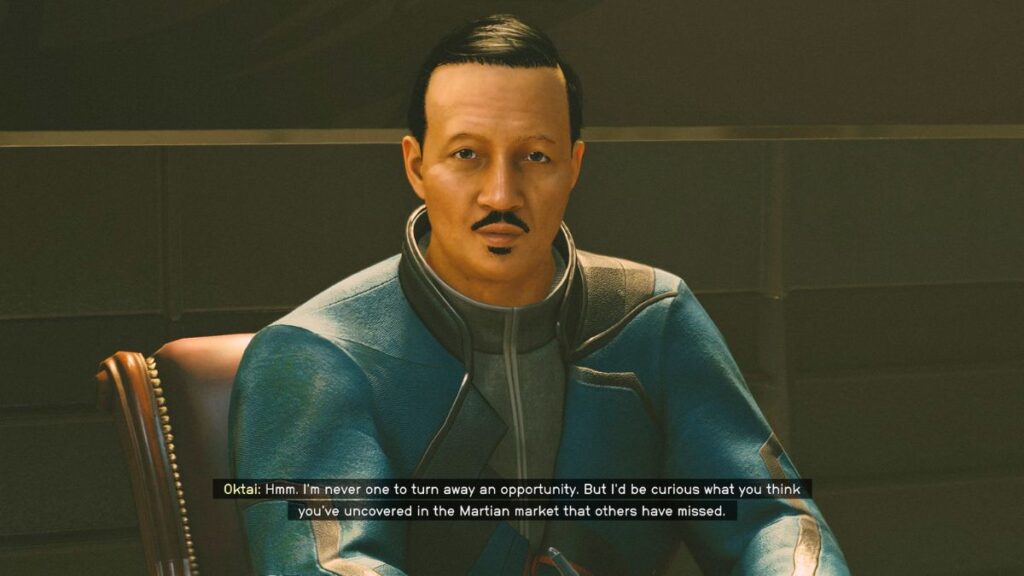
Once you land in Cydonia, enter the city’s Central Hub and track the objective until you reach the Trade Authority store to your right once you reach the bottom of the main ramp. Head inside the Trade Authority to find Oktai Enbayar at his office behind the store’s front desk.
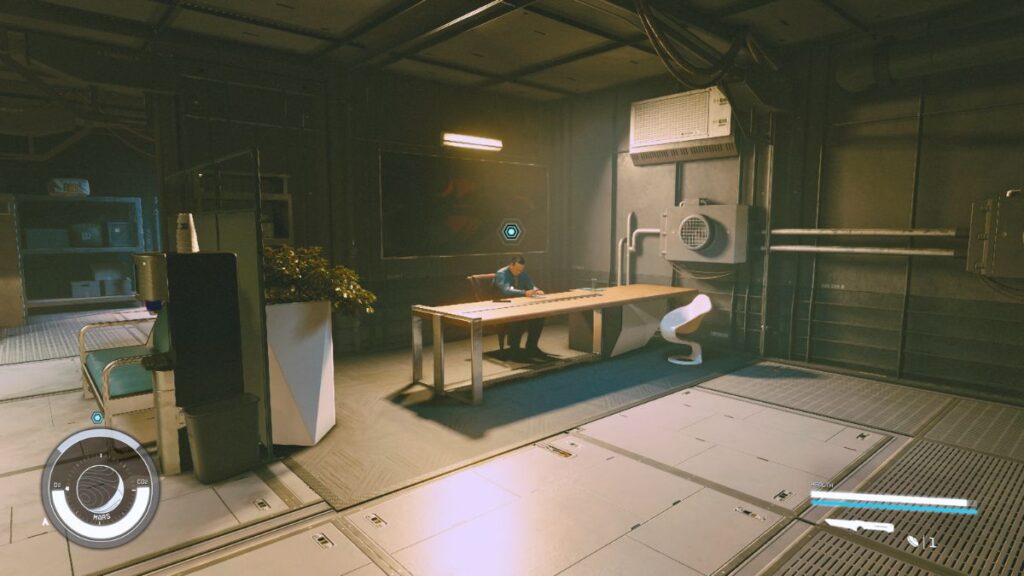
As it turns out, Percival Walker ran off after a disciplinary issue (he started cooking and selling pharmaceuticals to Trade Authority’s customers by himself) during his contract with the Trade Authority. Enbayar assumes the miners have him hidden somewhere as they served at the same UC Marine unit as Walker, the Red Devils. Enbayar recommends visiting “The Sixth Circle,” although we already know it’s Walker‘s favorite place to spend time.
An objective maker will remain on Enbayar after you talk to him. You can talk to him again and ask him to pay Walker‘s debt of 21,687 Credits.
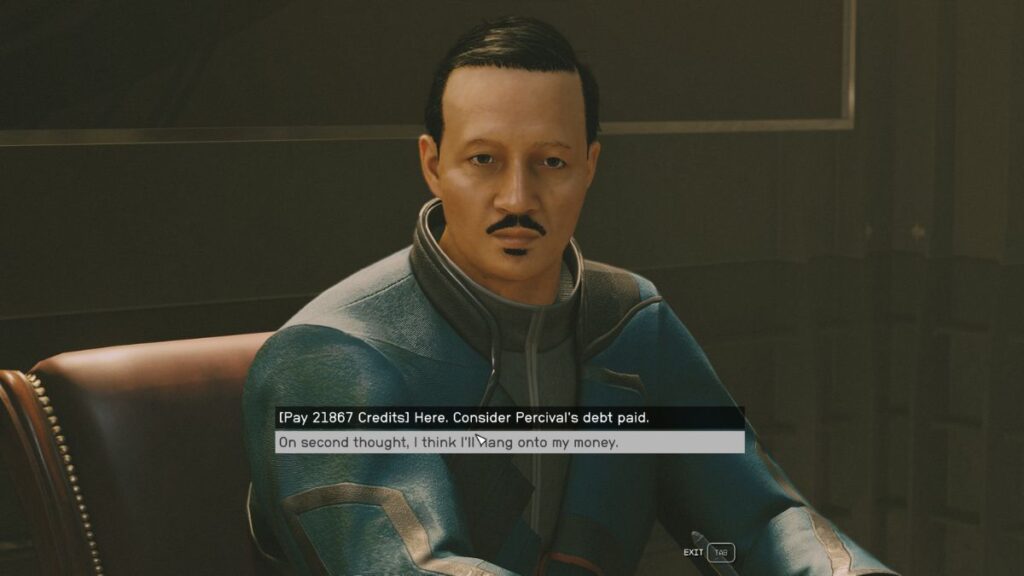
Image Credit: Bethesda via Meta Game Guides
Speak to the Miners at The Sixth Circle
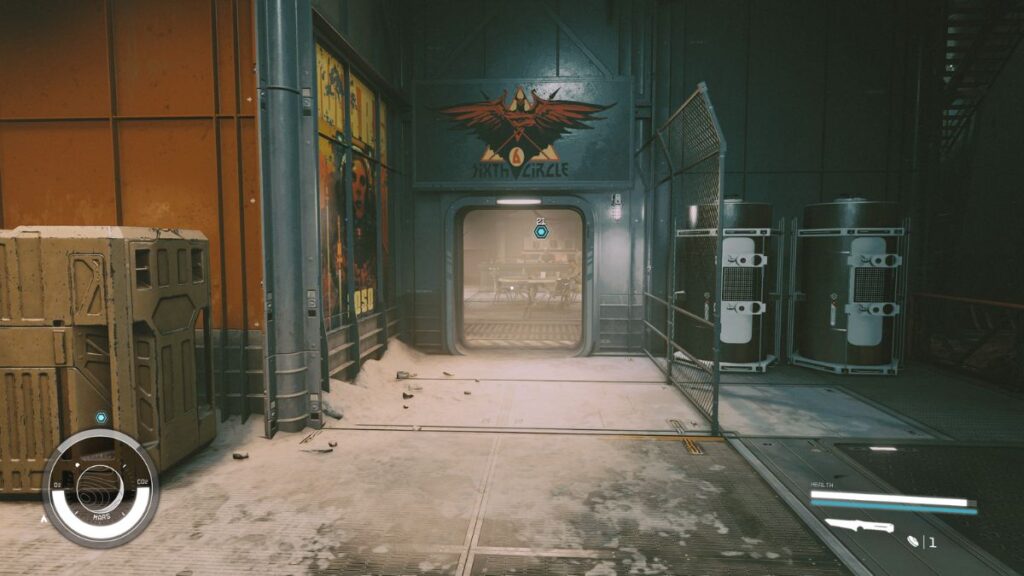
Leave the trade authority and follow the objective marker to take the elevator at the bottom of the stairs to the Central Hub‘s P2 level. You will find the entrance to “The Sixth Circle” in front of you, to your right, as soon as you exit the elevator.
Once you enter, Andrew Robillard will start talking to you until Lou Savaarda intervenes soon after. You will learn that the Red Devils were the handlers of UC’s Xenoweapons and fight alongside them in the battlefield. Most of them were dusties (like you) at some point in their past. After the Armistice, the whole Red Devils unit, along with anyone else associated with Xenoweapons, got shelved.
Loud will tell you that you must pay Walker’s debt to convince him you are a friend. This way, Walker won’t have to hide anymore, and they will help you find him. Alternatively, he recommends that you hack into the Trade Authority’s records and reduce the debt to a few hundred Credits, which he can pay off.
Pay Off Percival’s Debt
(Optional) Speak to the Bar Patron
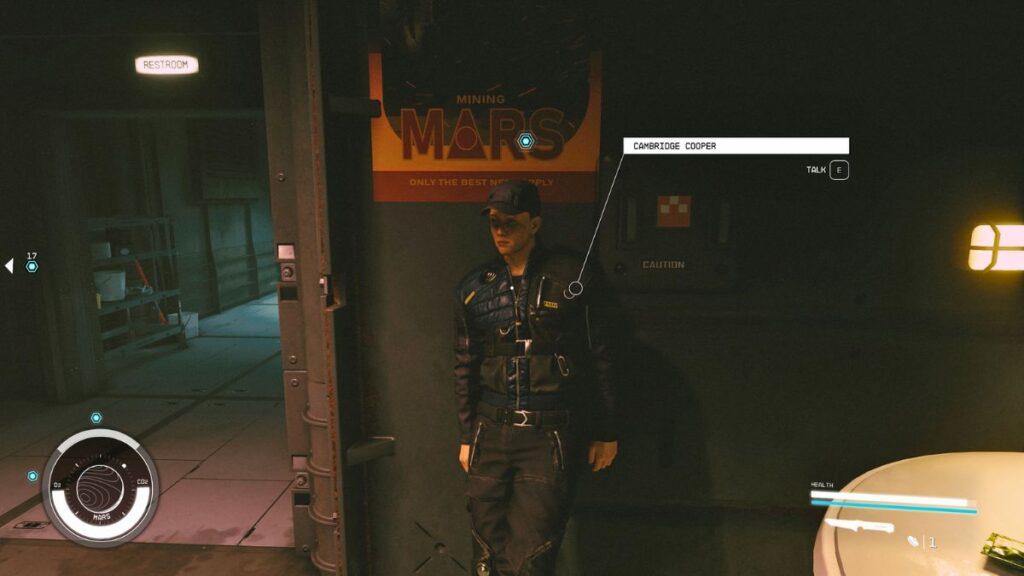
As you are about to go, Cambridge Cooper, Percival’s apprentice, will call for you. He will explain that he and Percival were working on projects in the Deep Mines on Mars related to Aqueous Hemattire, a compound of iron and other elements from human water wastes that Mars is full of. Their goal was to develop cheap and highly profitable pharmaceuticals. You can sell their research to Oktai Enbayar to erase most of Percival’s debt.
The catch is that Spacers have seized their lab, but he will recommend that you go there and take out the Spacers’ leader, which will cause the rest to abandon the mine.
The most straightforward option is to head back to Oktai and pay the 21,867 Credits owed by Percival Walker.
Below, you will find the alternate options.
(Optional) Change Percival’s Debt Amount


This is a very easy route, as it only requires you to pick the Advanced Security Level lock to Trade Authority’s records room, found by taking the stairs down behind the Broken Spear bar. Alternatively, pickpocket Oktai for the key if you want a more significant challenge.
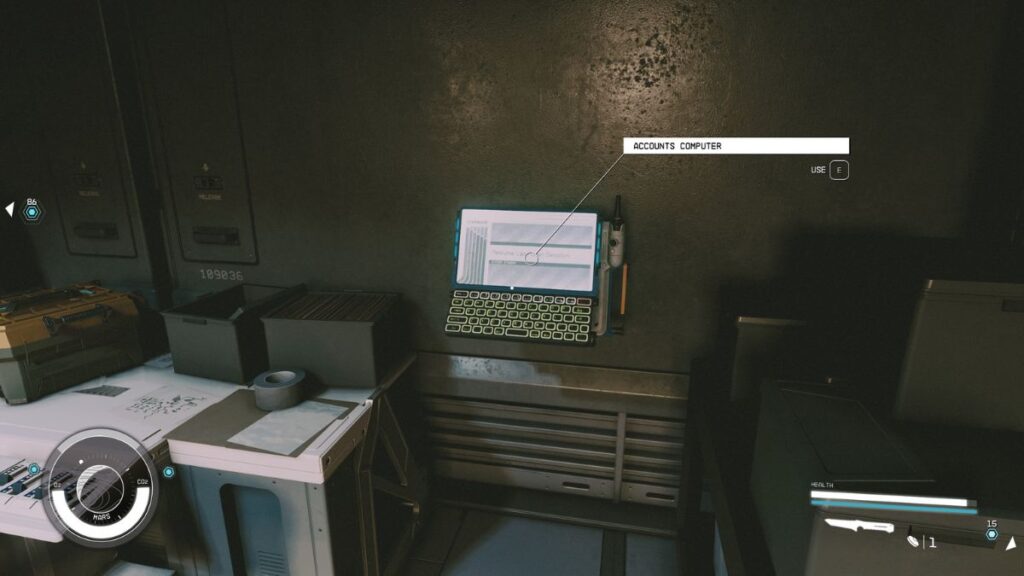
Once you enter the room, access the Accounts Computer, select the Walker, Percival file, and click on the attachment (the Account Override Tool).
You can now perform a Balance Update for Percival’s debt to one of several amounts of Credits between 1 and 10,000.
(Optional) Collect Credits From Lou
Note: Taking the 500 credits from Lou and completing this objective will make the optional object “Kill the Spacer Leader in the Deep Mines” disappear.
If you alter Percival’s debt amount, a new objective will appear. Lou said that he will pay Walker’s debt if it’s a few hundred Credits, so changing it to 500 Credits makes sense. I changed the debt to 1 Credit, and Lou still gave me 500 Credits.
(Optional) Kill the Spacer Leader in the Deep Mines
This may be the most time-consuming but rewarding route for this mission. Trust me, you will find out below that this is the best option.
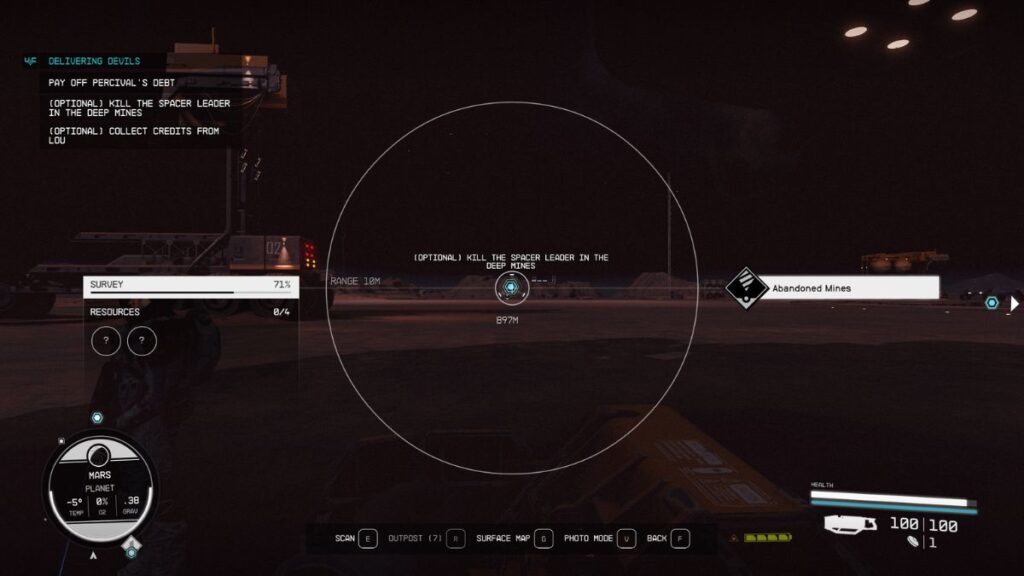
Fast travel to your ship to get out of Cydonia, get off the ship, and run around 900 meters east to find the Abandoned Mines.
The location is craving with level 8 Spacers, a few level 14 ones, and two level 22 ones, one at the surface entrance and the other being the Spacer Leader.

You will have the chance to get some nasty loot from the two level 22 Spacers. Here is what I got:
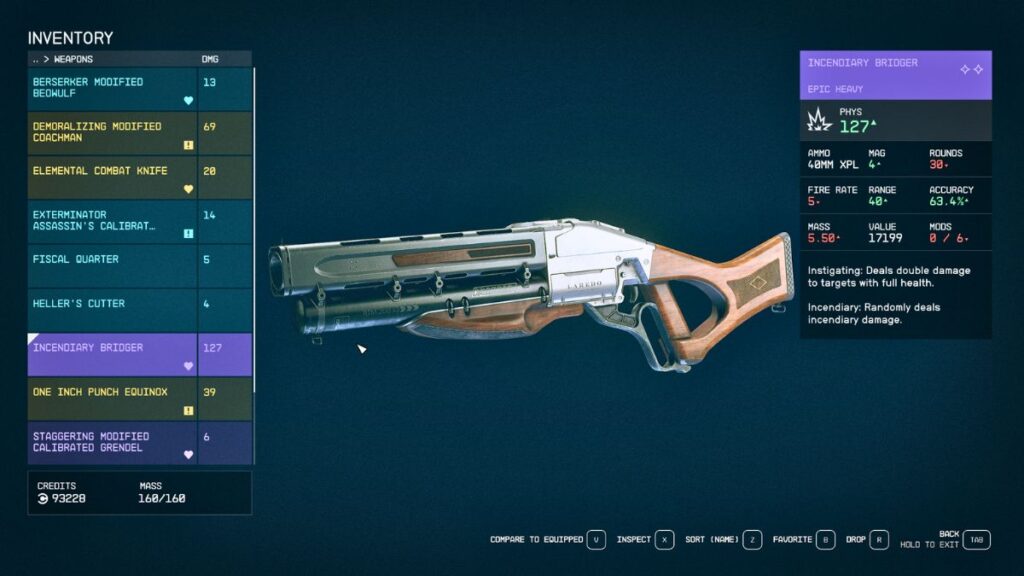
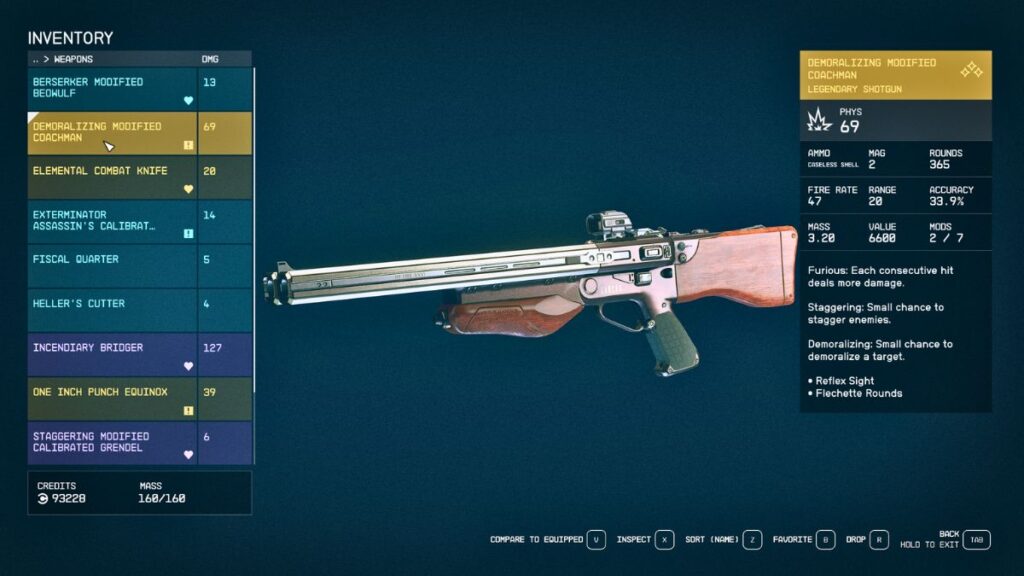
The Incendiary Bridger and the Demoralizing Modified Coachman are devastating at Epic and Legendary rarity, especially the first one. It pretty much one-shots everything at your level.
(Optional) Contact Cambridge on the Comms Panel
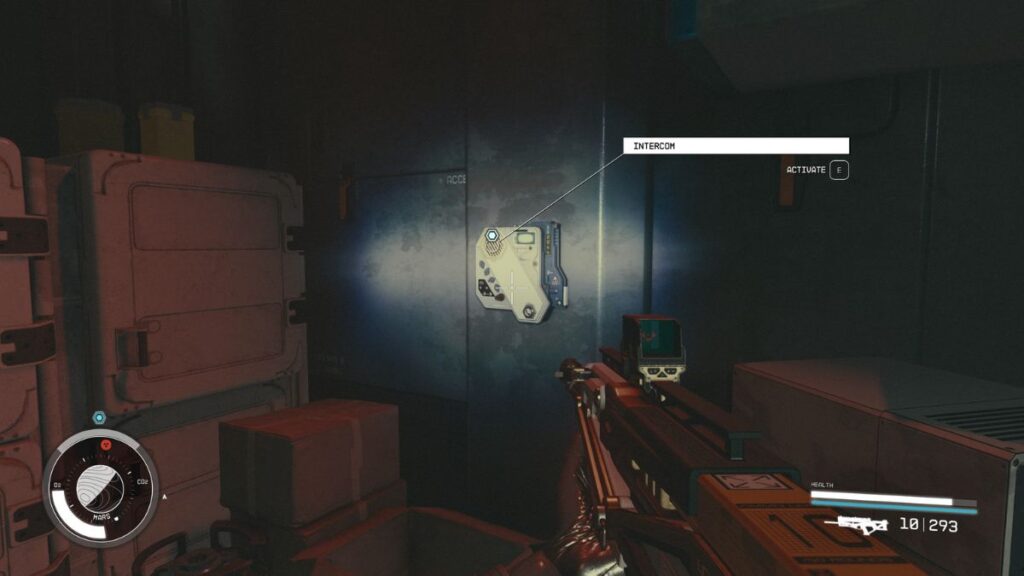
Head to the communications panel mounted on the wall to establish communication with Cambridge within the compact laboratory. Upon making contact, Cambridge will guide you through placing the Aqueous Hematite in the lab’s Thresher.
(Optional) Collect an Aqueous Hematite Sample
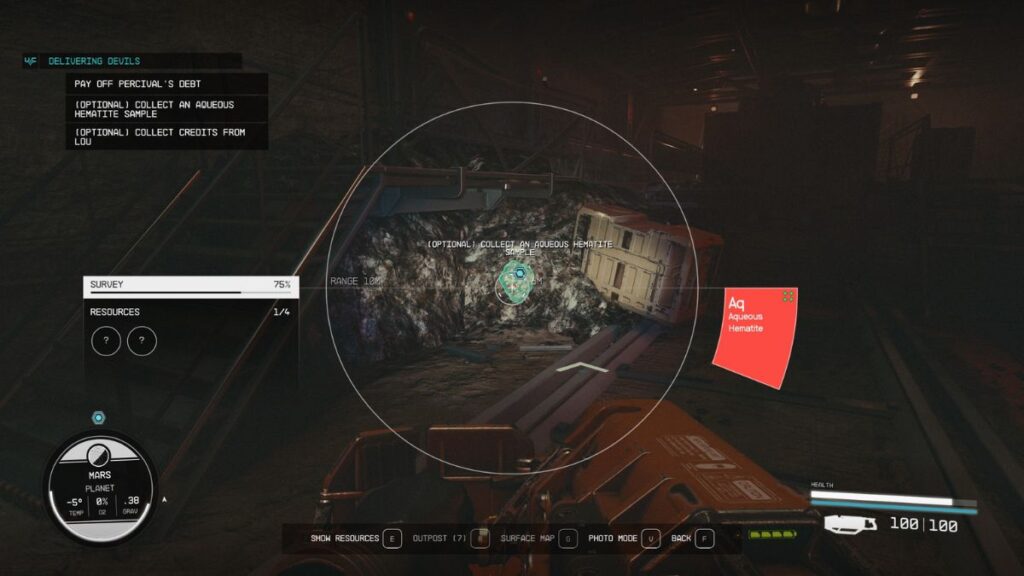
The tunnel with the railways just outside the small lab contains plenty of Aqueous Hematite deposits. Use your Cutter to collect as many as you want, but you will need just one to complete the objective.
(Optional) Deposit the Hematite in the Thresher
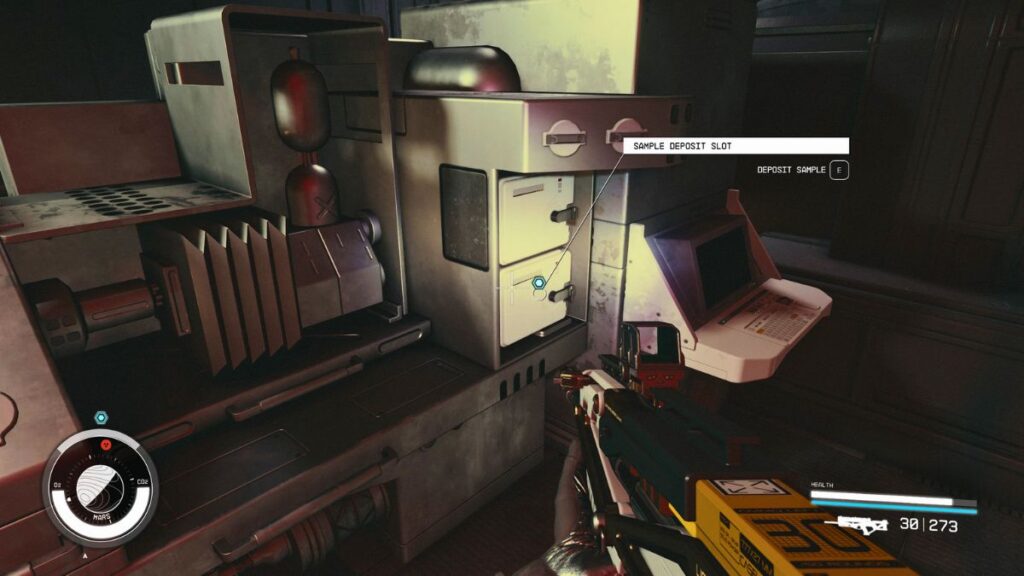
Follow the objective marker inside the lab and add the Aqueous Hematite Sample to the Sample Deposit Slot.
(Optional) Wait for the Thresher to Complete Analysis
Now, wait for the thresher to smash the sample and analyze it.
(Optional) Collect Cambridge’s Research
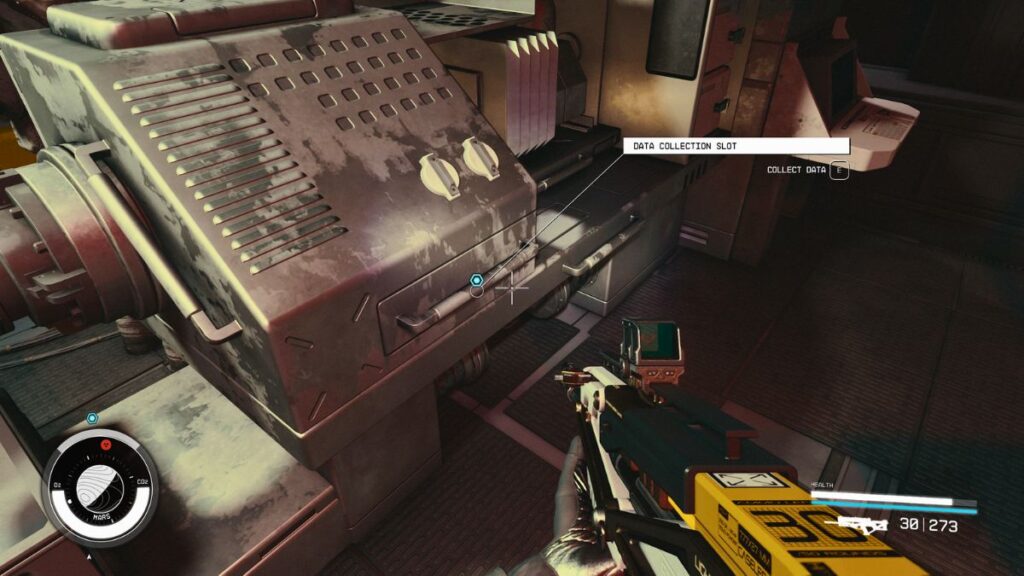
Collect the analysis results from the thresher.
(Optional) Contact Cambridge
Head back to the Intercom device to contact Cambridge. He will tell you to look for
(Optional) Find the Elevator Key
Grab the Elevator Key from the top of the thresher. Now, you can head back to the previous room. You will find the elevator entrance on the opposite side of the Intercom device.
(Optional) Return the Data to Cambridge
Take the elevator back to the surface. From there, you can fast-travel back to Cydonia. If encumbered, you must walk/run around 1,200 meters to return to Cambridge. He will read the data analysis and explain that the pharmaceutical can improve miners’ productivity by reducing joint wear and increasing lifting capacity.
He will recommend that you approach Enbayar with a business proposal that will make miners more efficient, higher yield, synergy, and all that business crap.
Use Cambridge’s Data to Clear Percival’s Debt
Head back to Oktai Enbayar. You will be able to clear Walker’s debt and earn something extra for yourself: 1,800 Credits on Normal difficulty. It’s time to inform Lou and discover Dr. Percival Walker’s location.
Speak to Lou
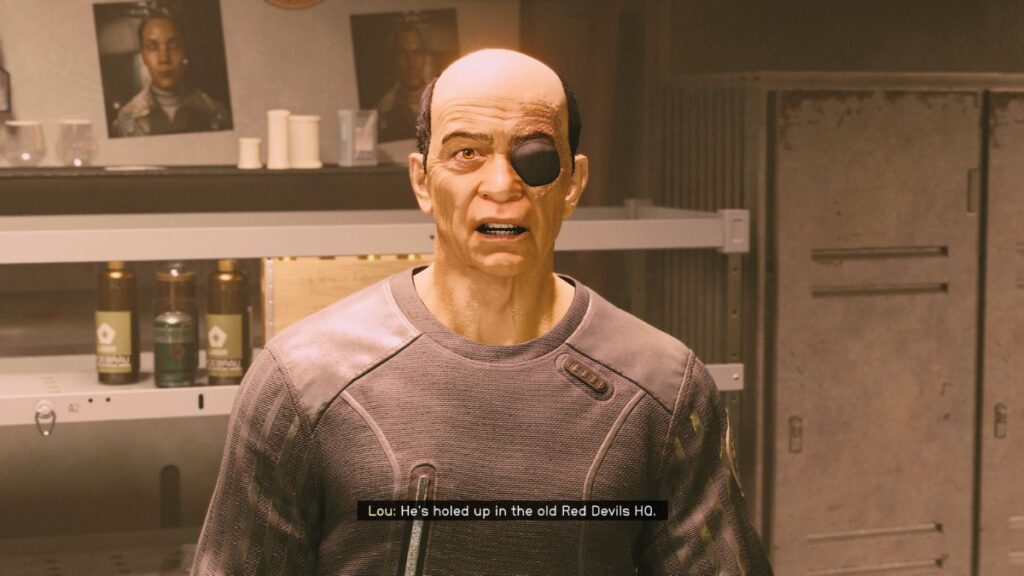
Regardless of the path you decide to follow to clear Percival’s debt, you must return to Lou. Lou will reveal that Walker is holed up in the old Red Devils HQ. While the place is sealed, the team snuck Walker in through the Deep Mines.
So, all these Spacers you took down earlier will now get you a free run through the Deep Mines. Definitely worth the trouble. Lou will also give you the Drill Waste Room Access Key, which you will need to reach Percival.
Find Percival
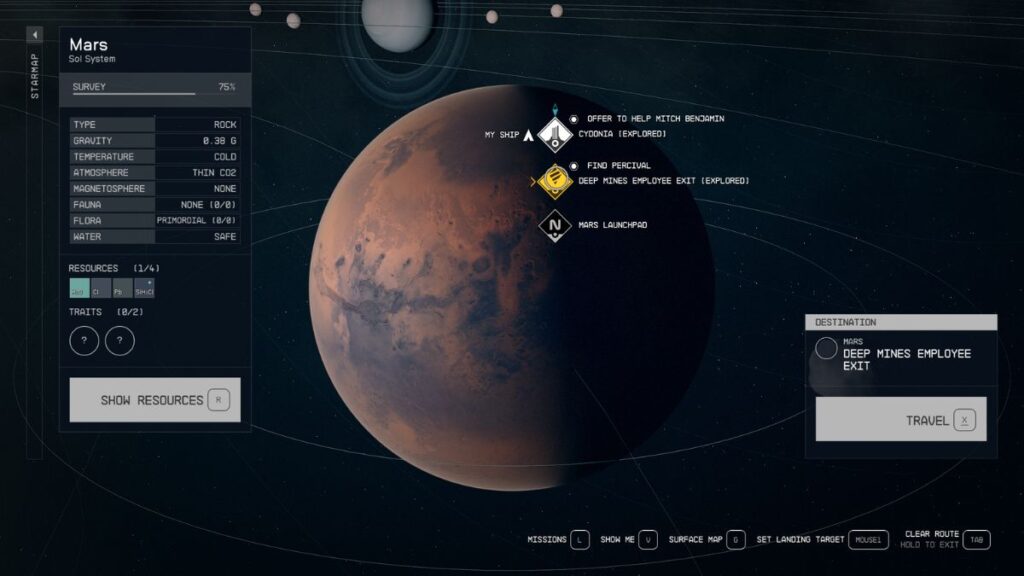
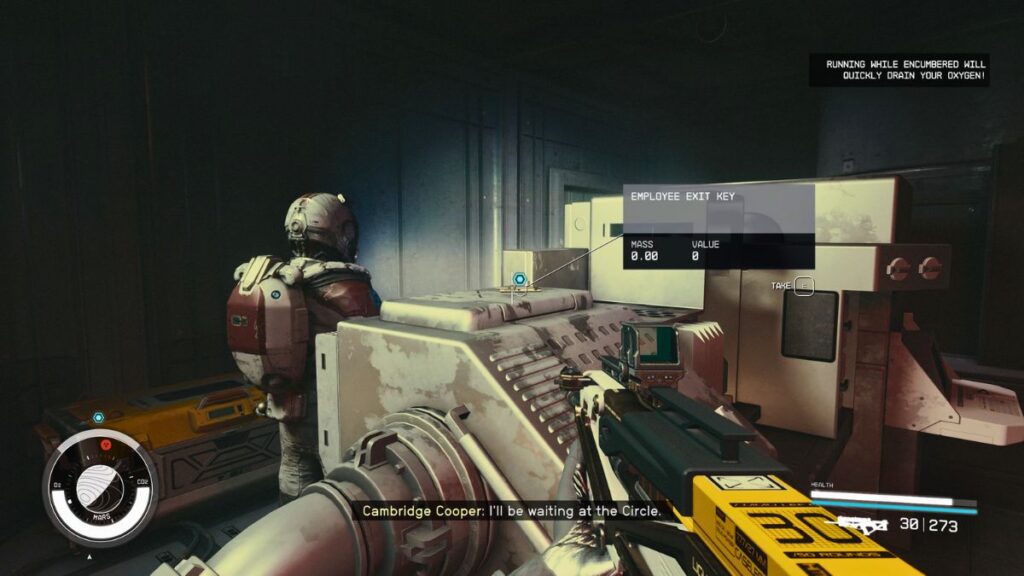
Since you have already explored Deep Mines, you can fast-travel to the Deep Mines Employee Exit to enter the location of the next objective. Take the elevator back to the Main Drill. From there, follow the objective marker.
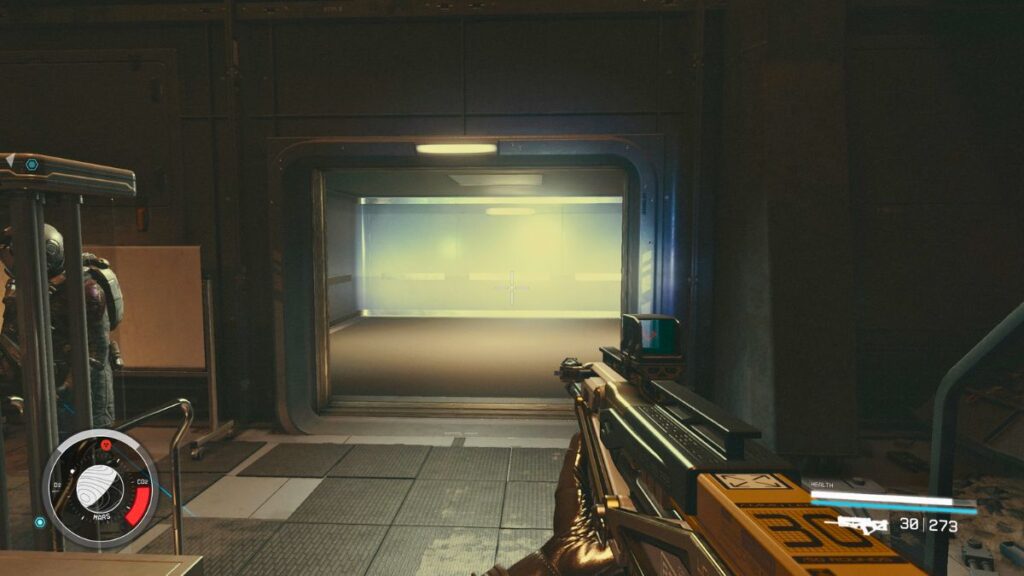
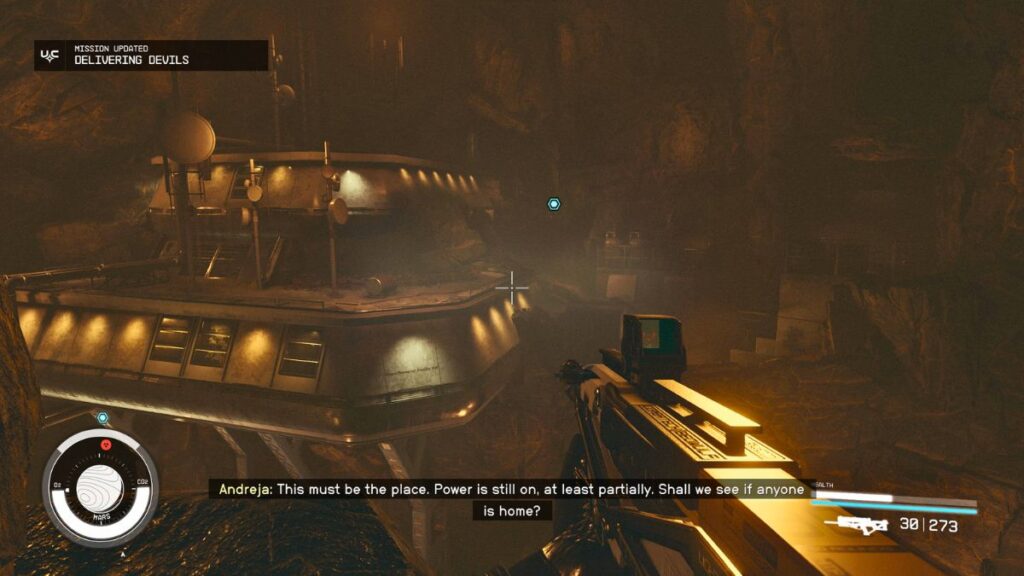
You must run for quite some distance and unlock the Drill Waste Room. At some point, you will see the path has collapsed, but you can use the cave to your left or your Boost Pack to make it to the other side. Go through the cave as you will find a Storage Crate to open there (Expert Security Level).
After running more, you must use your Boost Pack to make it to the other side of a canyon. Once you talk to Dr. Percival Walker, he will thank you and ask your endgame for helping him.
Explain that Hadrian sent you, and he will take you inside the base to analyze the Terrormorph Cell Sample. This is where things will start getting an alarming turn.
Note: You are going to need a Boost Pack to reach the Red Devil’s HQ.
Follow Percival
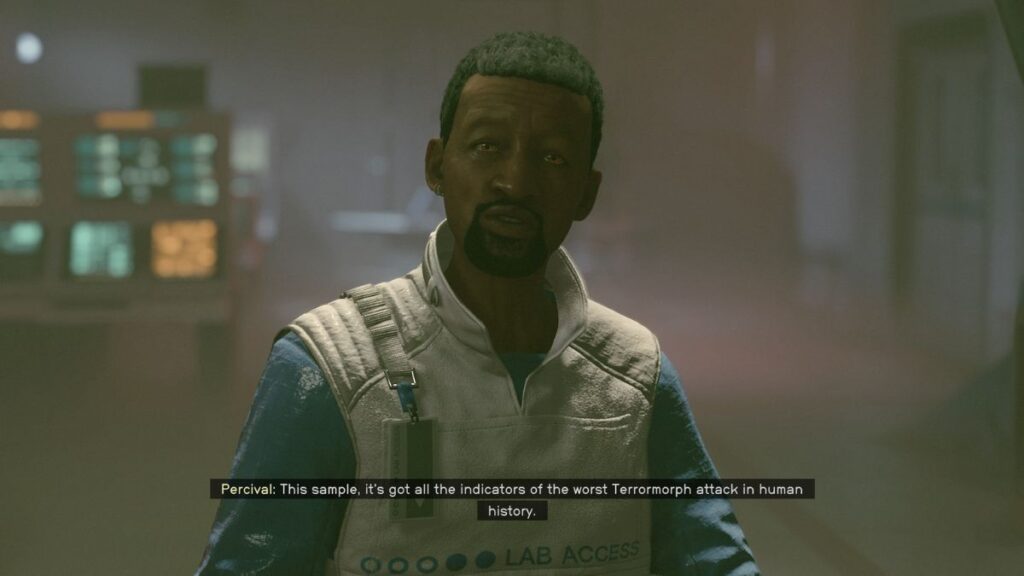
Follow Percival. He will be busy studying the sample for a bit; then he will talk to you.
Percival will ask you whether this is some farce, as it turns out that the sample matches the ones from Londinium, where Francois Sanon decided to bomb the city’s spaceport to prevent any Terrormorphs from leaving the city and spreading to other planets and systems (we learned during the Orientation Hall visit that Francois Sanon was executed for this action among others once the Armistice was signed).
Percival will also explain that the Terrormorph you killed did not show any signs of transport, which means it was born in Tau Ceti II and grew exponentially fast to be ready to attack within just 20 years instead of 70 to 100.
If this Terrormorph variant originating in Londinion starts spreading, it may bring humanity to its feet.
It’s time to take the elevator to the surface and find Hadrian at “The Sixth Circle” to plan your next actions.
Meet Hadrian at the Sixth Circle

Once you find Hadrian, a warm greeting will occur between her and Percival. Then Hadrian will recommend that you move to a private room at the left side of the bar, away from anyone’s ears, to discuss Percival’s findings.
Follow Hadrian
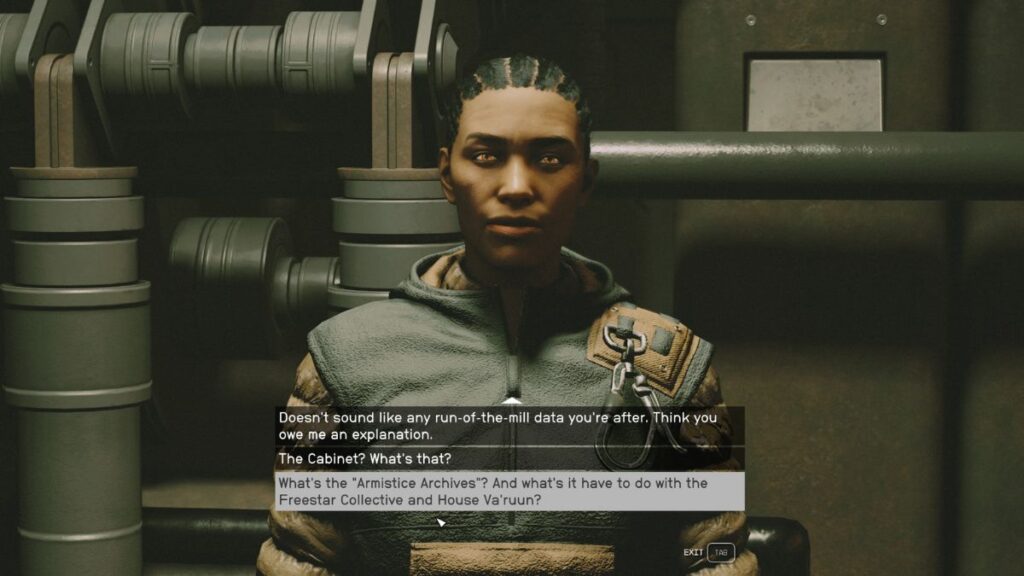
Follow Hadrian and talk to her. She will reveal that she contacted the Cabinet, the United Colonies’ governing body, which consists of the President, top military brass, and scientific and diplomatic division heads.
You will go through a history lesson in which she explains that once the three major factions, the United Colonies, the Freestar Collective, and House Va’ruun, signed the Armistice Truce, they locked certain documents inside the Armistice Archives. The Armistice Archives hold information about everything the three factions agreed to prohibit when they signed the truce after the end of the Colony Wars 20 years ago. This also includes any work on Xenoweapons.
Hadrian will also reveal that she and Percival had reached a stage of their research with Xenoweapons during which they were experimenting on using Terrormorphs as Xenoweapons. If you raise any concerns, Hadrian will reassure you that the research can’t be used for wrong purposes, as the Terrormoprhs have too high intellect to be controlled by humans.
However, their research will be valuable in finding more information about the new Terrormorph threat since it matches the samples from Londinion the team researched.
All three factions must agree to give you access to the Armistice Archives. Convincing House Va’rrun and the Freestar Collective will be a challenge. This concludes Delivering Devils and will mark the beginning of Eyewitness. You will receive a 7,500 Credits reward on Normal difficulty and 250 EXP.

- How to Beat Juggernaut in Armored Core 6 Cheese Build - May 8, 2024
- How to Beat EC-0840 Smart Cleaner (Best Cheese Builds) - May 8, 2024
- How to Use Photo Mode in Armored Core 6 - May 8, 2024