
Grunt Work is the second faction mission of the UC Vanguard in Starfield. Once you pass the exams, complete Supra et Ultra, and complete the first part of your enrollment, this is the probationary mission you can complete to join the UC Vanguard. Your goal is to head to Tau Ceti II to repair the communications of the Tau Gourmet Production Center, an old Colony War processing plant that the settlers there are trying to refurbish.
Note: The amount of Credits you receive seems to be affected by both game diffculty you are playing on and character level.
- UC Vanguard Mission 02
- Planets: Tau Ceti II
- Rewards: 6000 Credits, 250 XP, UC Vanguard Pilot Pack, UC Vanguard Space Helmet, UC Vanguard Spacesuit
How to Start Grunt Work
To start Grunt Work, you must first complete Supra et Ultra, UC Vanguard’s first mission.
Speak to Crew Chief Kane Herath
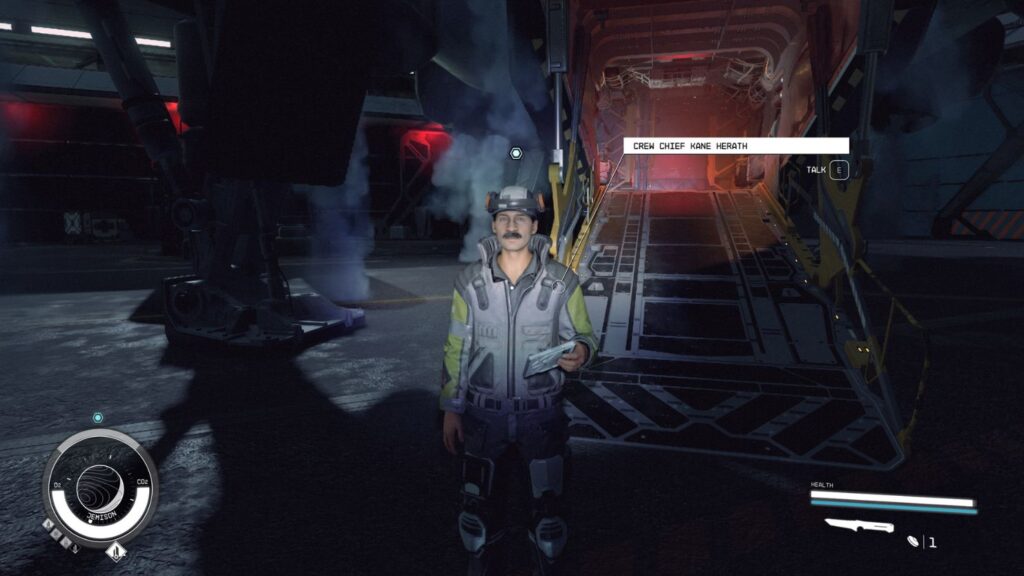
Head to the New Atlantis spaceport and follow the objective marker from your ship to find Speak to Crew Chief Kane Herath in front of a spaceship. He will tell you that the technician will add the UC Vanguard’s welcome kit to your ship with some nice supplies.
Make Contact With the Settlers on Tau Ceti II

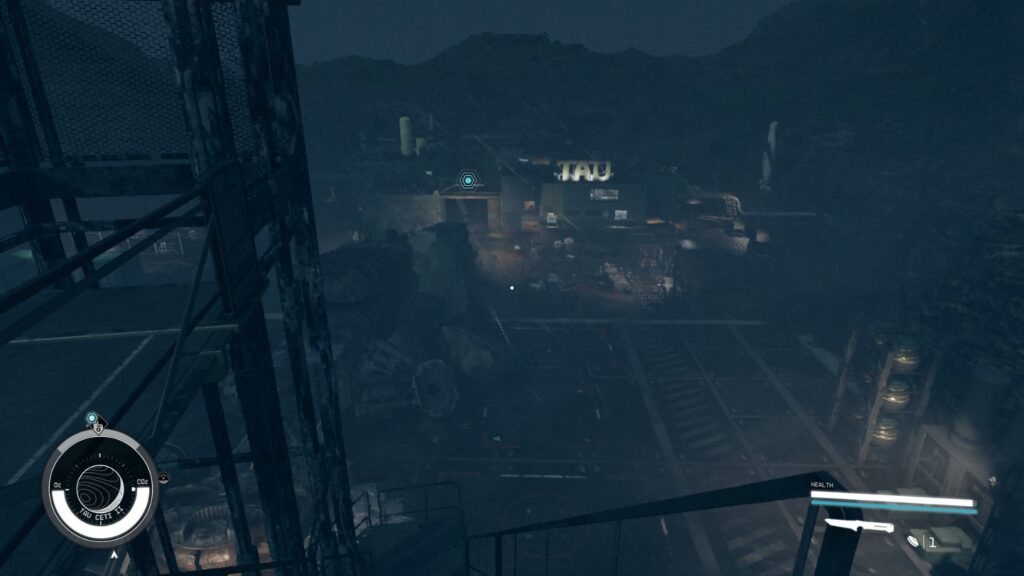
Open your Missions menu and set the course for the objective. Tau Ceti II is 13.510 lightyears away from New Atlantis in the Tau Ceti system. There is a chance that “Into the Unknown” took you already there as it did for me.
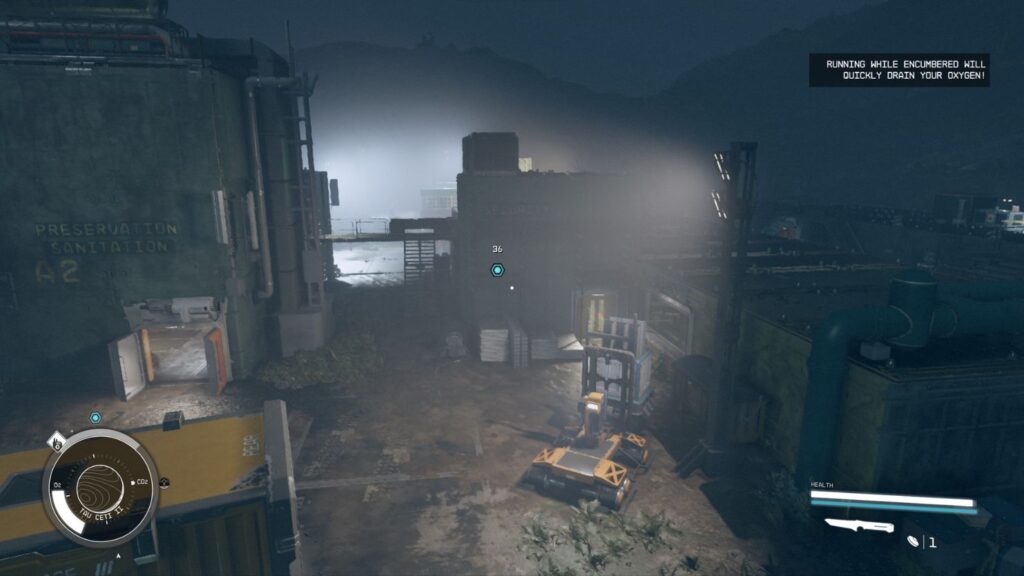
As you land and approach the Production Center, you will notice (surprise, surprise) that the settlers are dead. You can loot two First Aids and two ammo cases from the first building you encounter past the dead settler on the ground.
Take the stairs down past the satellite dish to reach the main facility.

Investigate the Scream
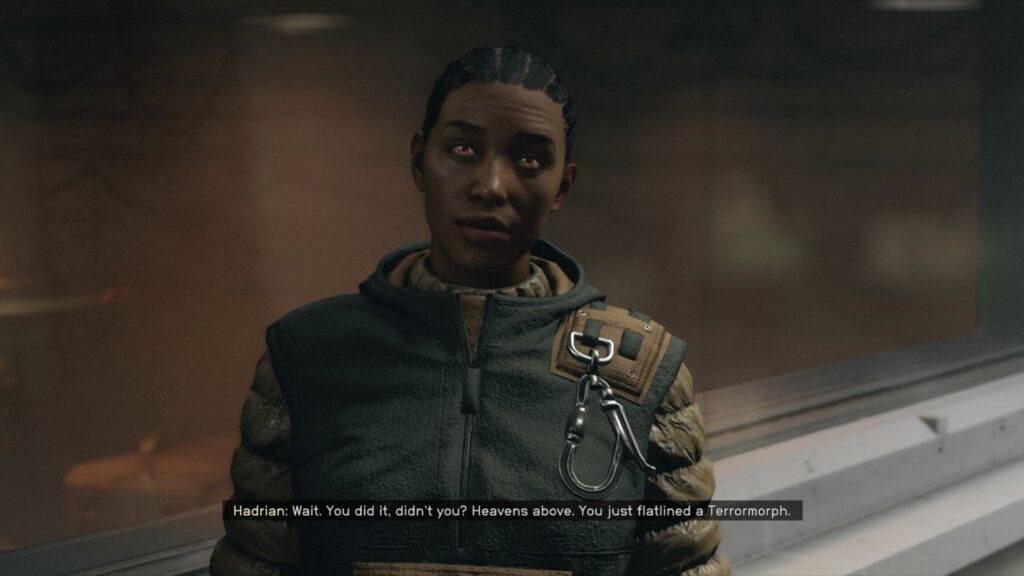
Oops. As you descend the stairs, you will hear a scream that doesn’t sound human-like, and things look grim. Approach closer to the facility, and Hadrian will contact you, telling you to run inside and get to the second floor.
Speak to the Woman
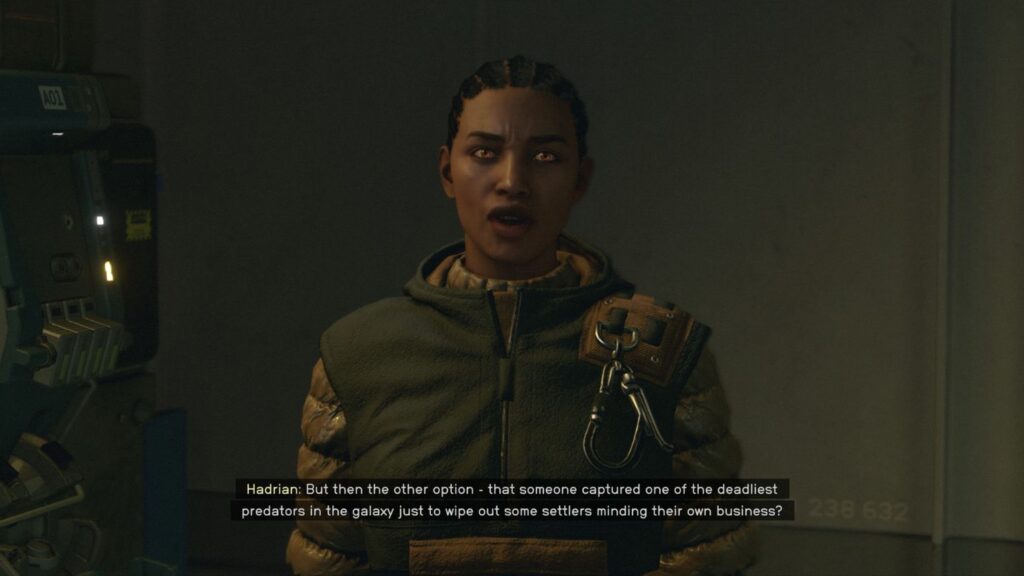
Once you reach Hadrian and talk to her, she will tell you she is a scientist working for the UC. Hadrian will explain that what you witnessed as you arrived is the work of a Xeno… Terrormorph (“Occision Machina“). The name would sound familiar if you explored all the murals at the Orientation Hall, as Terrormorphs attacked the city of Londinion, which eventually had to be quarantined to avoid an outbreak.
Among other things, Terrormorphs can also control lesser organisms. What’s unexpected here is that the colony in Tau Ceti II is too young to have a Terrormorph, as they typically appear after a planet has been colonized for a long time.
Hadrian wants the Terrormorph’s corpse to examine it. But to kill it, she will recommend that you restore the facility’s security system connection, as the outpost has turrets installed, which can help you in the fight. You can loot two Ammo Cases, a Storage Box, and a First Aid here.
Note: Terrormorphs are not to be confused with the Xenoweapons developed during the Colony Wars, although maybe some Xenoweapons could have been Terrormorphs.
Restore the Security System Connection
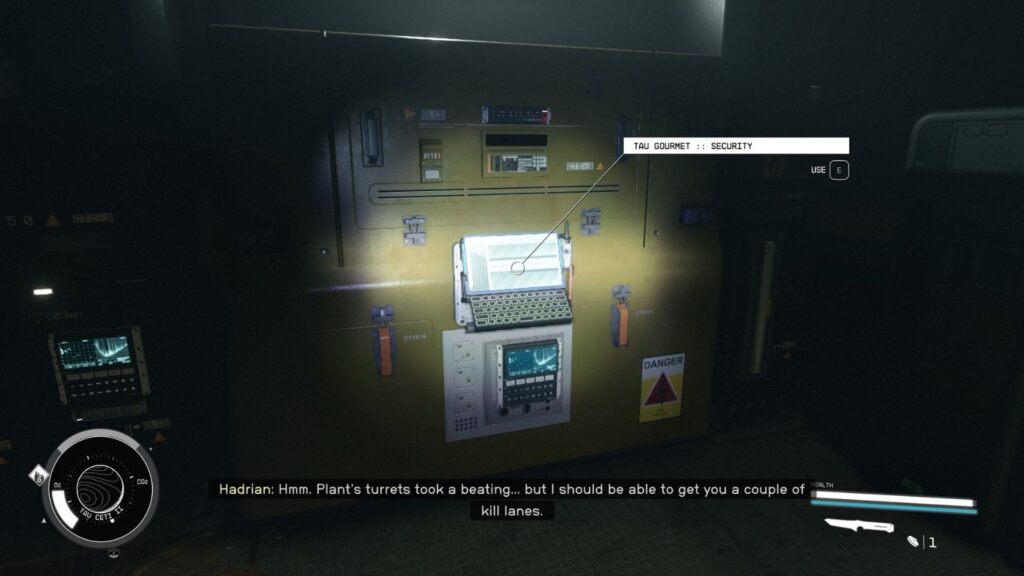
Head to the back of the facility until you find the Security building. Inside it, you will find the Tau Gourmet Security Terminal. Select Security System Connection Status and Restore Security Connection to the system.
Allow Hadrian to Analyze the System
Hadrian will analyze the security system and explain that she can only set up a couple of “kill lanes” as the facility’s turrets have taken a beating. You must have the Terrormorph chase you in the lanes between the buildings for the turrets to take it down.
Tune the Livestock Tracker to 183.5
Next, she will tell you to tune the Livestock Tracker to 183.5 to track the creature’s vitals as it’s in your pursuit. Head to the terminal in the next room and turn its frequency to 183.5, the only frequency with an active Target. This will let you know your distance from the Terrormorph.
Wait for the System to Reengage
While you wait for the Livestock Tracker to reengage, you will witness the Terrormorph exterminating another alien creature. Hadrian will tell you to avoid making any noise to remain undetected.
(Optional) Restore Power to the Kill Lanes

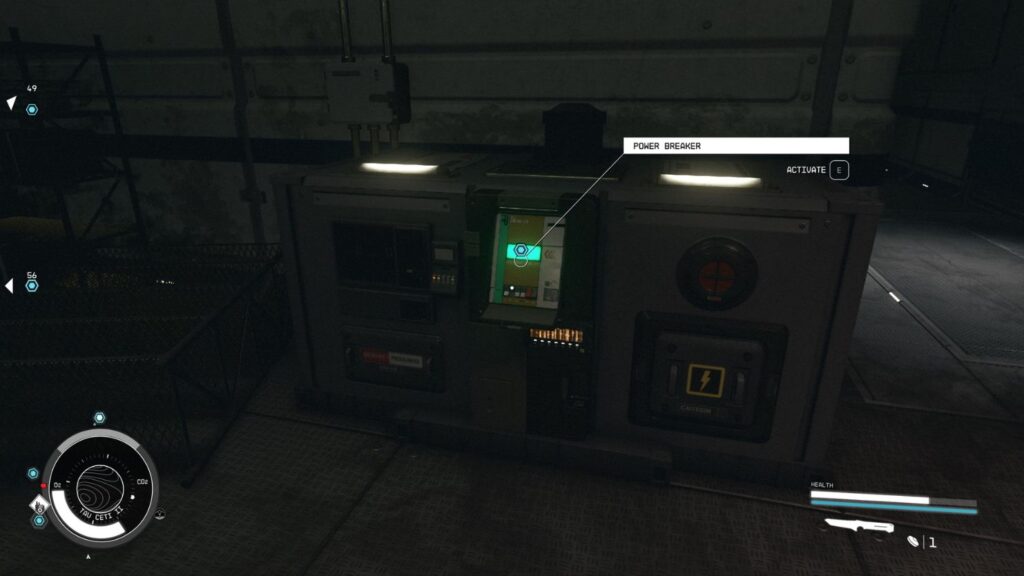
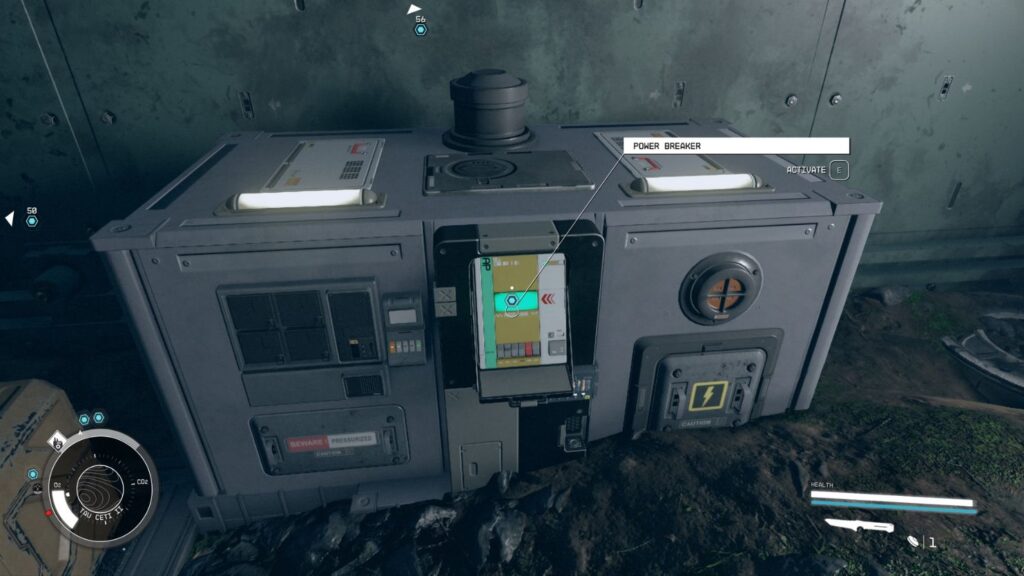
This optional objective will be of great help in harder difficulties. You must activate three Power Breakers to power on the kill lanes so the turrets can assist you in the fight. All three are easy to track down as they have objective markers.
The first one is in a room next to the Security building. The second one is at the roof close by, while the third one is at the back of the building at the opposite side.
Kill the Terrormorph
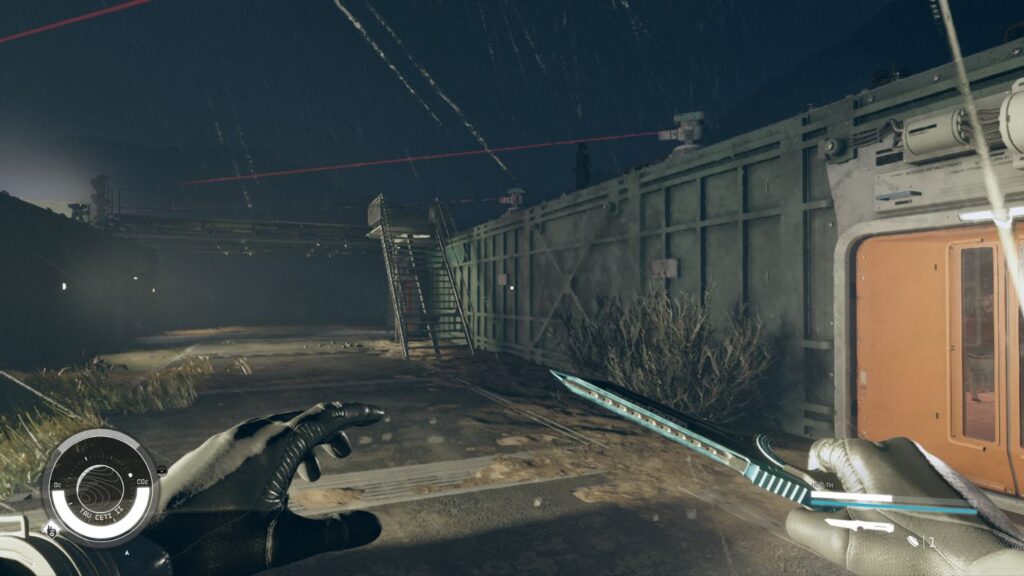
Have the Terrormorph chase you to one of the kill lanes (they are easy to spot, as the lights will be on once you activate the three Power Breakers). Try to stay out of the Terrormoph’s melee range, but beware of its ranged attack, although its range is short.
Collect the Terrormorph Tissue Sample
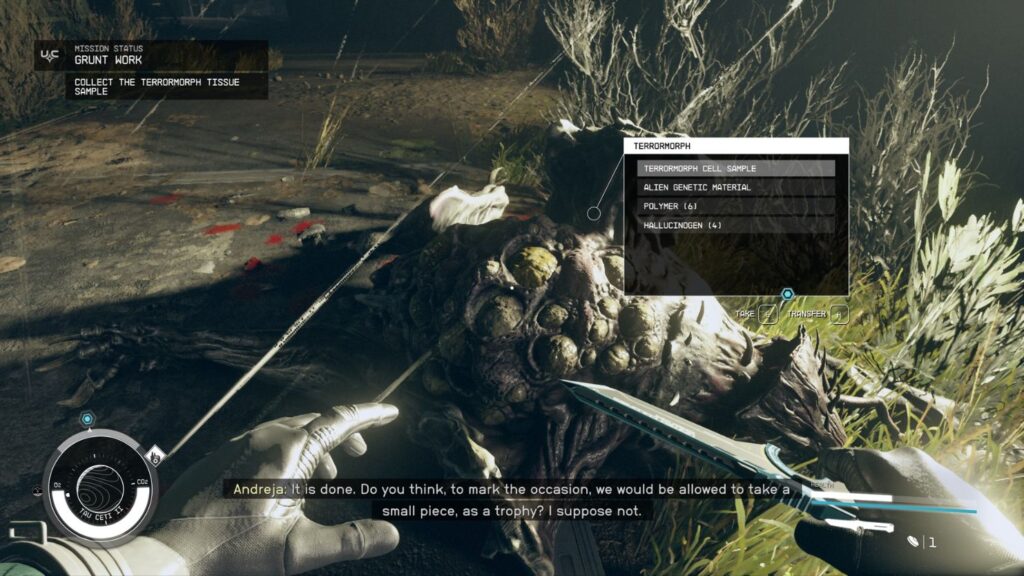
Once you have exterminated the Terrormorph, loot its body for the Terrormorph Cell Sample, an Alien Genetic Material, 6 Polymers, and 4 Hallucinogens.
Return to Hadrian
Hadrian will explain that by examining the Terrormorph Cell Sample, she may find radiation or chemical exposures indicating that the Terrormorph was transported on a ship.
Follow Hadrian
Follow Hadrian to a microscope she spotted downstairs. She will do a basic analysis of the sample with the outdated microscope she found.
Talk to Hadrian
You can learn more about the Terrormorphs by exhausting the dialogue options here. Hadrian will mention that this is a Terrormorph that has evolved and achieved faster growth or that someone intentionally brought the creature to Tau Ceti II to murder the settlers as the colony is too young (20 years).
She will also mention that the Terrormorphs grow in eggs that go unnoticed, and that’s how they appear in human colonies, typically after 70 or 100 years, while she will also mention Londinion.
She will hand you the Terrormorph Cell Sample to deliver to Dr. Percival Walker, who’s contracting with the Trade Authority on Mars. Once you find Percival, Hadrian will meet you at “The Sixth Circle” bar in Cydonia.
She will also give you 1,800 Credits as a reward.
Return to Commander Tuala
You must now head back to Commander Tuala to inform him about the happenings in Tau Ceti II and get clearance to meet Percival. Tuala gives you clearance to deliver the tissue sample, unlocking Delivering Devils, but he has also lined up another mission for you, helping the UC fend off the Crimson Fleet.
You can travel to Mars to track down Dr. Walker or head to the UC Vigilance to help SysDef with the Crimson Fleet. Don’t worry; you can complete both missions.
| Grunt Work Rewards |
|---|
| 6000 Credits 250 XP UC Vanguard Pilot Pack UC Vanguard Space Helmet UC Vanguard Spacesuit Unlock the Delivering Devils Mission Unlock the Deep Cover Mission |

- Armored Core 6 Hidden, Loghunt, Training & New Game++ Parts - May 7, 2024
- Metroid Dread: How Long to Beat and How Hard is It? - May 7, 2024
- Backward-Compatible Xbox Games - May 7, 2024