
The journey to the cosmos begins in Starfield with the inaugural main mission aptly titled “One Small Step,” which starts to unravel the game’s main story. This comprehensive guide aims to walk you through every nook and cranny of Vectera, showcasing where to procure essential items, pinpointing the location of hidden collectibles, and highlighting opportune moments to grab some extra loot. Your interstellar adventure starts here, and we’ve got you covered.
- Main Mission 01
- Planets: Vectera, Kreet, Jemison
- Rewards: 8000 Credits, Lodge Key, Constellation Pack, 400 XP
Introduction
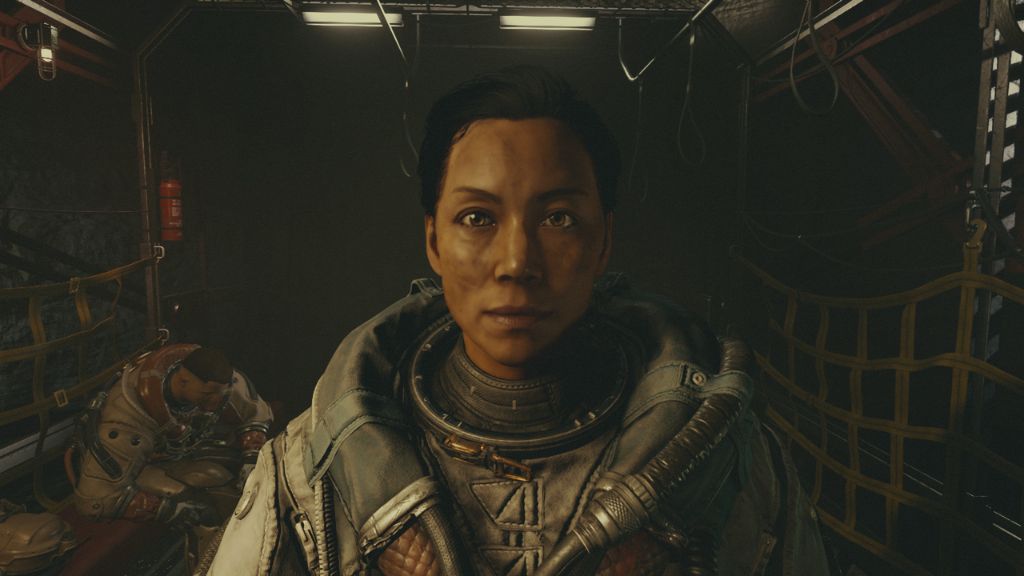
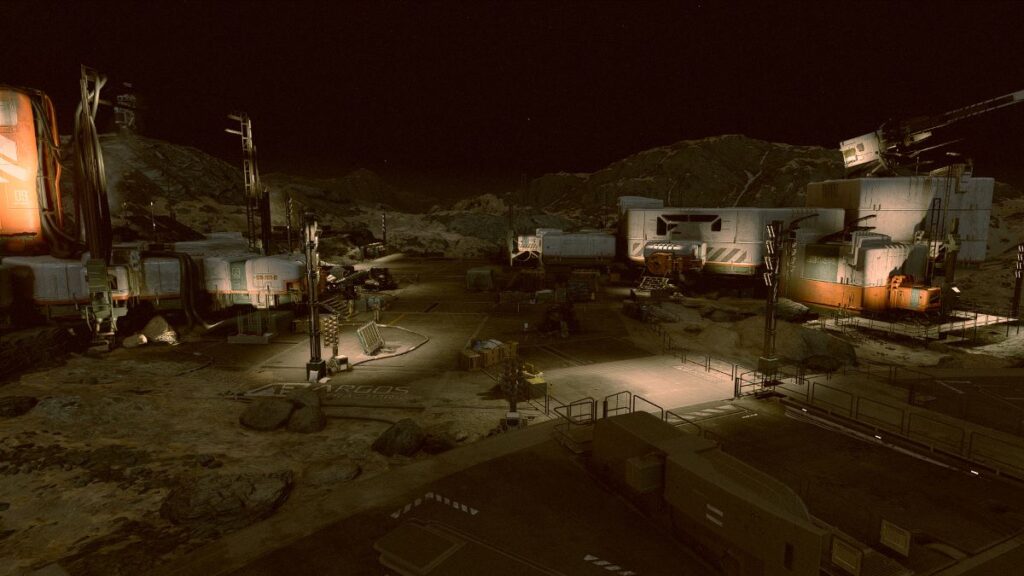
Initiating your interstellar odyssey in Starfield, you’ll be transported to the year 2330 at the Argos Extractors Mining Outpost on Vectera’s Moon. As the elevator descends into the subterranean labyrinth of mines, you’re joined by Supervisor Lin and her trusty deputy, Heller, who assess your readiness. The game’s opening tableau casts you as a “Dusty,” a miner tasked with extracting valuable mineral resources in return for cold, hard cash.
Follow Supervisor Lin
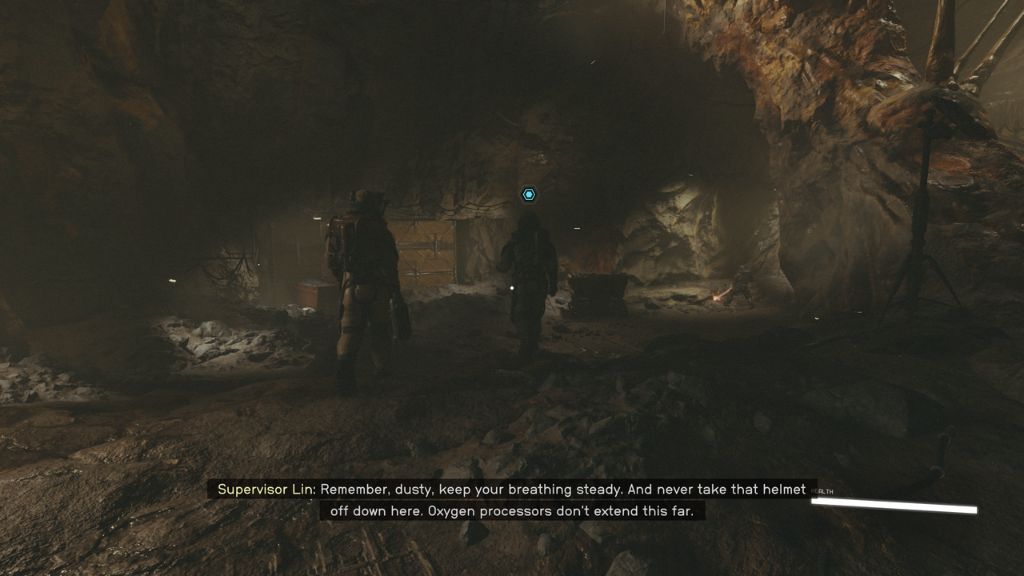
Once the elevator grinds to a halt, an on-screen prompt will direct you to tail Supervisor Lin through the labyrinthine mine. Stick close to her as she mingles with fellow Dusties, ensuring everyone’s pulling their weight, not shirking their responsibilities, and scolding some of them in the process”It’s a laser, not a sledgehammer.“
After engaging with several miners, Lin will gesture for you to approach a nearby crate. Here, you’ll receive instructions to grab a Cuttera vital tool for your upcoming tasks. Prepare yourself; it’s time to roll up your sleeves and harvest your inaugural batch of valuable minerals.
Grab a Cutter (and Mine What You Can)
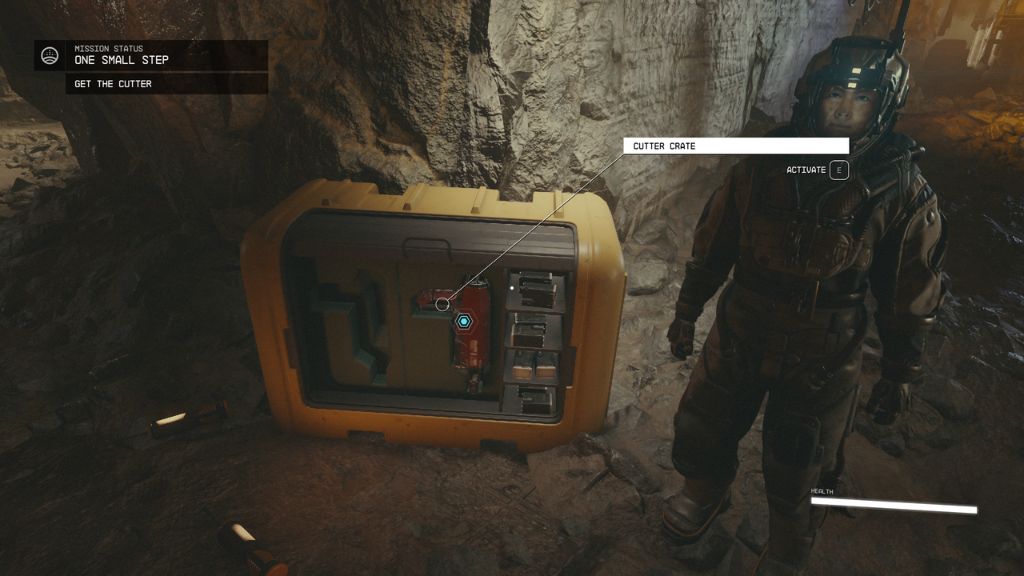
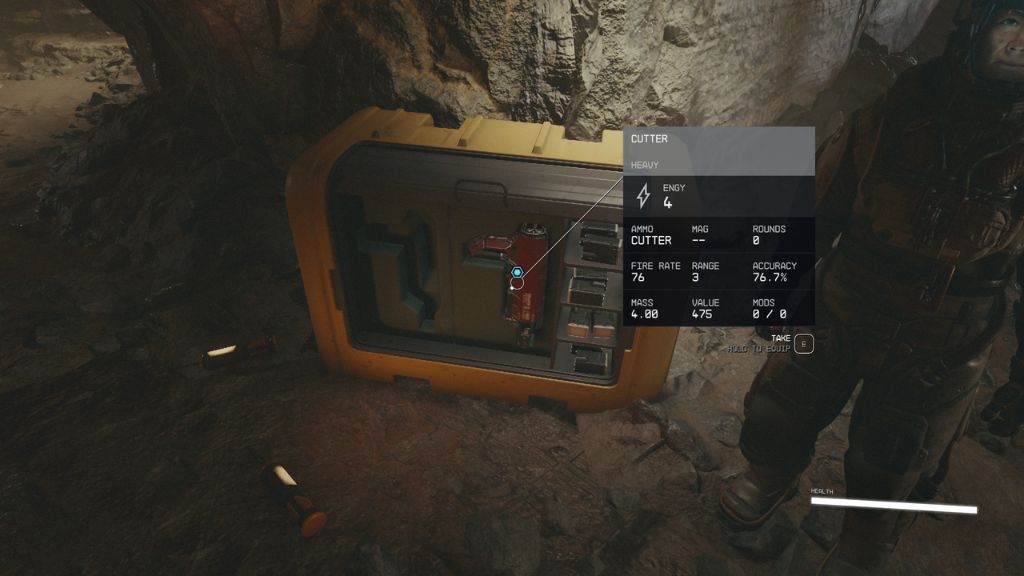
Get close to the Cutter Crate until you target the Cutter. Press “E” (“A” on Xbox) to interact with the Cutter Crate and collect the Cutter; you can also hold the button to loot and equip.
Collect Mineral Deposits
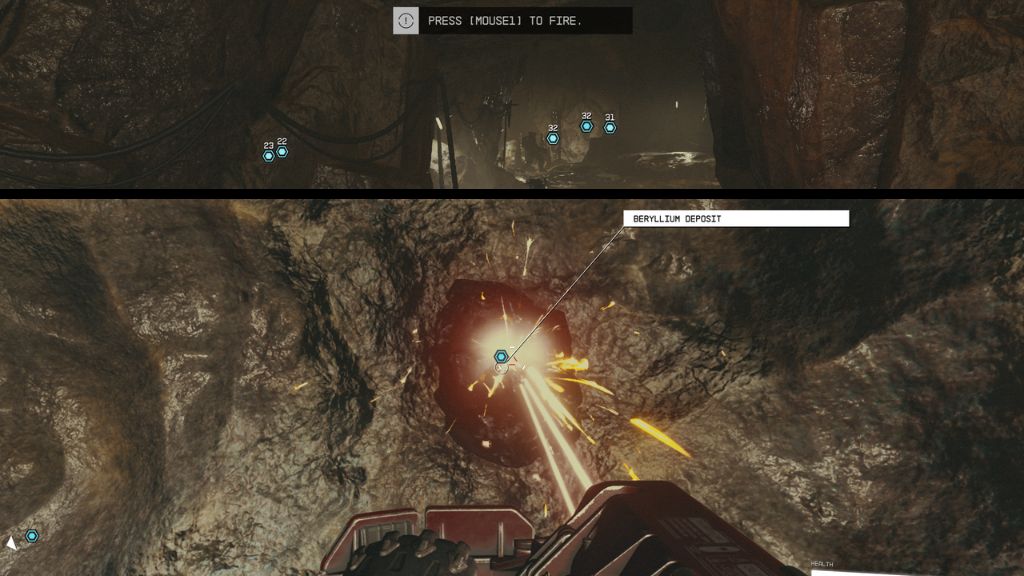
Upon the Cutter’s collection, five objective markers will appear. Head to each objective’s location to find a mineral deposit (Beryllium). Press the trigger button (Left Mouse Click or LT on Xbox) to fire the Cutter’s laser at the Berrylium deposits until they break. Once they do, you will be notified that Beryllium has been added to your inventory. Repeat five times to loot all the Beryllium.
Note: You can also explore other parts of the mine and stock on Beryllium here before you return to Supervisor Lin. I think you can find around 5-6 pieces of Berylium for yourself.
Return to Supervisor Lin
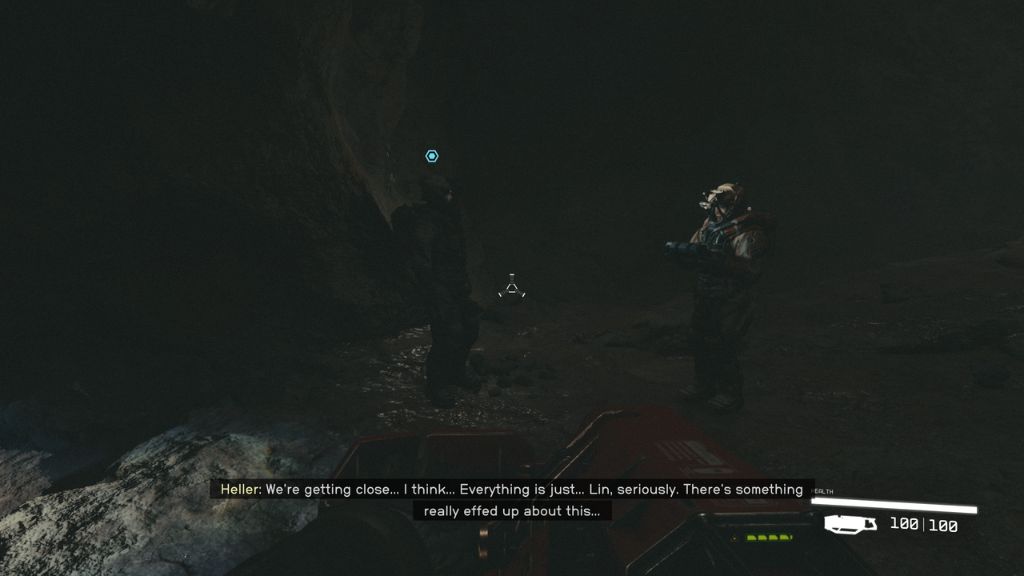
Return to Supervisor Lin and follow her until you reach Heller. Heller will say that something is really effed up about the cavern the digger has revealed. There is also a client on his way to the site. Time to explore the cavern!
Explore the Cavern
As you approach the objective, a small tutorial will pop up, telling you to hold “F” (“LB” on Xbox) to turn your flashlight on and off. You will find two more Beryllium deposits at the cavern’s entrance.
Enter the cavern using the flashlight to illuminate the dark path. Heller will say he is still getting weird gravity readings as you enter the cavern. Yet he will reassure you to keep going. Five to six more beryllium deposits can be found inside the cavern.
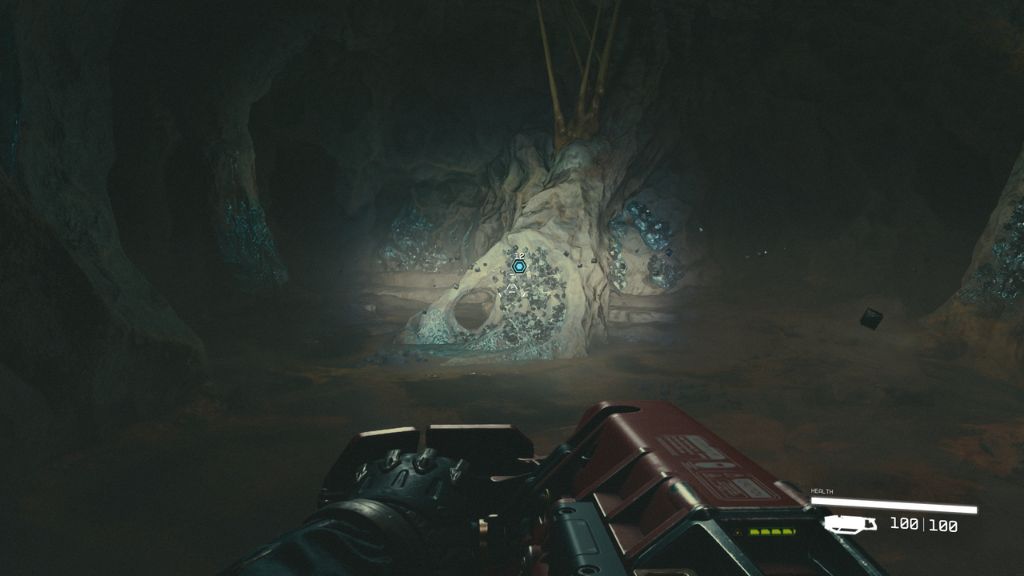
Once you reach the objective marker, you will find a Caelumite deposit in the center of the room at the back of the cavern.
Break Up the Deposits

Now, fire up your cutter (“M1” on PC or “LT” on Xbox) to break up the mineral deposits. It should take only a few seconds before you reveal the object behind the glistening minerals.
Take the Strange Object

Press “E” (“A” on Xbox) to pick up the strange object. Everything will start twisting and turning, and you will see a short vision. Next thing you know, you will be waking up with Heller and Lin at the mine’s medical bay. Heller will tell you that you were out cold, but there was no physical damage (the jury’s still out on the mental side).
Heller will now ask if you remember who you are: “New recruit of Argos Extractors? Any of this looks familiar?” It’s time to create your character in Starfield!
Create Your Character
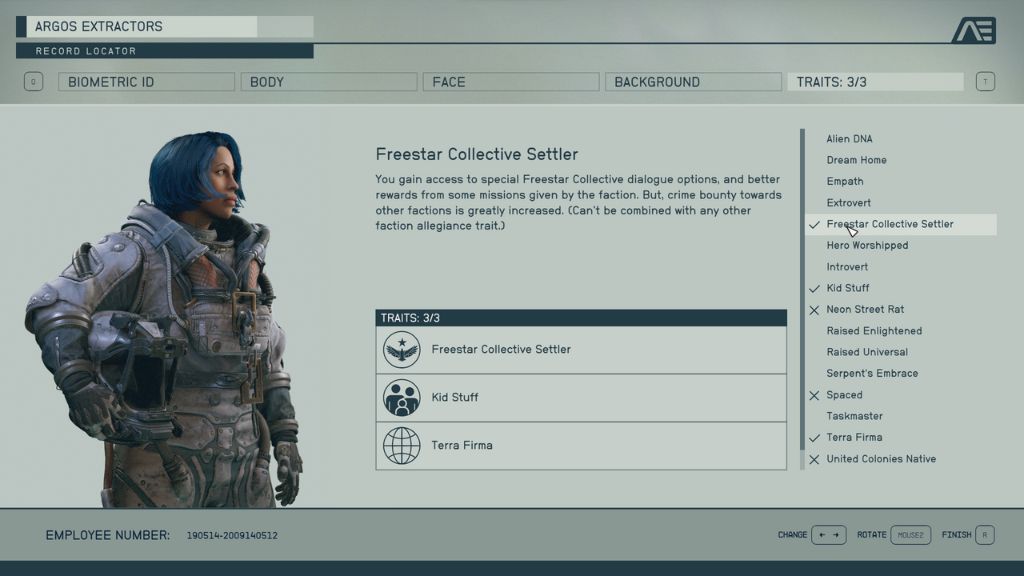
One the Character Creation screen, you can create your character, starting with a biometric ID and altering the body and facial characteristics. You will also be able to pick a character background and three traits. I picked the Bounty Hunter background, universally considered the best in Starfield (I think), as it comes with Piloting, Targeting Control System, and Boost Pack Training as starting skills (my second option was Diplomat).
I also picked up the Kid Stuff (more RP), Terra Firma (you spend quite a lot of time on planets), and Freestar Collective Settler (felt like the right faction) Traits here. Once you are done, Lin will talk about your background and ask if you remember anything about what happened in the tunnel.
It’s now time to meet the client.
Another tutorial prompt will teach you to switch between 1st and 3rd person view using the Mouse3 button (aka the middle wheel) . On Xbox you can press the view button.
Follow Lin
Before you follow Lin to meet the client interested in the Strange Object, you can wander around the base and loot some useful items. You can pick a Med Pack next to the bed where you woke up. Examining the lockers will get you a Credstick with 136 credits and some random items.
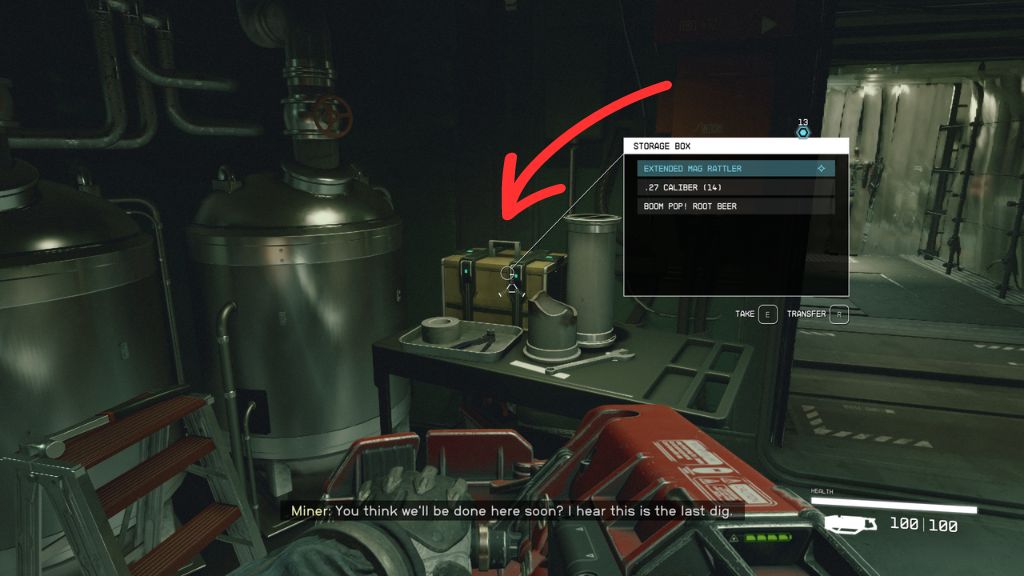
You can also find a Storage Box on the stool on the left side of the door that leads you to Lin and Heller. The Storage Box contained an Extended Mag Rattler, .27 Caliber (x14), and Boom Pop! Roobt Beer for me.
You can also pick a Space Undersuit (inside a briefcase), a second Med Pack, a Digipick, and some snacks from the lockers in the room with the bathroom and toilets. Inside the bath, you can find an Injector that cures status afflictions.
There are also some notes you can collect here before you follow Lin:
- On Space Mining
- Supervisor’s Log #1
- Supervisor’s Log #2
- Heller’s Personal Log #1
- Heller’s Personal Log #2
The four logs will reveal Heller’s and Lin’s thoughts on the operation Vectera while also revealing the client’s name.
On Space Mining
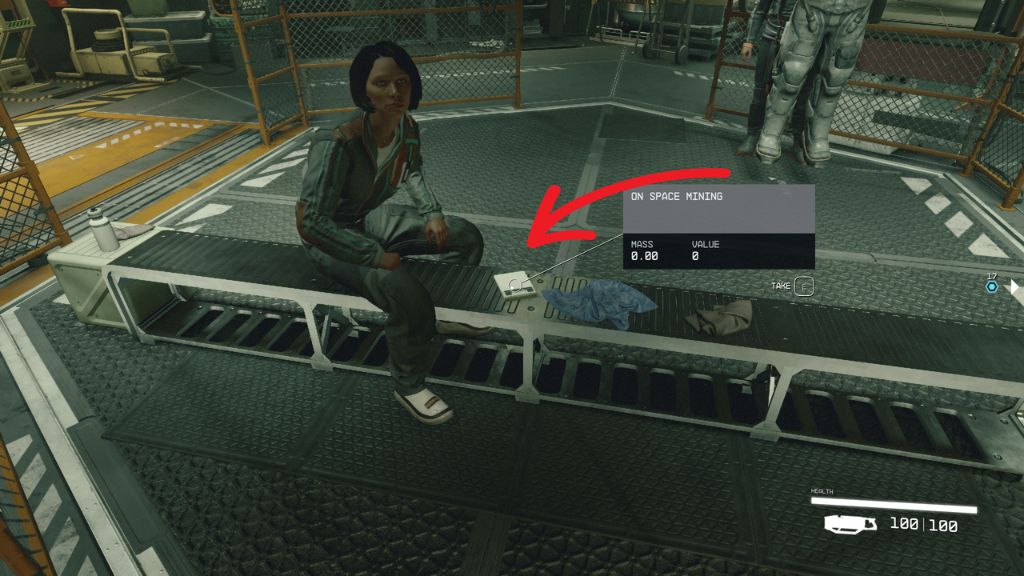
This log can be looted from the bench inside the cage in the first room of the base, next to a female miner sitting.
This is a quite useful log as it warns you about the CO2 buildup in your respirator. You should always ensure that the CO2 meter does not turn red, as you will receive health damage.
Supervisor’s Log #1
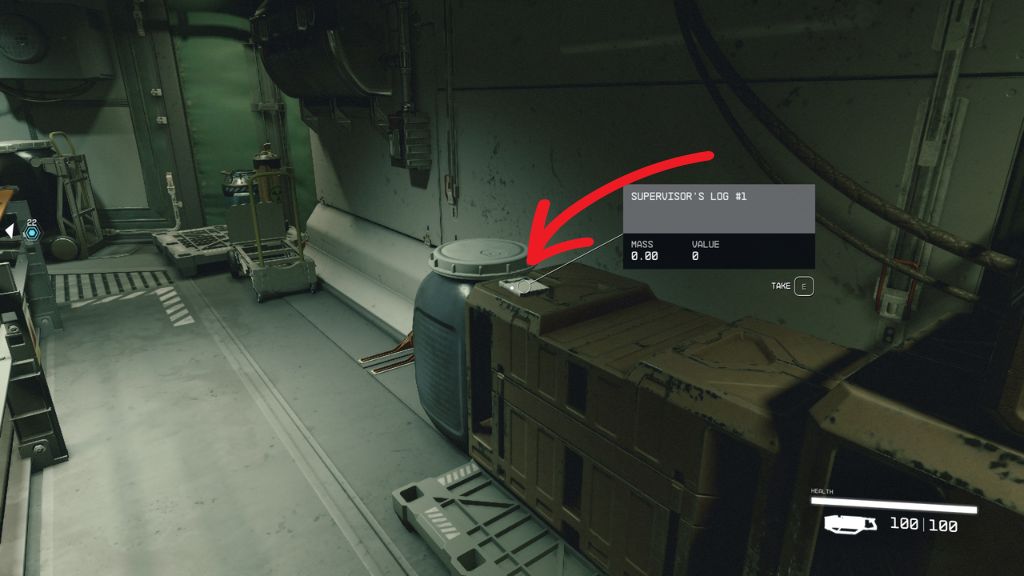
Supervisor’s Log #1 is in the room to the right on a yellow crate in the back end.
Heller’s Personal Log #1
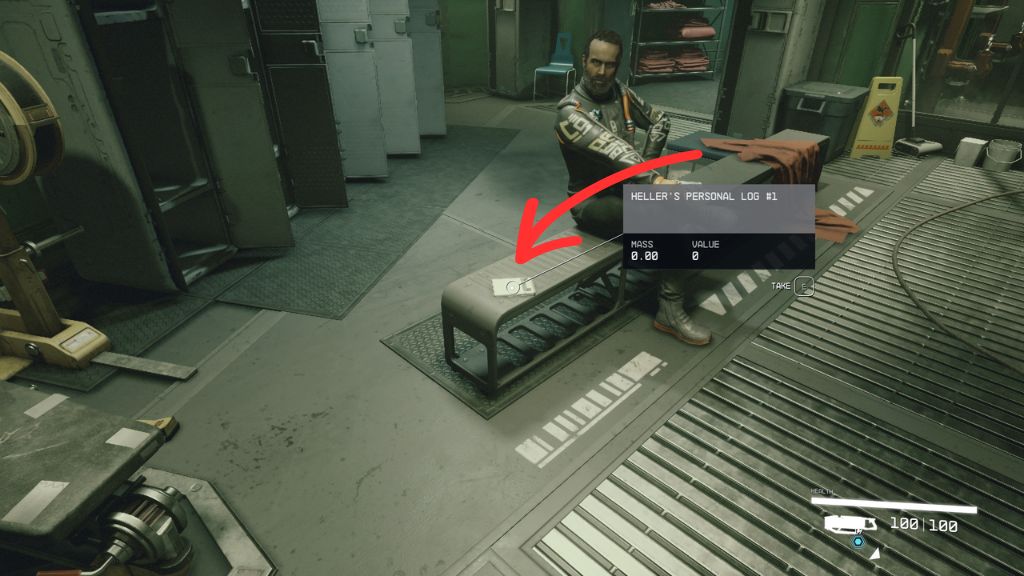
Head to the room on the opposite side to find Heller’s Personal Log #1 on another bench next to a male sitting miner this time.
Books
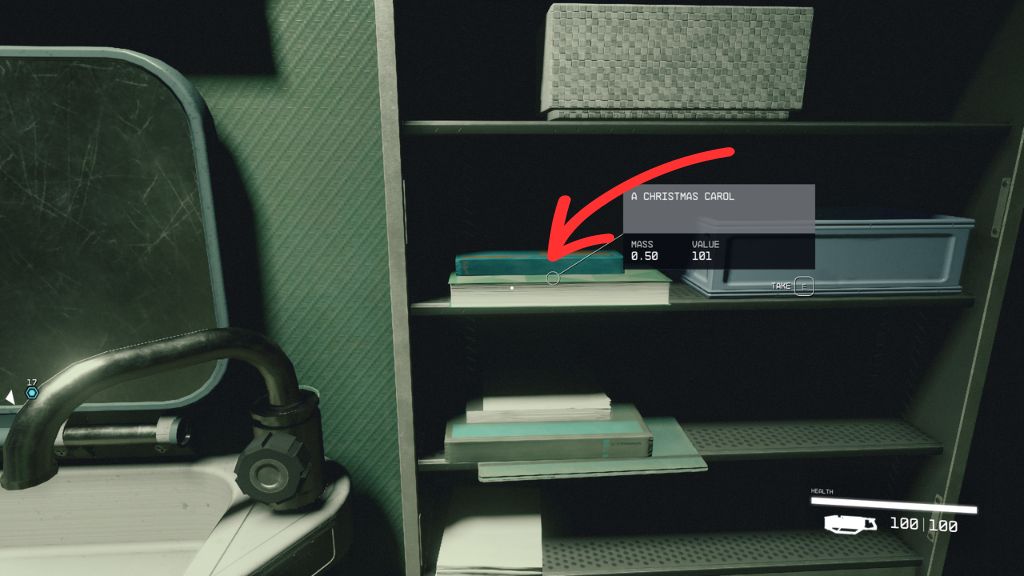
Head into the toilet behind the “Out of Order” door to pick up some books, which you can sell for a decent amount of Credit. The books vary depending on playthrough (for instance, I got Christmas Carol). If you find Oliver Twist, you can start an activity to find the London Landmark on Earth and acquire a Collectible.
You can now return to the room where you woke up on the Quarantine table. Look for the orange door and the switch that opens it.

Heller’s Personal Log #2
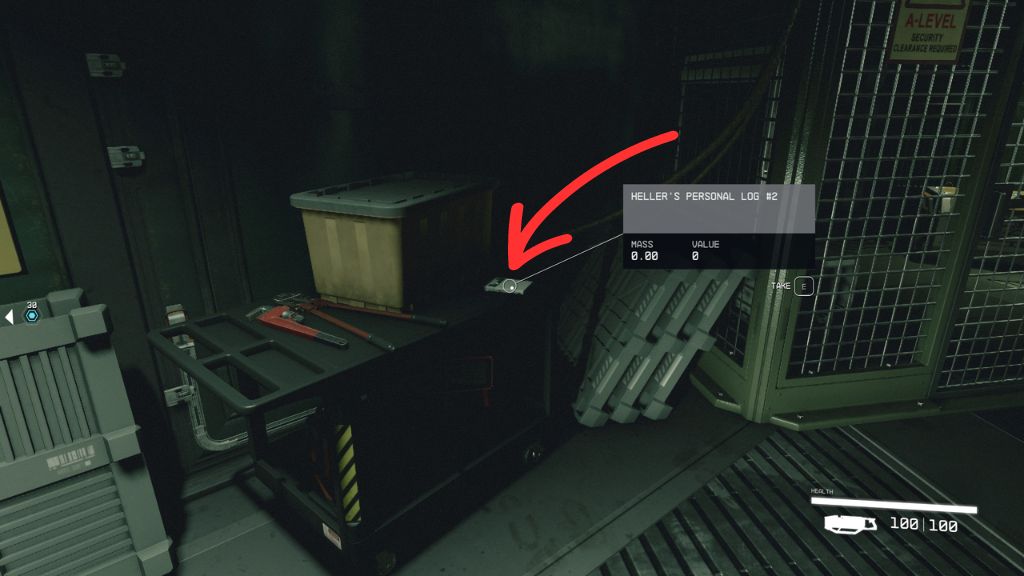
Activate the switch to open the door. Heller’s Personal Log #2 is on a stool with tools on the left side of the room.
You will also find an elevator that takes you back to the mines, a cage door that requires a Master level to unlock, and a Storage Box at the back left corner of the room. For me, it contained Sedative (x3) and Sealant (x4). Both are organic sources that can be used for crafting.
It’s now time to join Lin and Heller and loot Supervisor Log #2 in the process.
Note: You can use the elevator to head down to the mining area and loot any Beryllium deposits you may have missed.
Supervisor Log #2
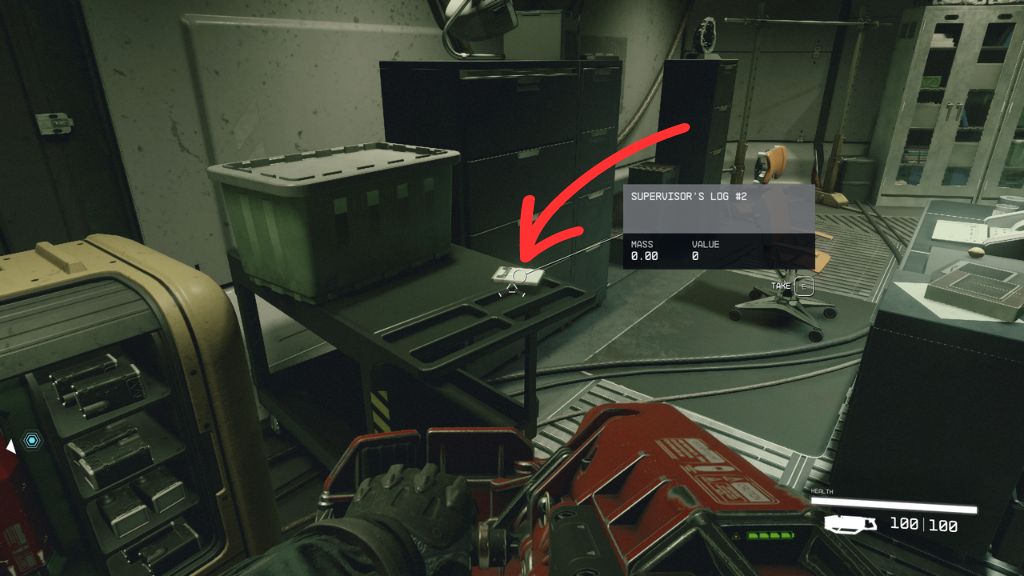
Supervisor’s Log #2 can be found on a stool behind a desk on the right side of the room before the airlock. You can also grab a second cutter from the Cutter Crater here.
Let’s move on to the next objective.
Equip a Helmet

Lin will tell you to wear a helmet as you are about to exit the facility. Press the Menu button on Xbox and use the Inventory dot to open your inventory. Press “I” on PC to go straight to your inventory.
Equip your Deep Mining Space Helmet, and you are ready to go out!
Follow Lin
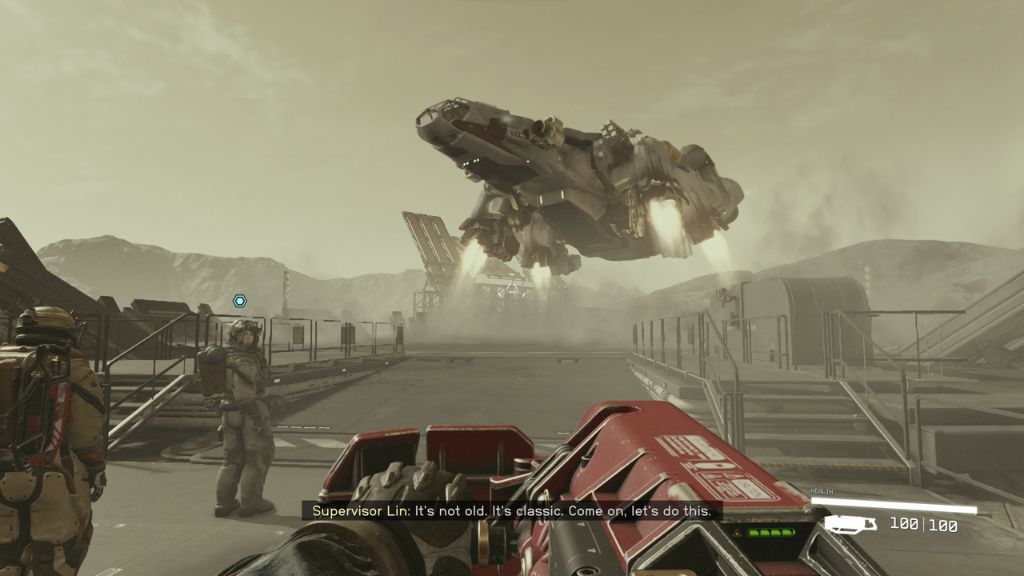
Once you exit, follow Supervisor Lin toward the right side of the base, where a Spaceship will land on the landing pad.
Meet With the Client
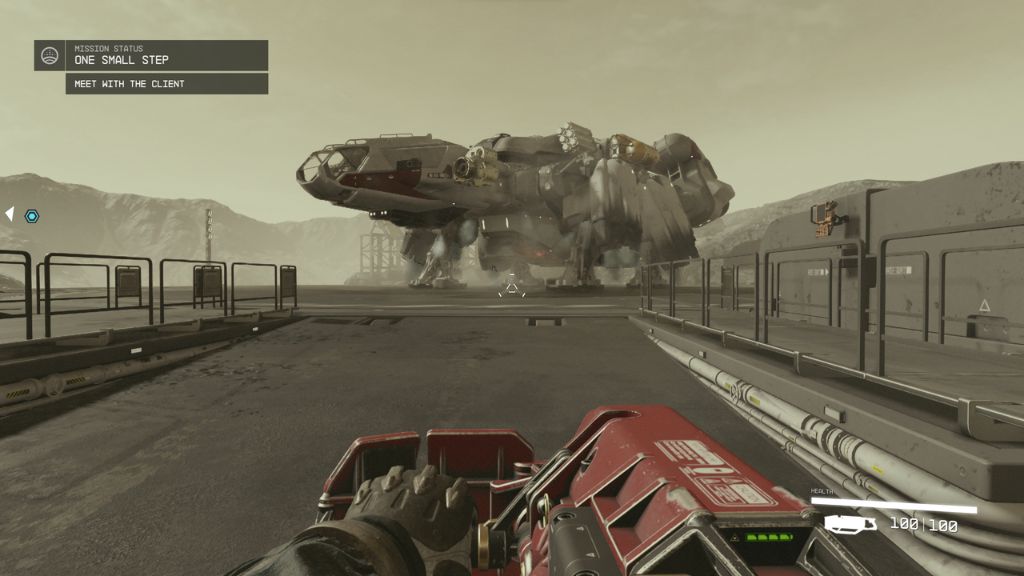
This is where you meet Barrett, the mysterious client. You can talk to Barrett about what you experienced when you extracted the Strange Object. The conversation won’t last long, as Vasco, Barrett’s assistant robot, will inform you that he detected a ship approaching.
Hold Off the Pirates
- Optional (Grab a Weapon)
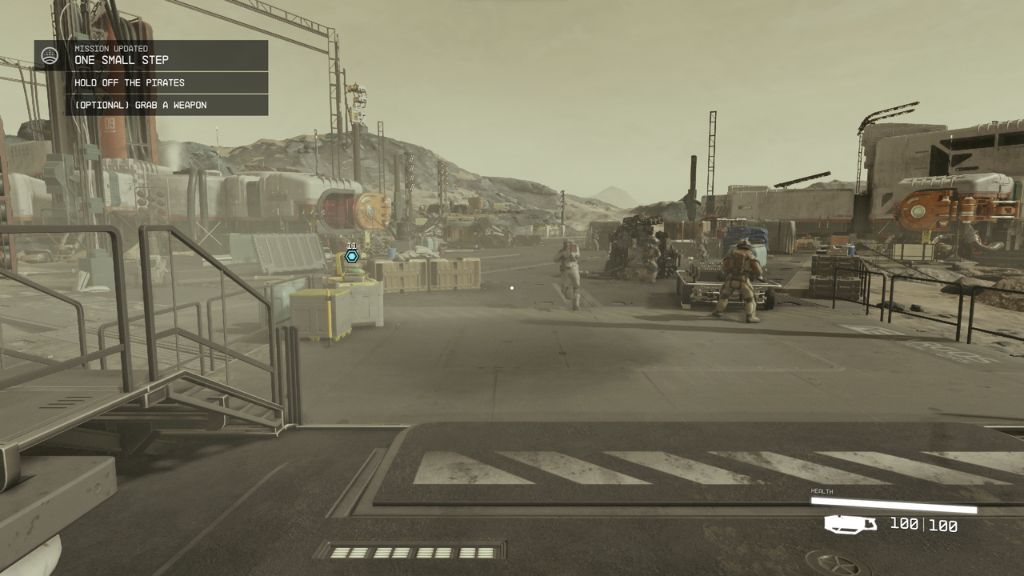
A Crimson Fleet ship will appear and land on the facility’s launchpad. You can grab a weapon (an Eon semi-automatic pistol) and 7.77MM Caseless ammo (x103) from a Weapon Case as you head down the ramp to encounter and hold off the invading pirates. You will also find a First Aid kit next to the case, which you can loot for an extra Med Pack.
You will encounter 6 Pirates coming out of the ship. The fight is quite easy, but you should initially take cover behind the crates and use your M2 button (RT on Xbox) to aim and shoot with M1 (LT on Xbox). You can switch to the cutter if you get close to the pirates to same some ammo or get some headshots with your gun.
Once you make quick work of the pirates, loot the Pirates‘ and any Miners‘ bodies and talk to Barrett.
Talk to Barrett
Barrett will congratulate you on your work against the pirates and tell you that you are a part of this now that you’ve seen the Artifact. There are dialogue options to learn more about Constellation, the Artifact, and the Crimson Fleet.
Barrett and Lin agree that he will take your place in Argos Extractors while you take his ship, the Frontier, and Vasco, and head to the Lodge. He will also give you his watch, which can be used for navigation, fast travel, planet scanning, and atmospheric condition checks. It can even tell the time!
Board the Ship
It’s about time to leave Vectera. As you enter the Frontier, you can loot a First Aid for a Med Pack and a Pharmaceutical Kit for a Synapse Alpha.
Interact with the ladder (“E” on PC, “A” on Xbox) to board the Frontier.
Exploring the Frontier
Inside the ship, you can find Barret’s three personal slates:
- Barrett – Personal Slate 1
- Barrett – Personal Slate 2
- Barrett – Personal Slate 3
Barrett – Personal Slate 2
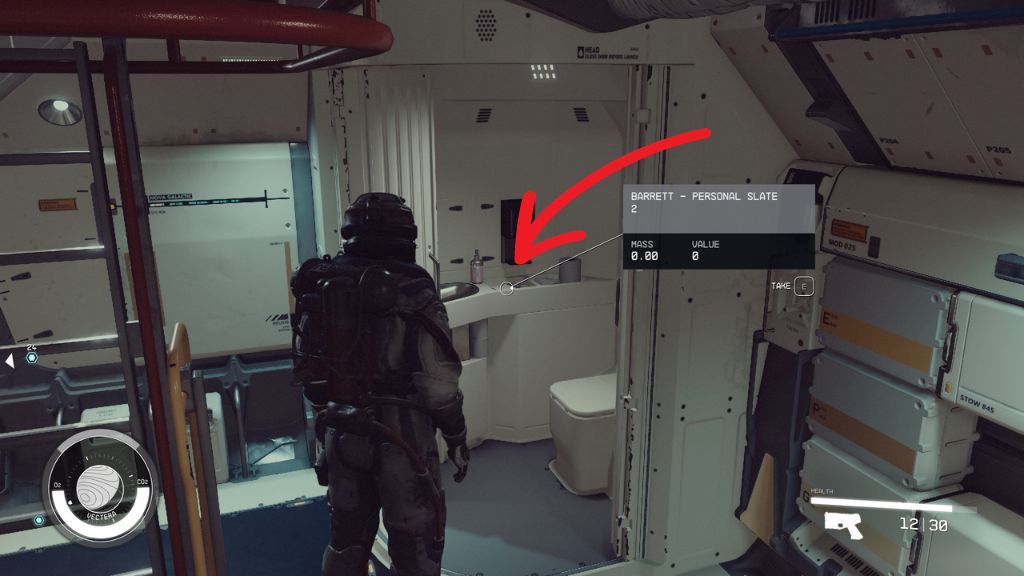
Open the door behind the ladder to access the ship’s toilet. Inside it, you will find Barret – Personal Slate 2. Exit the toilet and head towards the objective mark.
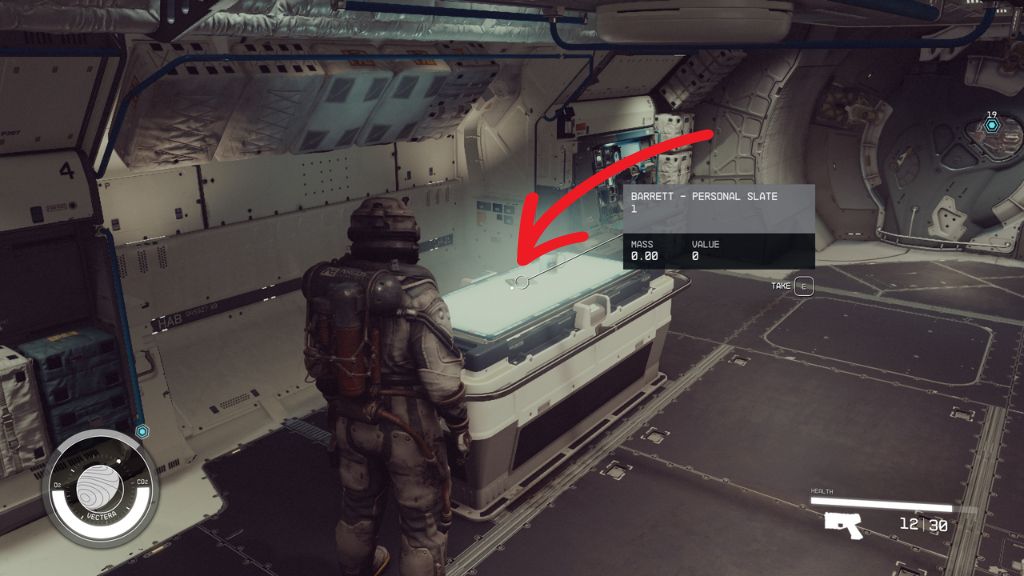
Barrett – Personal Slate 1
You will find Barrett – Personal Slate 1 on a Navigation Console, next to a Nova Galactic Coffee Mug on the ship’s left side.
You will also find a Research Station on this side of the ship. Using the Research Station, you can complete research projects. You will see yellow banners next to projects you have materials for. You can invest materials in the project even if you don’t have all of them to make progress on them.
Barrett – Personal Slate 3
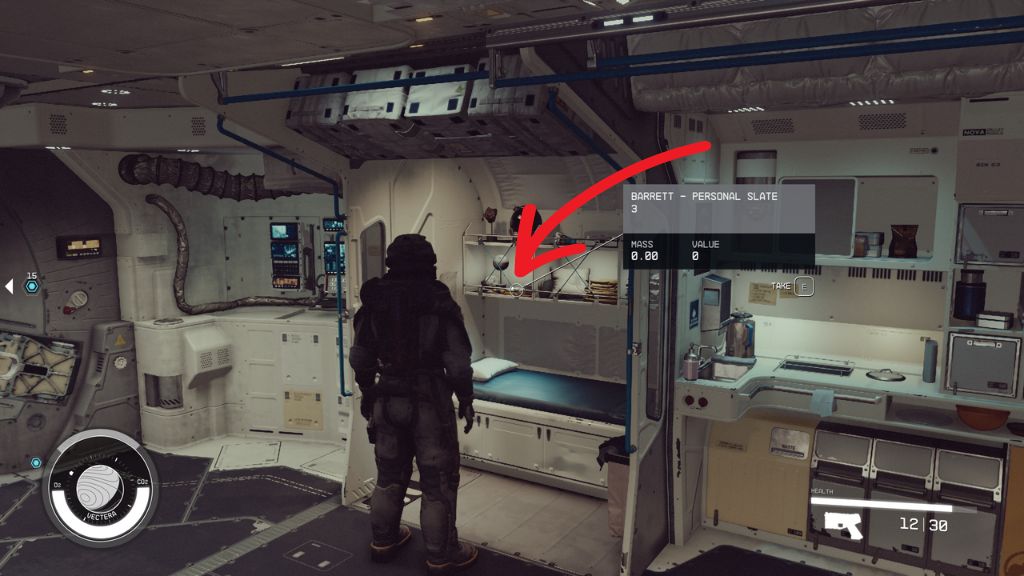
You will find a Bed and a Galley on the ship’s right side. You can use the Galley to craft meals, while you will find Barret – Personal Slate 3 at the bottom left self above the Bed.
Next, open the hatch to head to the ship’s cockpit.
Note: You can use the Frontier’s Cargo Hold, located on the left side behind the Pilot Seat to transfer items back and forth from your inventory. Carrying less weight will reduce your oxygen consumption when you walk around.
Interact with the Pilot Seat to sit on it and initiate your take-off from Vectera.
Take Off From Vectera
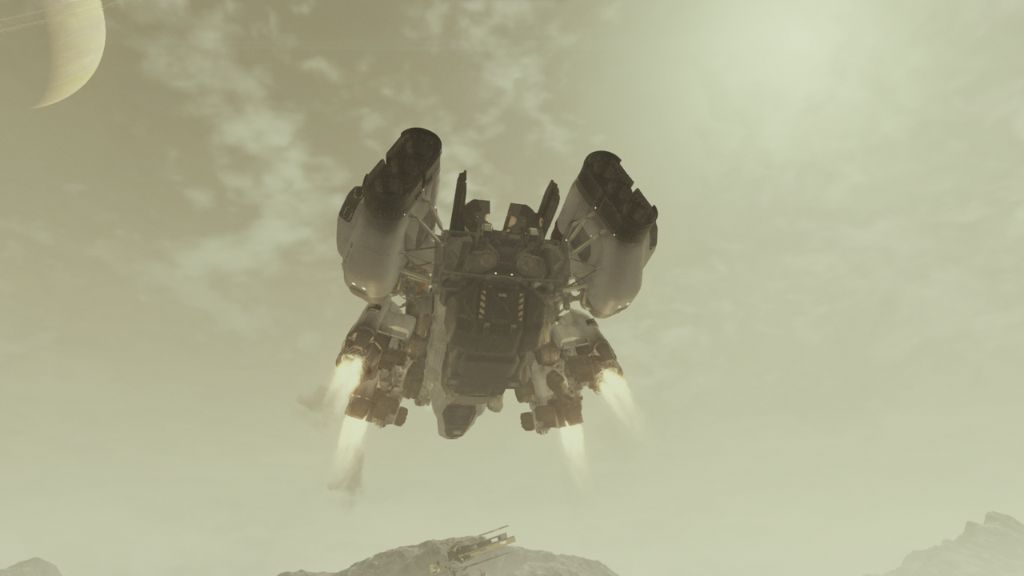
Once you sit on the Pilot Seat, a menu will pop up. Pressing X will exit the ship, pressing and holding Space will cause it to take off, and pressing E will get you up from the seat.
Press and hold Space to take off and leave Vectera.
Learn to Fly (Optional)
Vasco will explain how power is allocated to the ship’s different systems while flying. Vasco recommends keeping the bar on the left side of the HUD (Speed gauge) in the middle to find the sweet spot for turning the ship.
Deal With the Crimson Fleet
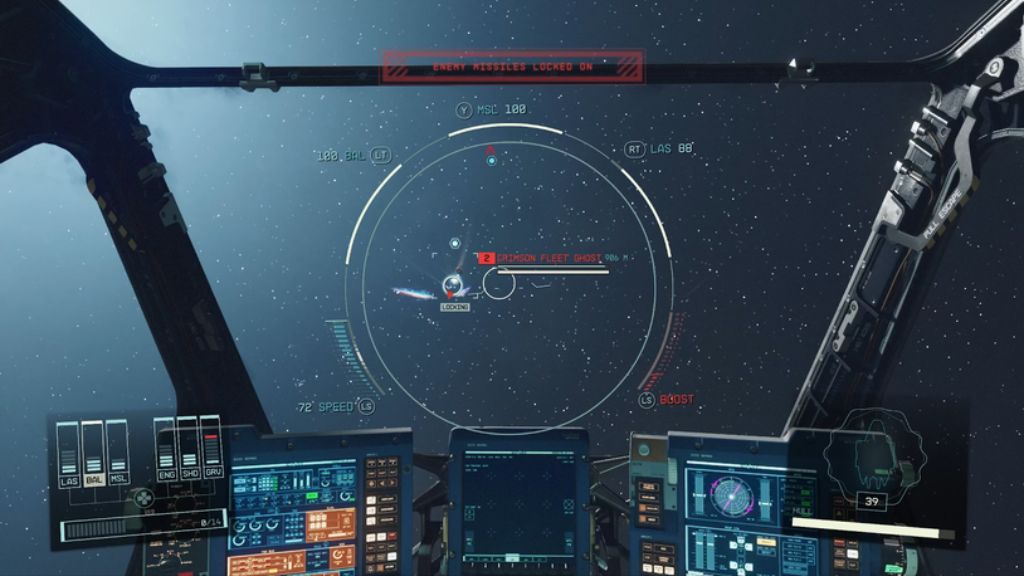
During the tutorial, a Crimson Fleet spaceship will appear. You must use your lasers to take down its shield and then use the ballistic weapons and missiles to destroy it. You can then approach the shipwreck and press “E” (“A” on Xbox) to loot it.
Two more Crimson Fleet Ghosts will appear once you take down the first ship. Take those down, too, to reach the next mission objective.
Vasco will advise you to take down the local Crimson Fleet Captain in the same star system, as Crimson Fleet activity is high in the area, and you will keep getting attacked.
Travel to Kreet
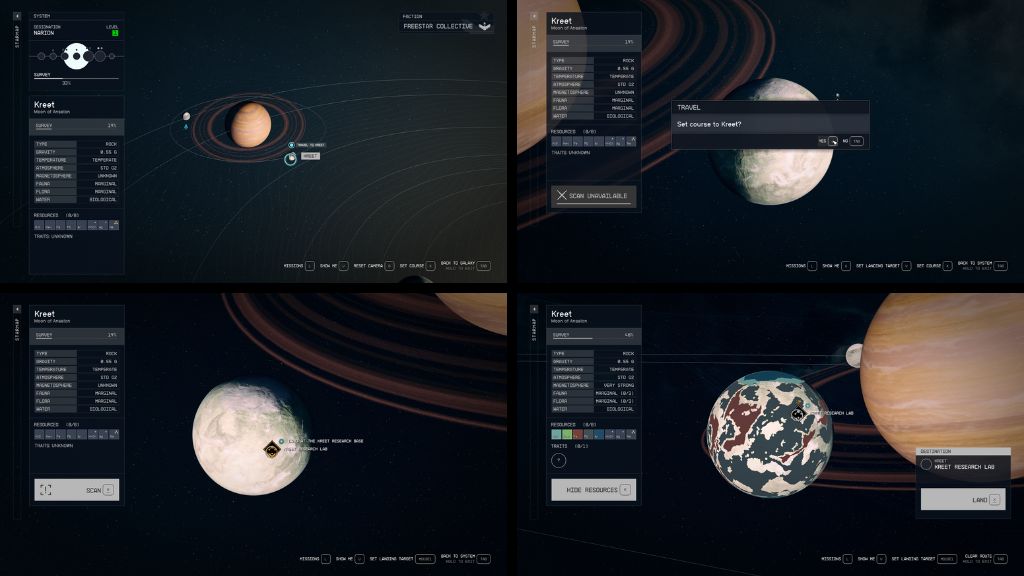
Open your star map and set the course to Kreet, a moon of Anselon in the Narion system. Press “E” (“A” on Xbox) to set the course to Kreet. Then hold down X to fast travel to it.
Once you fast-travel to Kreet, open the Starmap once again. Rotate the planet until you find Kreet Research Lab. Press “M1” (“LT” on Xbox) to select it as a landing location. Then press and hold “X” to land.
Deal with the Crimson Fleet Captain
Landing at Kreet Research Base
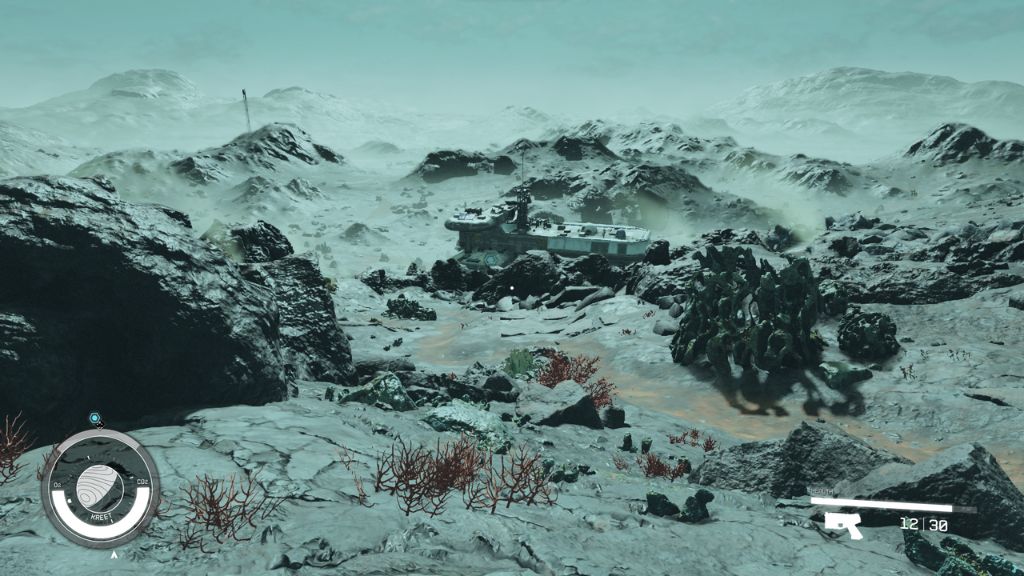
The abandoned Kreet Research Lab is located southwest of your landing spot in Kreet. You can use your scanner by pressing “F” to start scanning the area for minerals and scan the creatures you encounter.
Note: You can use your Cutter to stock up with minerals like Lead, Silver, and Iron before you enter the Kreet Research Lab abandoned facility.
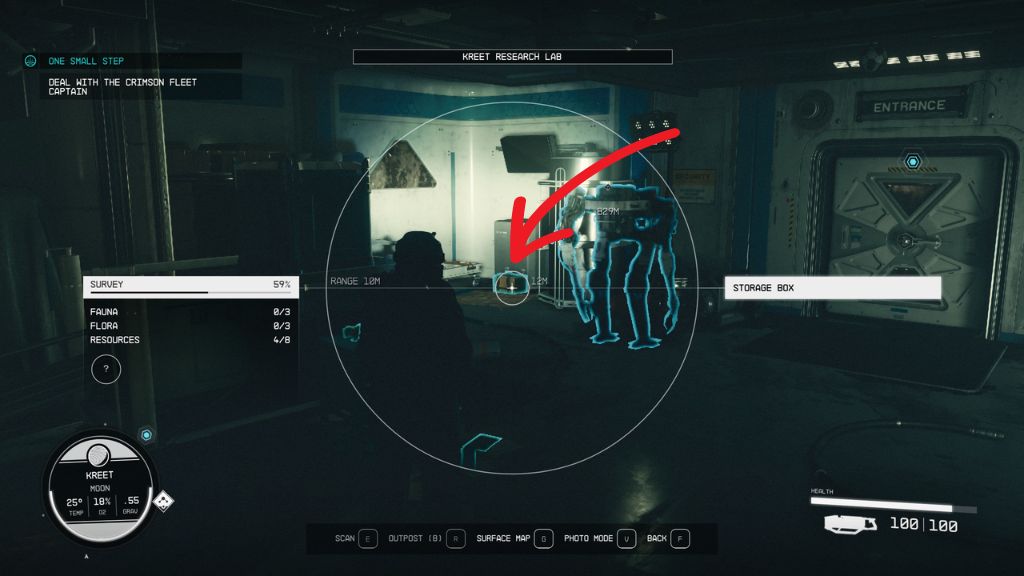
Kreet Research Lab Exterior
Upon entering the external side of the facility’s entrance, check the back end of the left side of the room for a Storage Box (I found a Bom Pop! Reactor inside it). You will also find a First Aid Medical Kit with a Med Pack on the right side of the entrance to the next area.
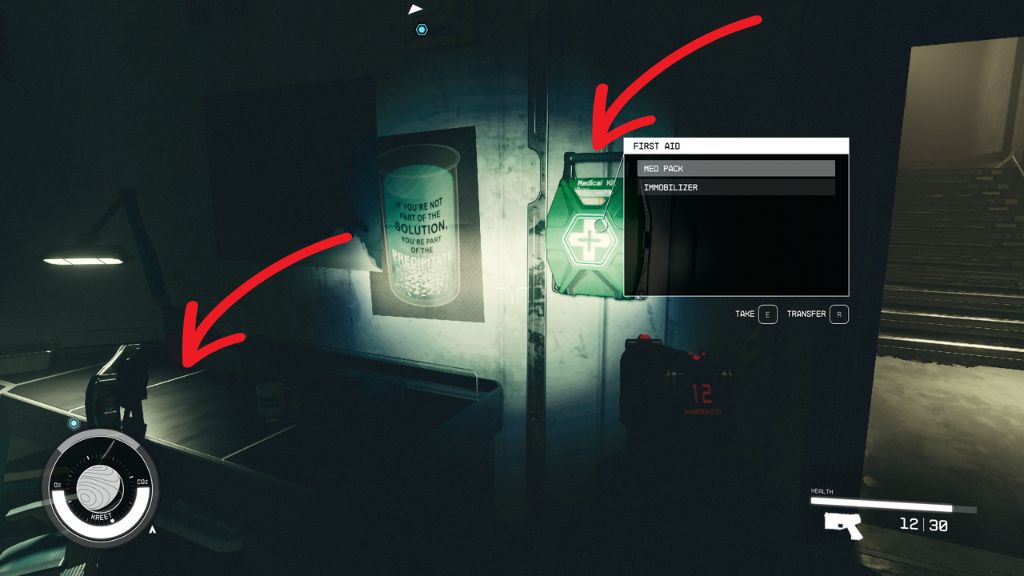
Entering the Facility
Once you are in, take the stairs to the left in front of you to reach a room where you can loot Digipicks and a Credistick from the desk next to the Medical Aid kit with a Med Pack and an Immobilizer right before the next staircase to the next room
Once you reach the next room,you will find the Storage 01 and Storage 02 rooms and a door to the Kitchen.
Storage Area
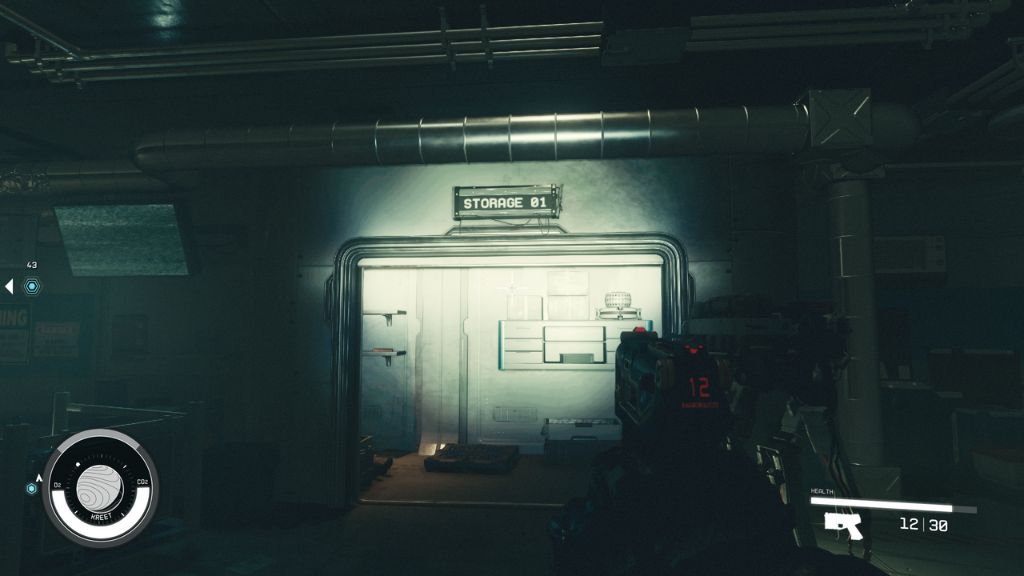
The Storage 01 room contains the body of a scientist (you can loot it for a Digipick) and a Storage Box with 136 Credits.
Kitchen
Pirates’s voices will start reaching your ears here, so be on high alert. Check the Storage room on the left side of the entrance for a Pharmaceutical Kit (AMP) and a Medical Kit (Med Pack).
Now head to the Cafeteria area, where you will fight the first three enemy Pirates.
Cafeteria
Beware of the melee Pirate that will come at you with an axe. The other two carrying guns are easy to take down with your gun, and you can use the Cutter to take down the melee one. Next, head to the Living quarters.
Living Quarters: Living 01
Climb up the stairs and head to Living 01. On the left side of the room, you will find a Computer with Wynn’s notes (something went really wrong in this facility) and a First Aid kit.
Check all the lockers and use your Digipicks to open the Safe (Novice Level) in the third room, looking from left to right (the one with the dartboard).
Leave the Living 01 area and head to the break room.
Living Quarters: Break Room
On the left side of the Break Room, you can loot a Weapon Rack for some firearms and an Ammo Case. Exit the Break Room and head to Lab 01. Loot the Ammo Case and the Medical Kit on the left side of the entrance before you enter.
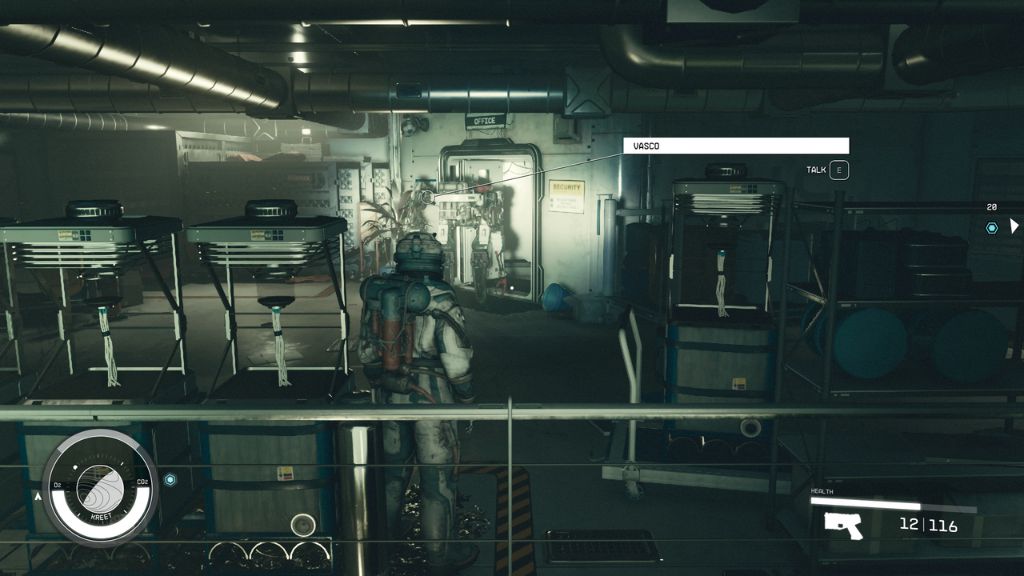
Lab 01 Room
You must take down several Pirateson the ground and top floor. Make sure to loot all of them along with the bodies of Scientists. Check the Office room on the right side before the stairs for a Computer and a Weapon Case.
Head up the stairs and go to your left to find Research 01 on your left.
Research 01 Room
Loot the First Aid kit on the right side next to the door as you enter and the Weapon Case on the left side of the room on a desk. Exit the room back to Lab 01 and head to your left. You will find a room the Pharmaceutical Lab straight ahead, while the door to Research 02 is to your left.
Research 02 Room
Once you enter Research 02, loot the Med Kit on the wall to your right. Get ready to fight four pirates here. Once you get rid of them, you can unlock the door to Testing 01, which requires Novice level lockpicking.
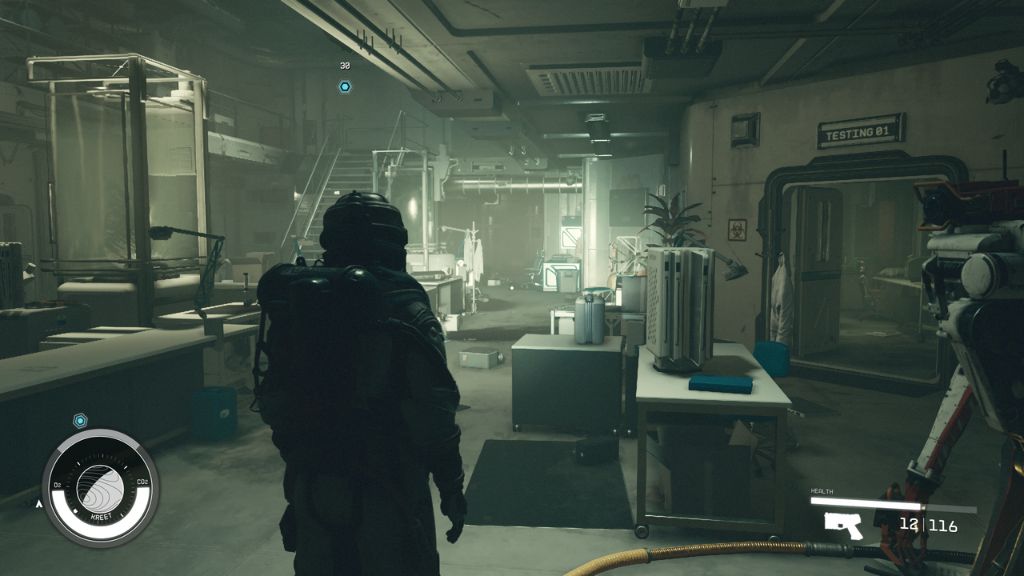
Testing 01 Room
Inside Testing 01, you will find Haydn Wynn’s Project Terminal with more files about the lab’s work. Open the Safe (Novice) for 480 Credits and a Synapse Alpha. You will also find an Ammo Case and a Credistick beside the safe.
Lab 01, Lab 02, Research 01, and Research 02 Rooms inside Research 02
You will find a Storage Box in the Research 02 room and a Toxin in Lab 01. The rest of the items in these four rooms aren’t noteworthy.
Whenever you are ready, head up the stairs.
Office Room in Research 02 (Second Floor)
Enter the Office room on the second floor to find the body of Hayden Wynn. Loot it for two Digipicks and grab the Creditstick (159 Credits) from the desk.
Dr. Wynn Emergency Slate 1
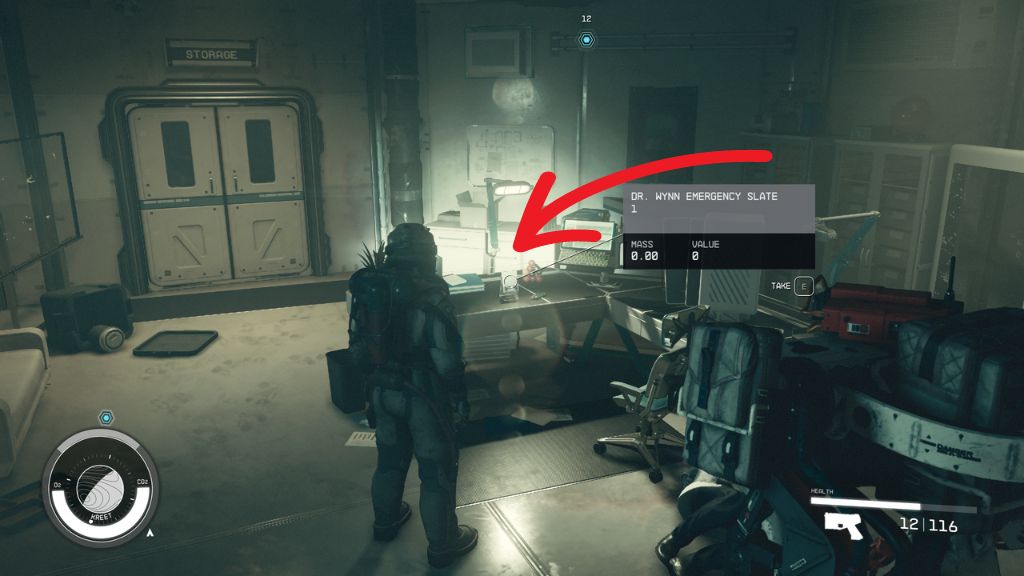
You will also find Dr. Wynn Emergency Slate 1 on the desk. Now head to the Storage Room, where you can unlock the Safe with an AMP. This is also an optional mission objective.
Dr. Wynn Emergency Slate 2
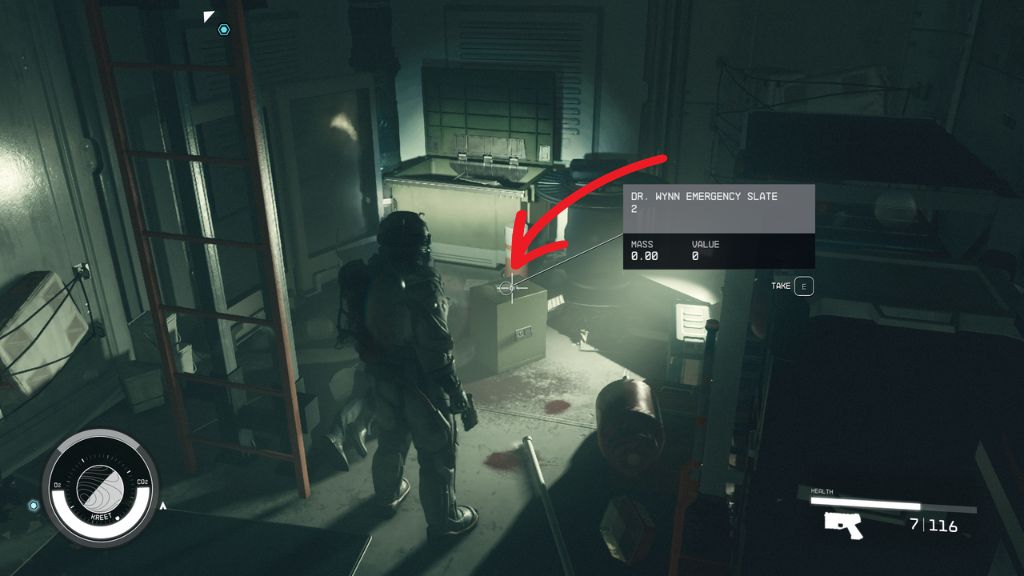
Before climbing up the ladder, you can loot Dr.Wynn Emergency Slate 2, which sits atop the safe.
Storage Room: (Optional) Unlock the Safe
You may have to waste some Digipicks to open the Safe. The lockpicking minigame in Starfield is quite atrocious, so you must first rotate all four “teeth” to see if they match the holes in the rings. This is quite random; if they don’t, you will just waste a Digipick. Note that you don’t have to possess four Digipicks to have a go at the safe.
Each Digpick is essentially just a try in the minigame. However, the shapes you will be handled are pretty random, and they may not even fit the holes in the rings (unless I did something wrong in several attempts).
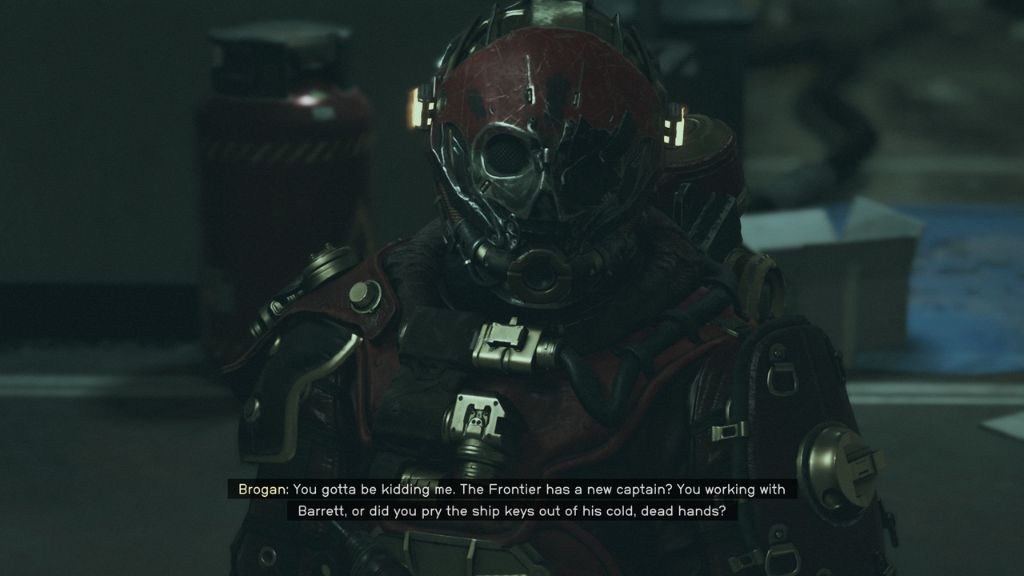
Roof Access: Dealing with the Crimson Fleet Captain
Climb up the ladder to get to the roof. Before you exit the facility, loot the First Aid and Pharmaceutical Kit. Don’t forget to loot the Science Crate. It’s a good time to trade items with Vasco if you are encumbered, as you will encounter the Crimson Flee Captain next.
You can use Persuasion to avoid a fight here, but it is best to take down the enemies and obtain their loot. They are the bad guys after all, so brace for combat.
Return to the Ship
Once you defeat Borgan, the Crimson Flee Captain, quickly finish the remaining pirates. Now press “M” to open your Starmap and fast travel to the ship by pressing “R.”
Grav Jump to Jemison
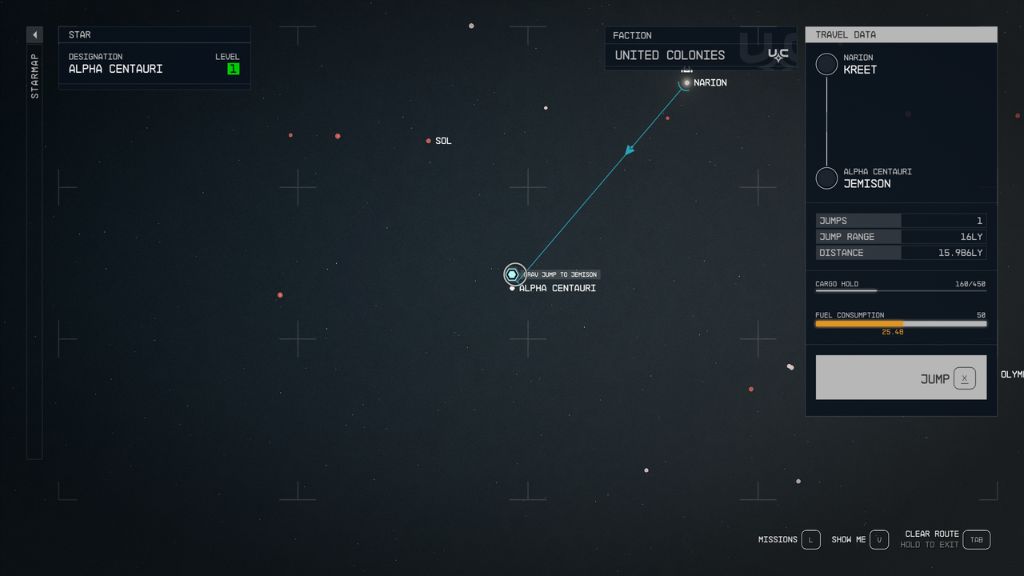
Once on the ship, press “TAB” and head to the Missions menu. Find A Small Step and select it. Select the objective Grav Jump to Jemison. This will take you to the Alpha Centauri system on the map. Select the objective marker and press “X” to set your route. Now hold “X” to Grav Jump to Alpha Centauri.
Land at New Atlantis
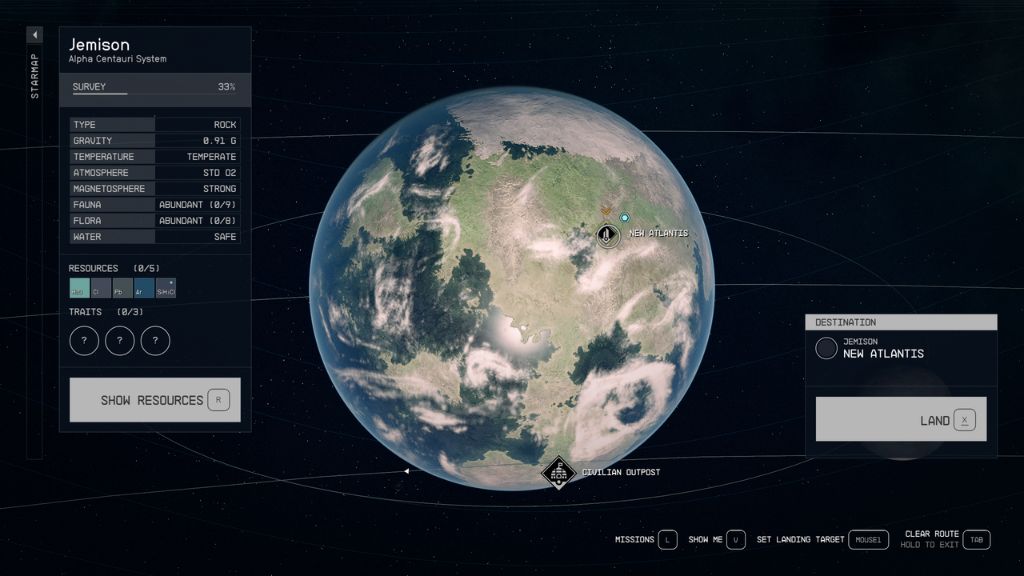
Once you reach Jemison, you will be scanned for Contraband. Wait for the Scan to complete to receive clearance to land at New Atlantis. Select New Atlantis on the map and hold “X” to land.
Go to the Lodge (Mast District)
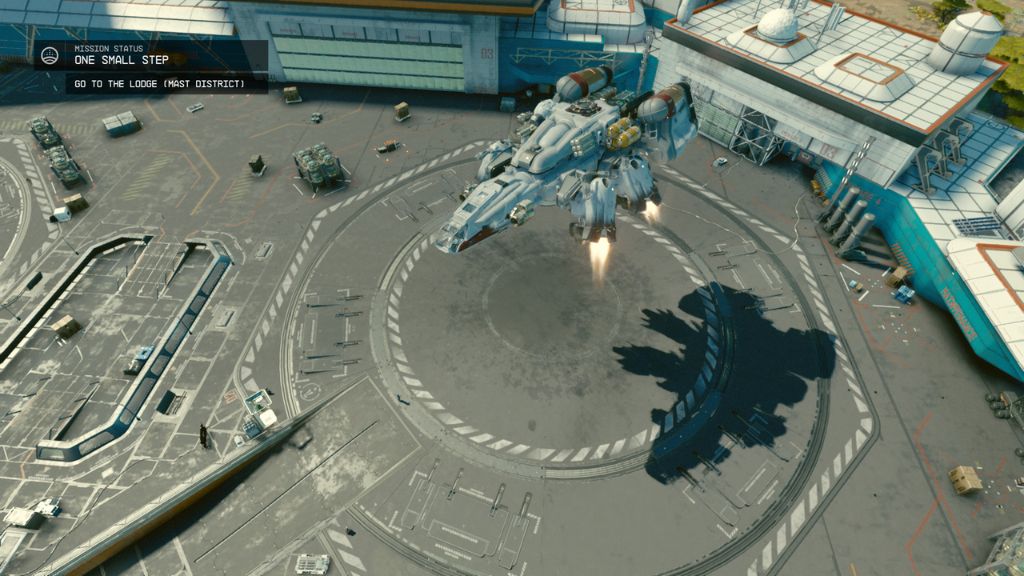
Now, you are ready to head to the Lodge. Before doing so, there are two things you should check.
Optional Activity: Talk to the Ship Services Technician
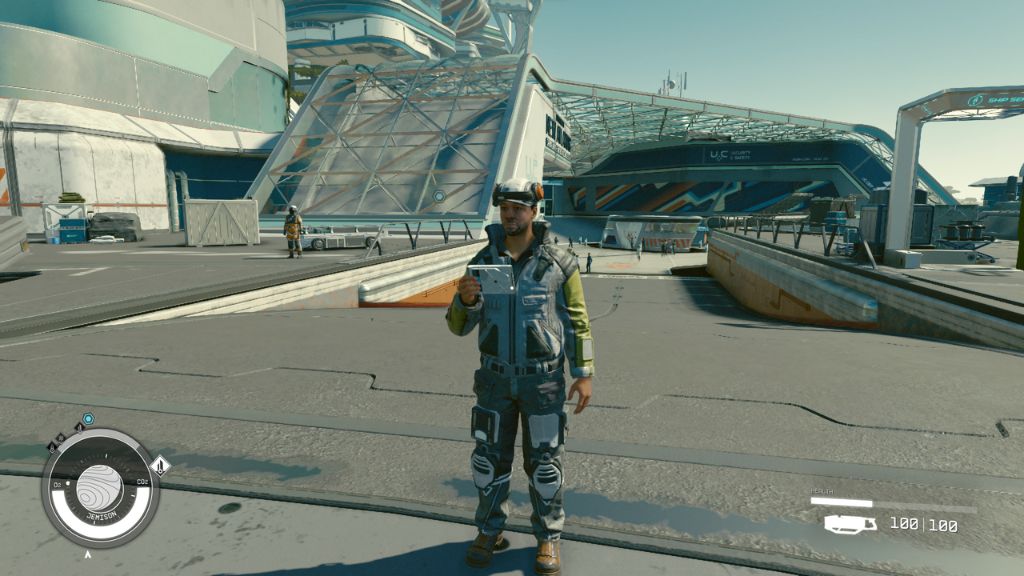
The optional activity to talk to the Ship Services Technician in New Atlantis will pop up as soon as you land. He is right in front of you, just before the ramp. You can talk to Ship Services Technicians around Starfield’s universe to repair, view, modify, buy, and sell ships.
Selling items at Traded Authority Kiosks
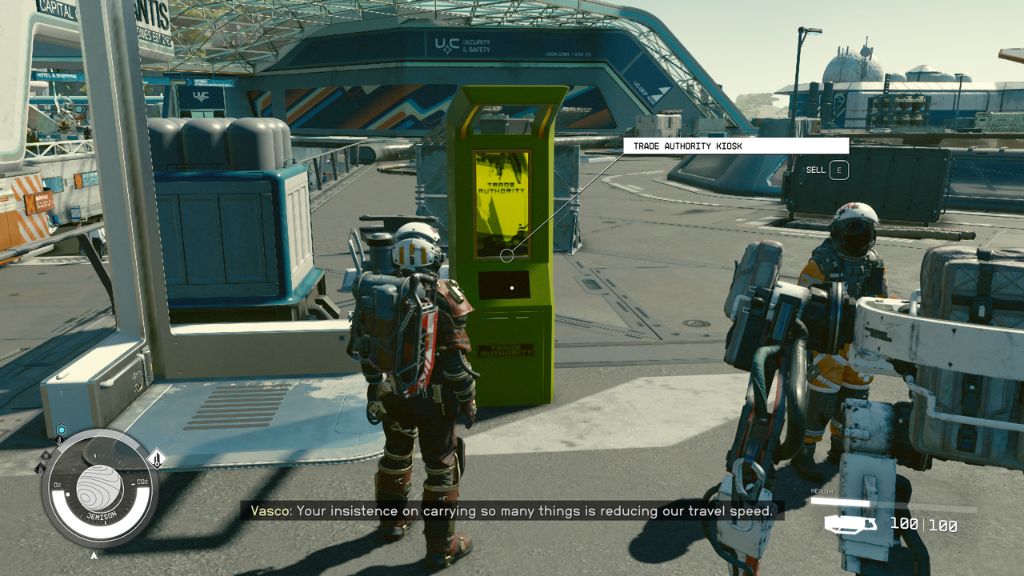
To your right, you will find a Trade Authority Kiosk. There, you can sell your items (especially the miscellaneous junk for credit). Trade Authority Kiosks are located in all the major cities of Starfield.
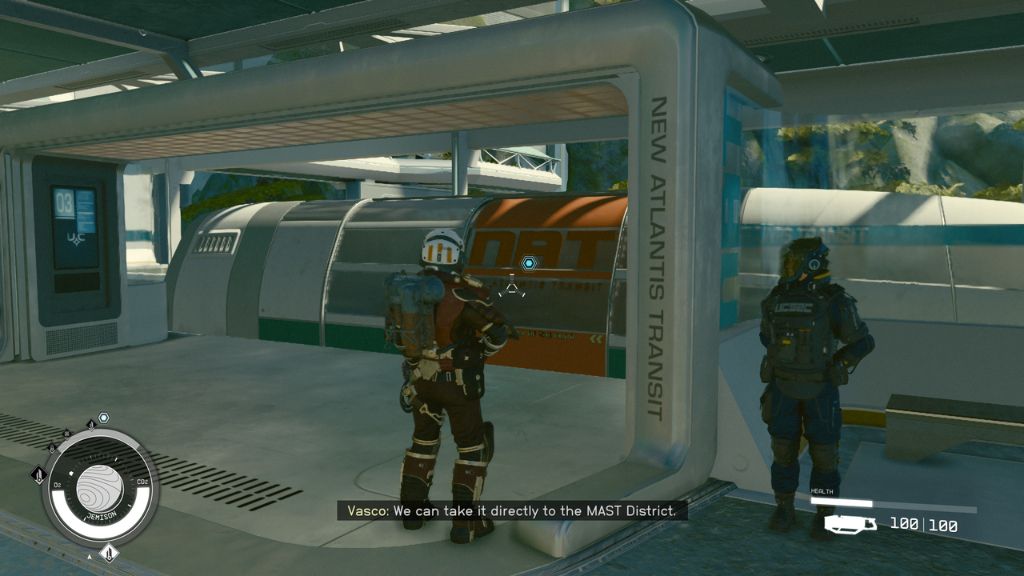
Take the Train to MAST District
Once you are done with these optional tasks, follow the objective marker to find the train you can take to the MAST District of New Atlantis.
Tip: Press “F” to bring up your scanner and focus on the objective marker for a direct path to the location.
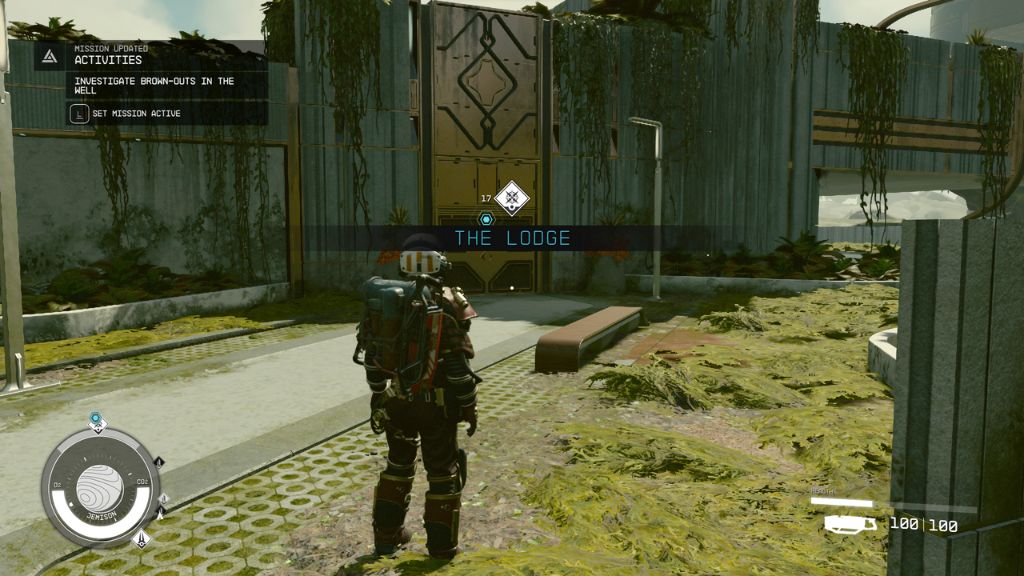
Arriving at the Lodge
Once you exit the train, head up the ramp and through the park to reach The Lodge. Interact with the front door to open it using Barrett’s watch.
Enter the Library
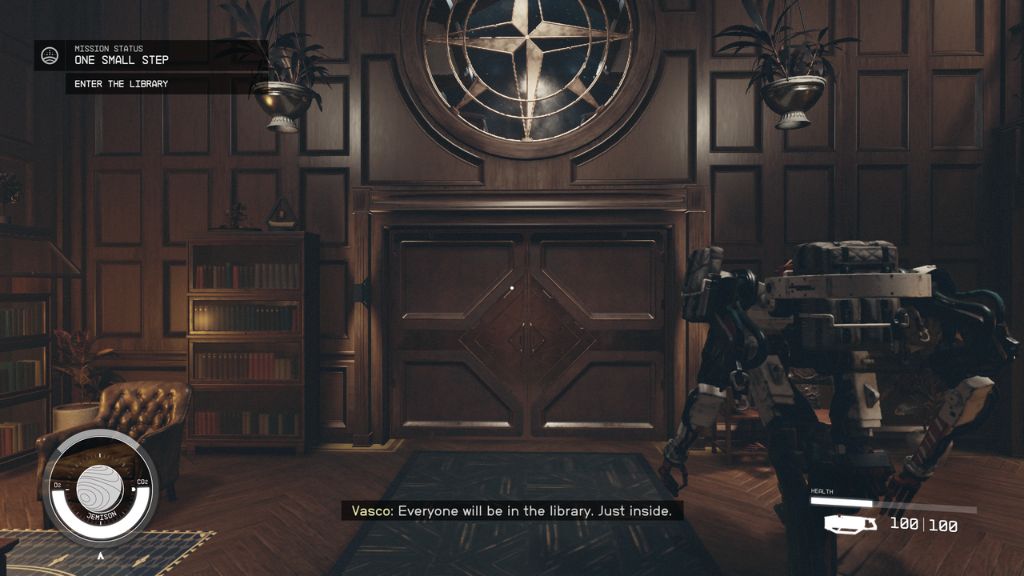
Once past the front door, open the door to the Library. You will find Sarah Morgan, the leader of Constellation, inside, along with Noel, Matteo, and Walter Stroud. Sarah will initiate a conversation as you approach her.
Talk to Sarah
Sarah will want to know why you are at The Lodge and not Barrett. You can ask your questions first and then tell Sarah that Crimson Fleet pirates attacked you on Vectera, and Barrett asked you to deliver the Artifact. Vasco will confirm that everything you said is factual.
Sarah will now ask what you experienced after removing the Artifact.
Listen to the Meeting
Listen to the Constellation members’ discussion and approach them to find Constellation Guide 01, which permanently reduces fall damage by 5%.
Constellation Guide 01
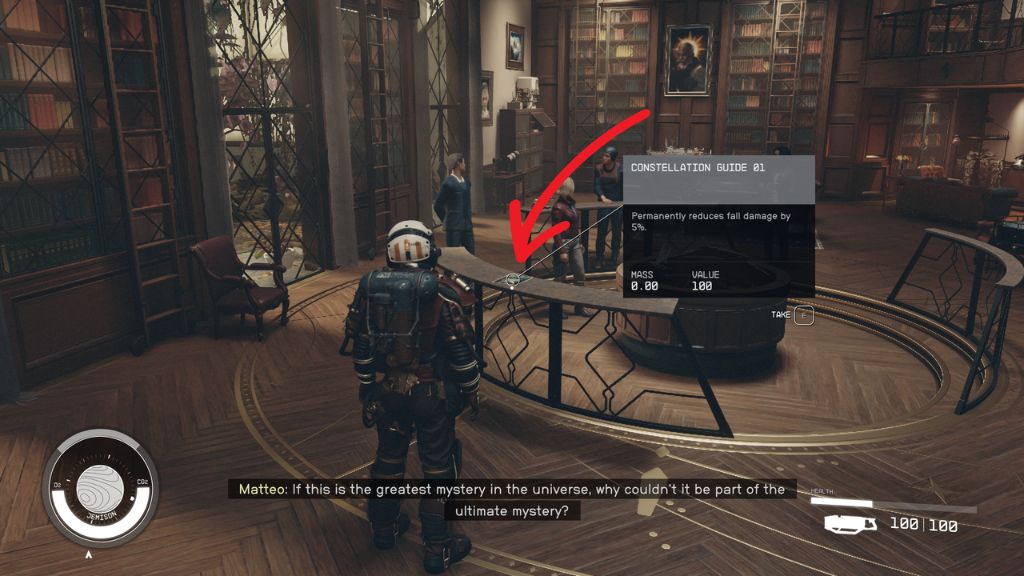
Grab the item from the circular desk right in front of you.
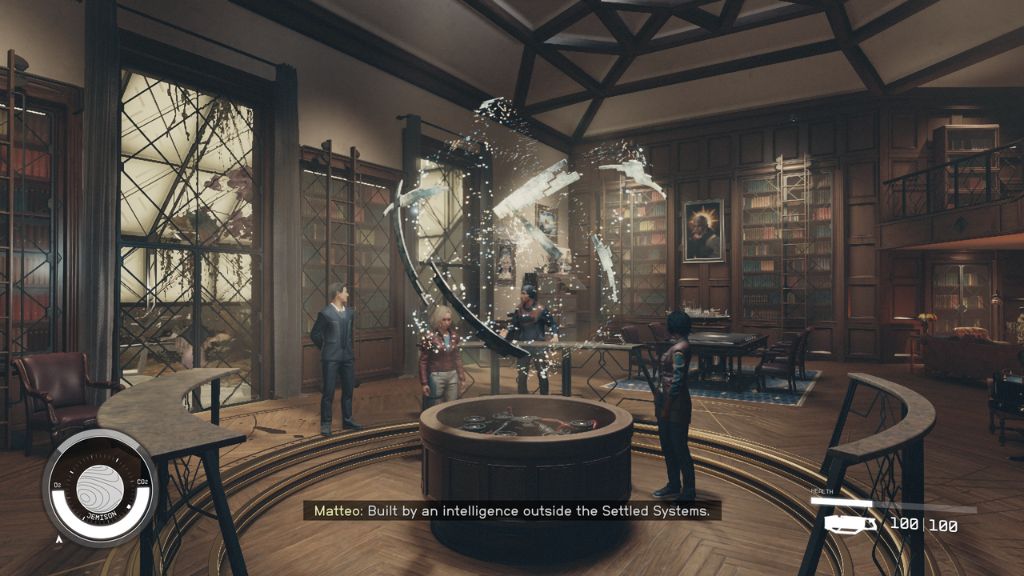
Place the Artifact
Once the discussion is complete, Sarah will ask you to place the artifact on the console in the center of the room. The Artifacts will then begin to move, reacting to newly placed one.
Listen to the Meeting
Listen to the Constellation members talking about their theories until Sarah asks you whether you are ready to get work out and find out whether exploration is the life you want to lead from now on.
Talk to Sarah
You can now ask Sarah more about the Constellation faction and the Artifacts. Eventually, you will have to accept the offer to join Constellation. Once you do, you will have completed A Small Step. You will receive 400 XP, 8000 Credits, a Lodge Key, and a Constellation Pack. With the One Small Step mission completed, you can start the next main quest, The Old Neighborhood.
| Completion Rewards | |||
|---|---|---|---|
| 8000 Credits | Lodge Key | Constellation Pack | 400 XP |

- Sextant Shield Systems 20T Hauler Cargo Hold: Starfield - April 24, 2024
- Sextant Shield Systems 30T Hauler Cargo Hold: Starfield - April 24, 2024
- Sextant Shield Systems 400CM Ballast Cargo Hold: Starfield - April 24, 2024