
The Recoilless Rifle emerges as a valuable addition to any Helldiver’s Stratagem collection in “Helldivers 2,” blending firepower with the need for precision and teamwork, especially against adversaries like Chargers. Ideal for those embarking on their journey through the game’s treacherous terrains, this guide aims to hone your skills with the Recoilless Rifle, ensuring you can wield this powerful weapon effectively, whether solo or in a squad.
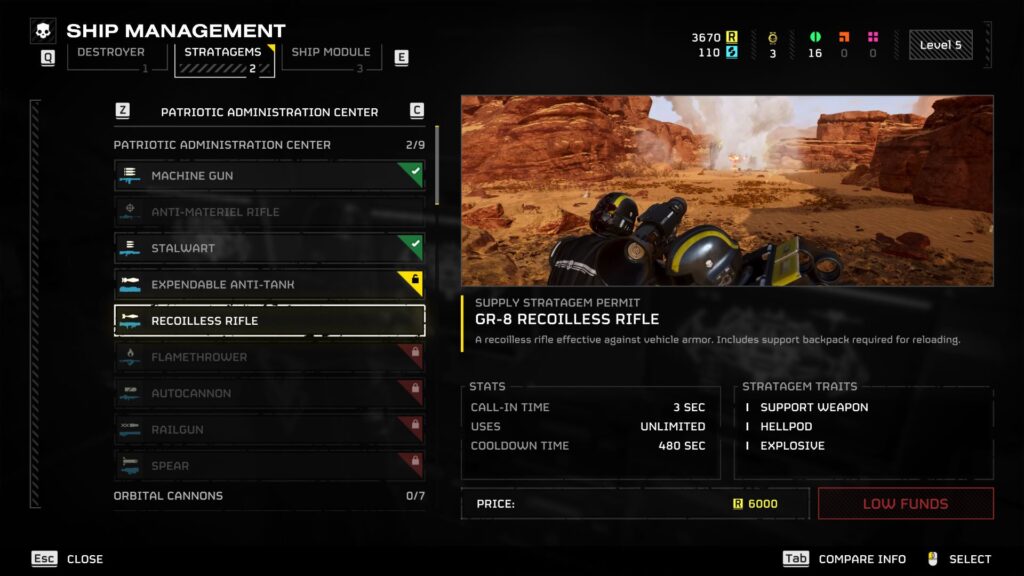
The GR-8 Recoilless Rifle is unlocked at level 5. Its Supply Stratagem Permit must be purchased for 6,000 Requisition. The Recoilless Rifle is marketed for its rapid reload capabilities and potent shells, useful for anti-tank and armor penetration purposes, making it effective against Charges, for instance. However, mastering its use requires more than just pulling the trigger; it demands accuracy, patience, and strategic planning, especially for those venturing alone into the fray.
Enhancing Accuracy: The Key to Recoilless Rifle Mastery
Engaging in first-person mode is paramount to unleashing the full potential of the Recoilless Rifle. This can be achieved by using the scroll wheel or pressing R3, offering a tighter aim and significantly improving your hit rate. While third-person shooting is possible, it often leads to decreased accuracy and missed opportunities. Targeting the enemy’s vulnerabilities—marked as red areas on Automaton foes or yellow, muscle-like zones on Terminid adversaries—is crucial for maximizing damage.
Unlike grenades, the Recoilless Rifle’s projectiles are designed for precision rather than area damage. Aiming for the ground in hopes of dispatching multiple enemies is a tactic bound for failure with this weapon. Instead, focus on disabling your target by aiming for limbs, setting up the chance to deliver a fatal second shot. The rifle excels in taking down heavily armored opponents, indicated by a bullet penetration icon, rather than wasting ammunition on low-tier enemies.
Recoilless Rifle & positioning
For solo Helldivers, preparation and positioning are key. Ensure your surroundings are clear of lesser threats before focusing on your primary target. When reloading, seek cover to avoid unnecessary damage. In contrast, team play allows for a division of labor—while one player handles the Recoilless Rifle, teammates can manage crowd control and pick off potential threats, facilitating a smoother operation.
Reloading the Recoilless Rifle solo requires caution and tactical awareness. Clearing the immediate area of hostiles ensures a safer reload process. Conversely, playing alongside teammates offers the advantage of quick reloads through the support weapon backpack, allowing the Recoilless Rifle user to focus on the target without needing cover or repositioning.

- How to Beat EC-0840 Smart Cleaner (Best Cheese Builds) - May 8, 2024
- How to Use Photo Mode in Armored Core 6 - May 8, 2024
- How to Save & Load Loadouts in Armored Core 6 - May 8, 2024