
Upon your arrival in the Charybdis system, the adventure intensifies with an intriguing transmission about the Crucible on Charybdis III, marking the commencement of Operation Starseed. Renowned as one of Starfield’s most extensive and engaging side missions, Operation Starseed offers a rich, rewarding experience that culminates in recruiting Amelia Earhart.
Our comprehensive walkthrough is designed to guide you through every twist and turn of Operation Starseed. We’ll navigate you through the complexities and challenges of the mission, ensuring you can fully immerse yourself in one of Starfield’s most captivating adventures. Whether you’re a seasoned explorer or new to the galaxy, this guide is your key to unlocking the secrets of Operation Starseed and Amelia Earhart.
- Side mission on Charybdis III
- Planets: Charybdis III, Bel V’s Orbit, Zelazny I
- Rewards: 330 EXP & varying amounts of Credits depending on choices
How to Start Operation Starseed in Starfield
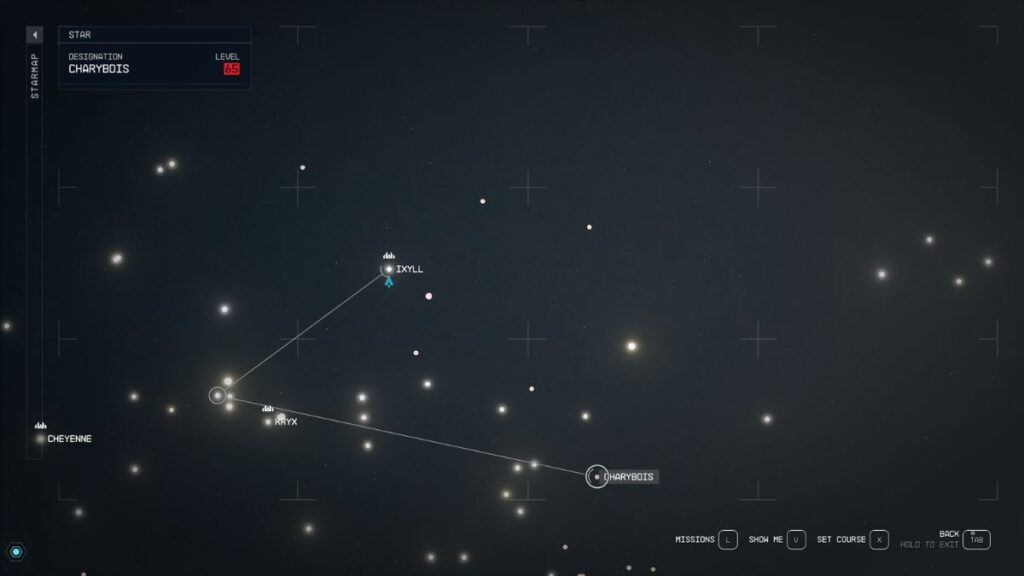
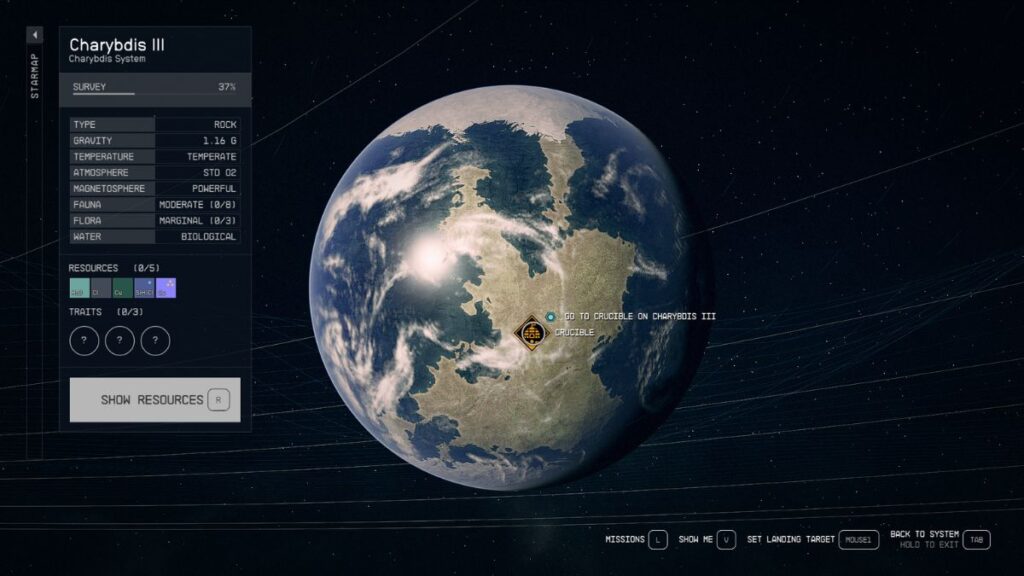
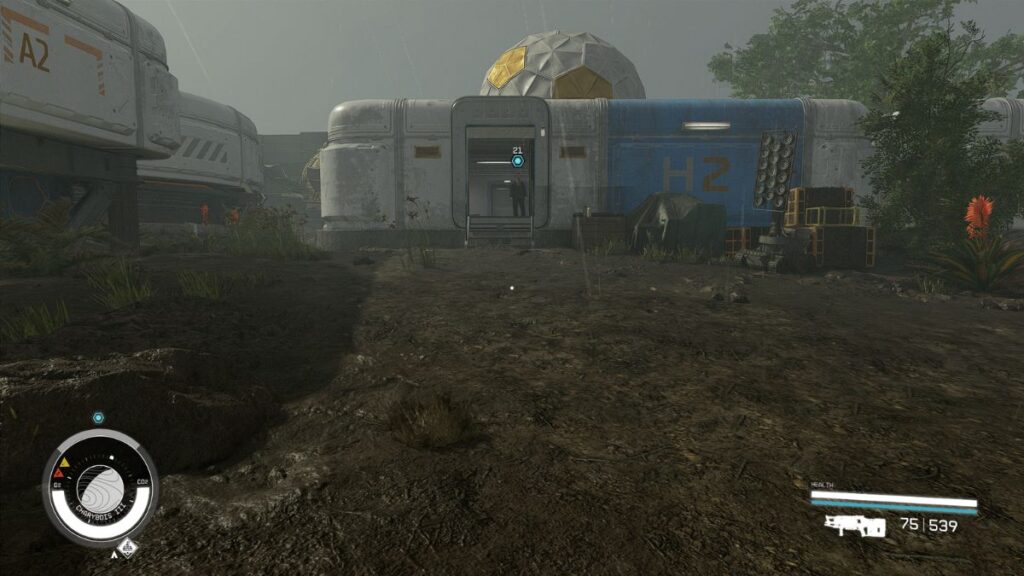
To start Operation Starseed, you must first visit the Charybdis star system. Upon your inaugural arrival at the system, you will listen to a radio transmission from The Crucible on planet Charybdis III, offsetting the mission.
Go to Crucible on Charybdis III
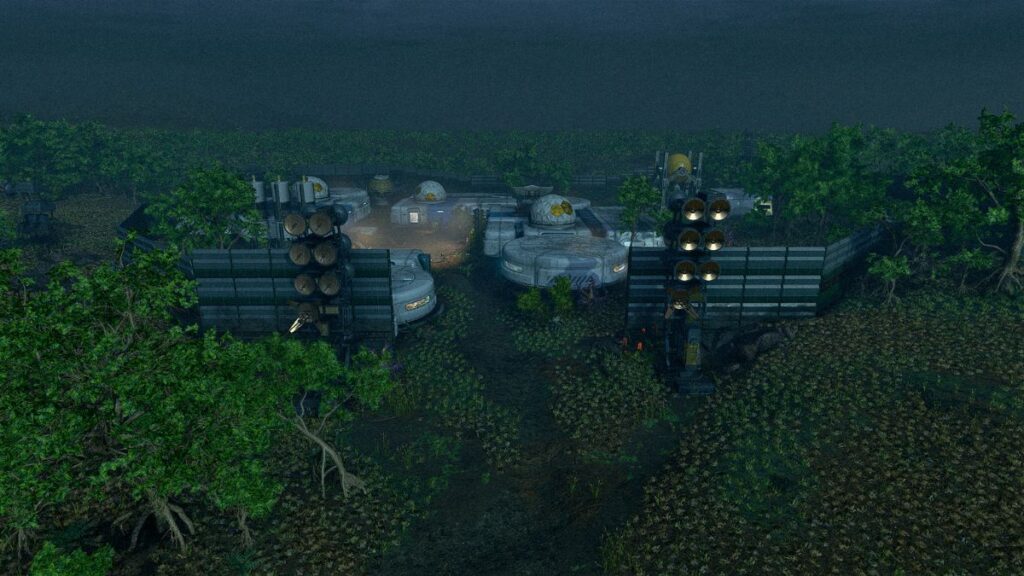
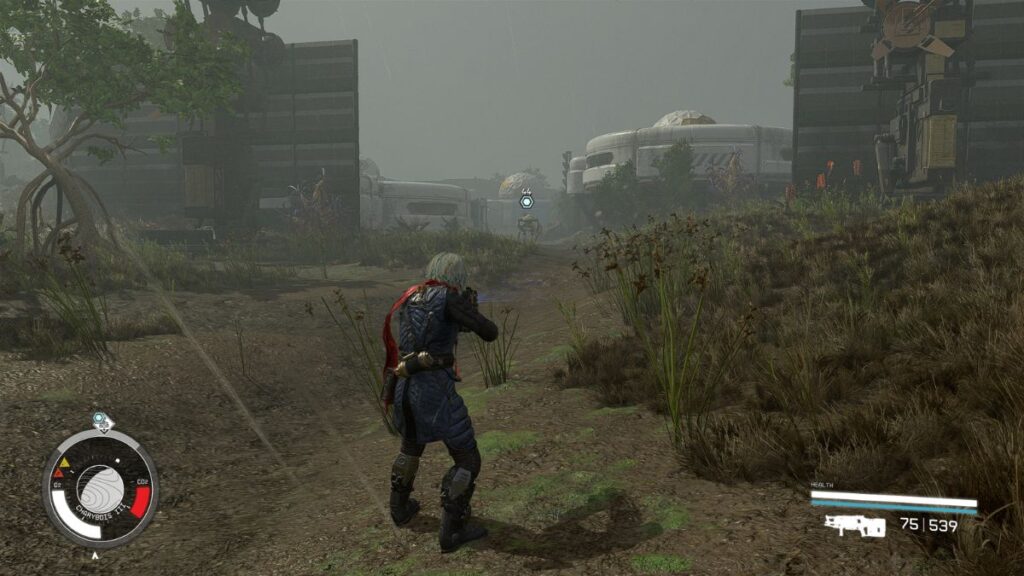
As your journey in Operation Starseed unfolds on Charybdis III, you’ll find yourself directed towards a remote settlement, where your first encounter will be with Tobias, an enigmatic robot sentinel. His initial demand is clear: identify yourself or leave the premises.
Talk with Tobias
Once you mention the distress call, the situation defuses as Ada intervenes, calling off Tobias’s standoffish approach, which even requires you to deliver 150 pieces of Copper (an activity added to your Mission Log).
Your dialogue with Ada reveals the settlement’s insular nature, rarely visited by outsiders. She outlines the three distinct factions within the community: the Believers, the Pragmatists, and the Renegades, each with their own ideologies and agendas. Ada recommends a meeting with Franklin, a figure pivotal to understanding the settlement’s dynamics.
Talk with Franklin
Guided by her advice, you can proceed into the heart of the settlement, making your way to the sole building with its open door, where a man in a suit awaits. This marks the next step in your journey through Operation Starseed as you delve deeper into the mysteries and allegiances hidden within this isolated community on Charybdis III. Franklin Delano Roosevelt, a clone of FDR, is the leader of the Pragmatist community and will let you know that he expects each community within the settlement will attempt to use you to their own ends.
Your conversation with Franklin proceeds with a remarkable revelation. Everyone in The Crucible is a clone, with some clones of historical figures and others of unknown origin. The settlement’s robots create the clones as a crucial step toward their “Mission.”
Whatever that mission is, there is a disagreement between the three societies in The Crucible, each interpreting it differently. Your task seems to be determining the right approach between the three societies’ interpretations. Franklin advises you to talk with Genghis Khan and Amanirenas before revealing the Pragmatists’ position.
In the intricate narrative of Starfield’s Operation Starseed, the settlement on Charybdis III is characterized by three distinct factions, each known as a Society, led by clones of historical figures:
- The Renegades: At the helm of this faction is Genghis Khan. The Renegades are distinguished by their detachment from their original identities. Uninterested in the Crucible’s Mission, they seek liberation to carve out their own paths and destinies.
- The Believers: Guided by Amanirenas, The Believers embrace their existence as more than mere clones. They see themselves as the reincarnations of their genetic donors, imbued with a sense of purpose and destiny. This faction is driven by an ambitious goal to assert their dominance over the Settled Systems.
- The Pragmatists: Led by Franklin, this group adopts a balanced, thoughtful approach. The Pragmatists aim to first demonstrate their capabilities and worthiness before contemplating integration into the wider Settled Systems. They embody a philosophy of measured progress and validation of their potential.
Each Society reflects a unique perspective on identity and purpose, adding layers of complexity to the player’s interactions and decisions within the Charybdis III narrative.
Talk to Amanirenas
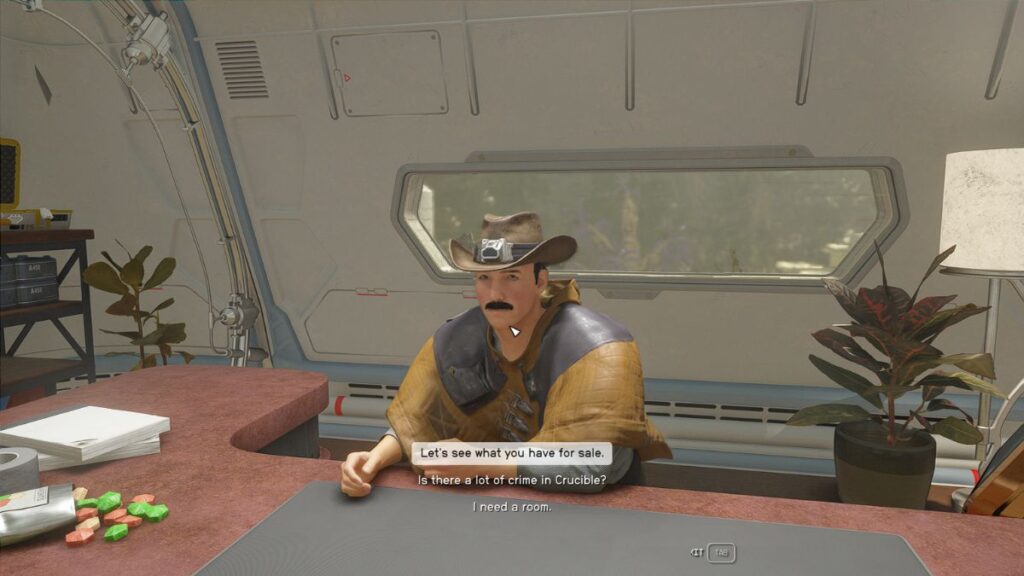
Operation Starseed engages you with two more historical figures, Genghis Khan and Amanirenas. As you step outside the building to proceed, you’re greeted by Sheriff Wyatt Earp, a unique vendor character in Starfield. Sheriff Earp specializes in Aid and Resource items, a useful stop for stocking up on essential supplies.
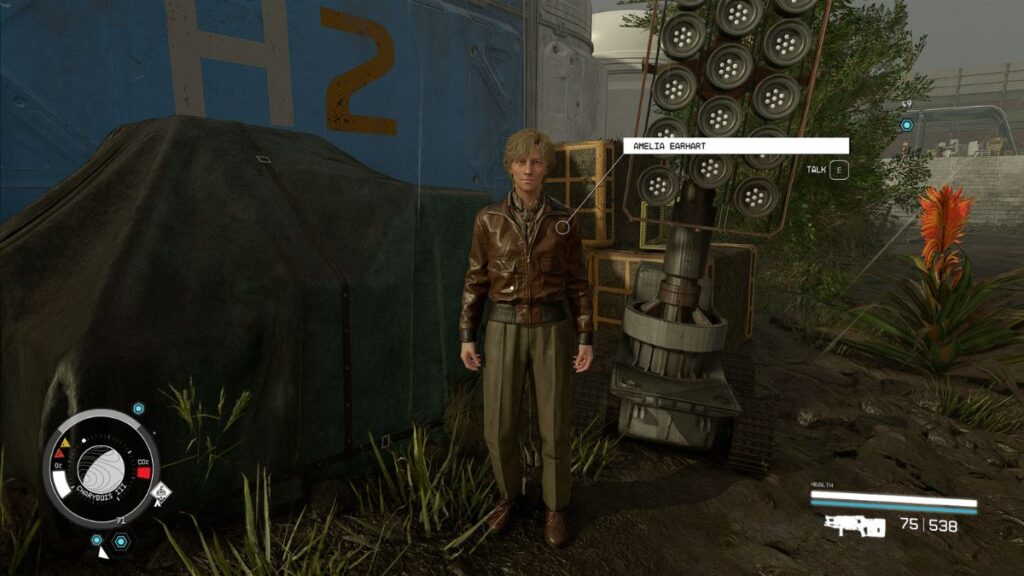
Nearby, just to the left of the exit, you’ll encounter another historical figure, Amelia Earhart, the first female pilot to fly across the Atlantic Ocean. Talking to Amelia will reveal that she has a recollection of all the original Amelia Earhart’s experiences, and she is an expert in flying spaceships. She will even reveal that she wants to join your crew (bingo!).
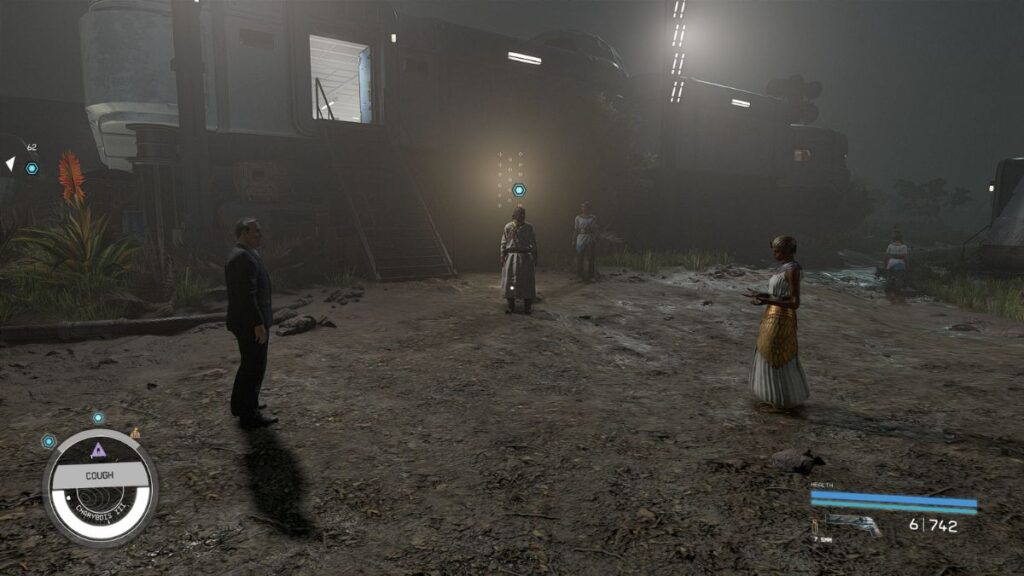
Beyond this point, ascend the ramp where you’ll meet Amanirenas, a pivotal character in the narrative, as she is the leader of the Believers society.
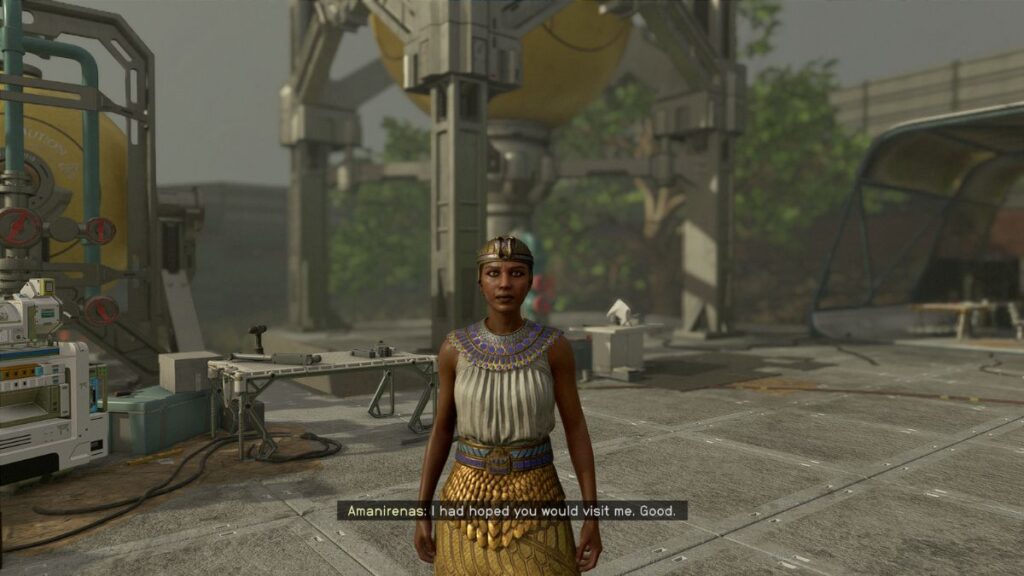
Amanirenas presents herself with the conviction of being the authentic historical figure, leading the Believers society. As she explains, the Believers are driven by the belief that their status as renowned historical figures destines them to guide the Settled Systems.
She shares insights about a test conducted by The Facility, which determines when individuals reach their potential and are ready to be ‘set free’ to travel among the stars and conquer the Settled Systems. Delusional?
Amanirenas’ Task: Repair the Facility
Amanirenas entrusts you with a crucial task: to venture to The Facility and ascertain whether it can be restored and the testing process reinstated, a mission that deepens your involvement in the complex society of Charybdis III.
Talk to Genghis Khan
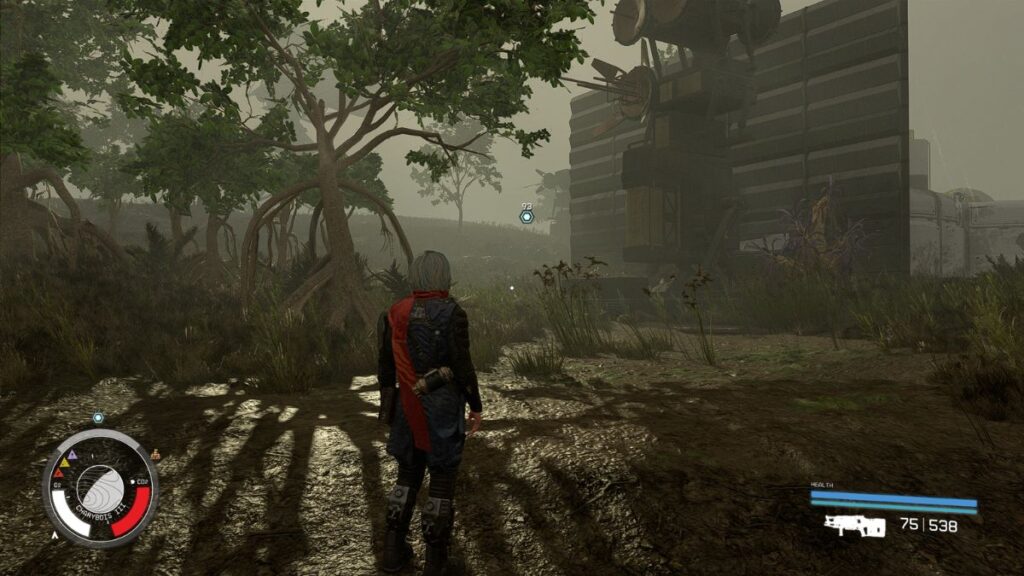
To locate Genghis Khan in Starfield’s Operation Starseed, navigate out of the settlement using the same route you arrived. Once outside, veer right and follow the perimeter wall. This path will lead you to a hill, where you’ll find Genghis Khan stationed amidst a cluster of satellite dishes.
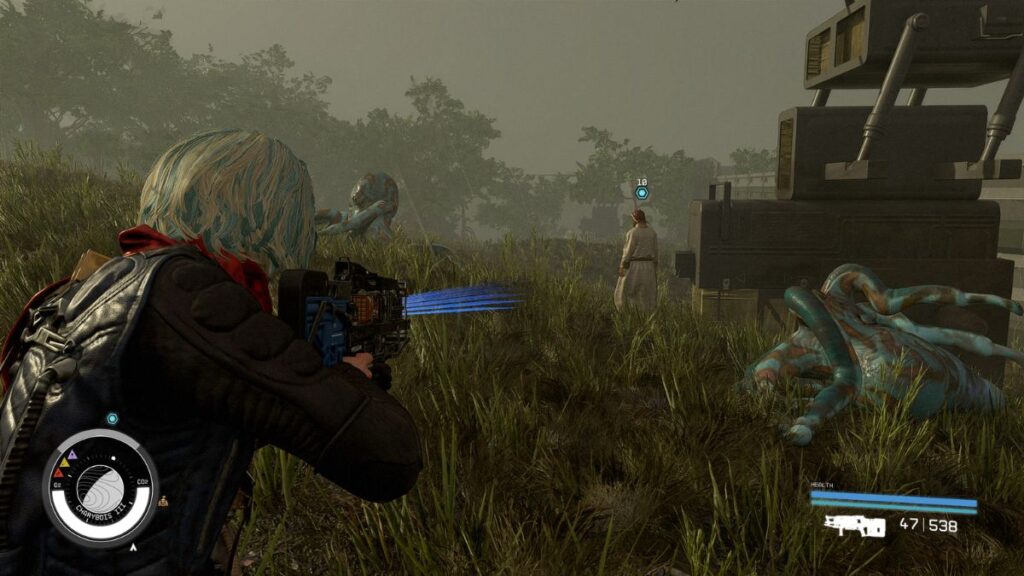
As you approach, be prepared for an unexpected encounter: Swarming Gliders will emerge, launching an attack. Assist Genghis Khan in fending them off. Post-battle, engaging him in conversation reveals his perspective of the settlement as a confining space.

Addressing his identity as Genghis Khan, he dissociates from his historical counterpart, emphasizing that the deeds of their originals should not burden clones.
Genghis Khan’s Task: Destroy the Facility
Genghis, as the leader of the Renegades, shares his frustrations and repeated failed attempts to break free from the Crucible. He enlists your help to orchestrate an escape by targeting the Facility for destruction.
Return to Franklin Delano Roosevelt: Talk to Franklin

After this interaction, revisit Roosevelt for insights into the Societies. Roosevelt will share his viewpoints regardless of your opinions on the other factions. His vision involves utilizing the Facility to neutralize the robots, proposing a period of robot-free living on the Crucible as a transitional phase before departure, as the current state of the Crucible is unsustainable and decaying.
Franklin essentially wants the settlement to live normal lives, learn to govern themselves, make families, and die normal deaths without being “recreated” until they are ready to become a part of the Settled Systems. True to their society’s name, the Pragmatists have a very pragmatic view of things.
Go to the Facility
Just as you are ready to embark on the Facility, Sheriff Wyat Earp approaches you and asks for your help. This begins “The Secret Lives” misc mission.
The Secret Lives – Talk to Wyatt Earp
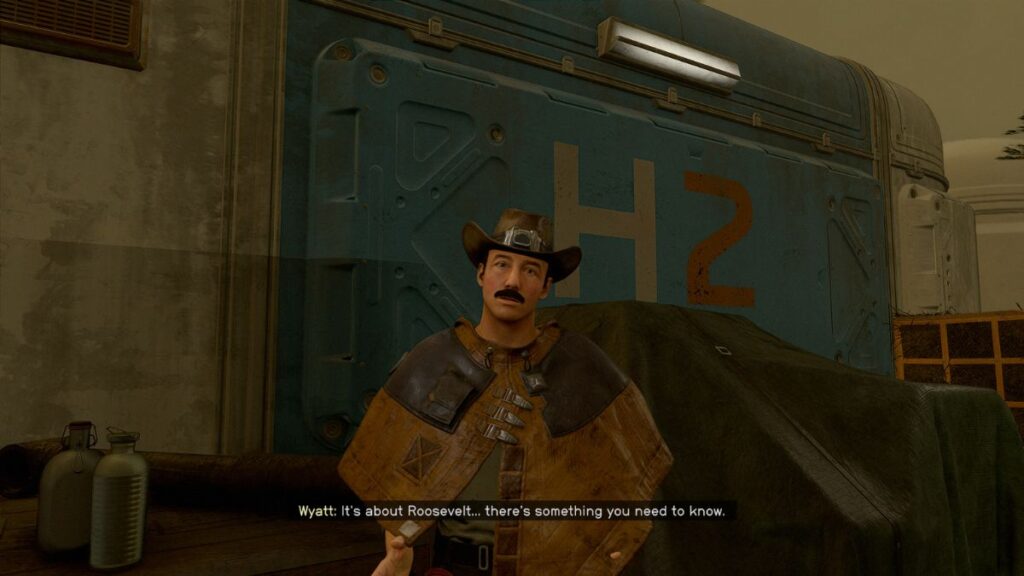
Sheriff Wyatt Earp wants to reveal a secret about Roosevelt. However, he doesn’t want any eavesdropping. Consequently, he asks that you meet him at a cave outside settlement, ideally before heading to the Facility.
The Secret Lives – Meet Wyatt Earp at the Cave
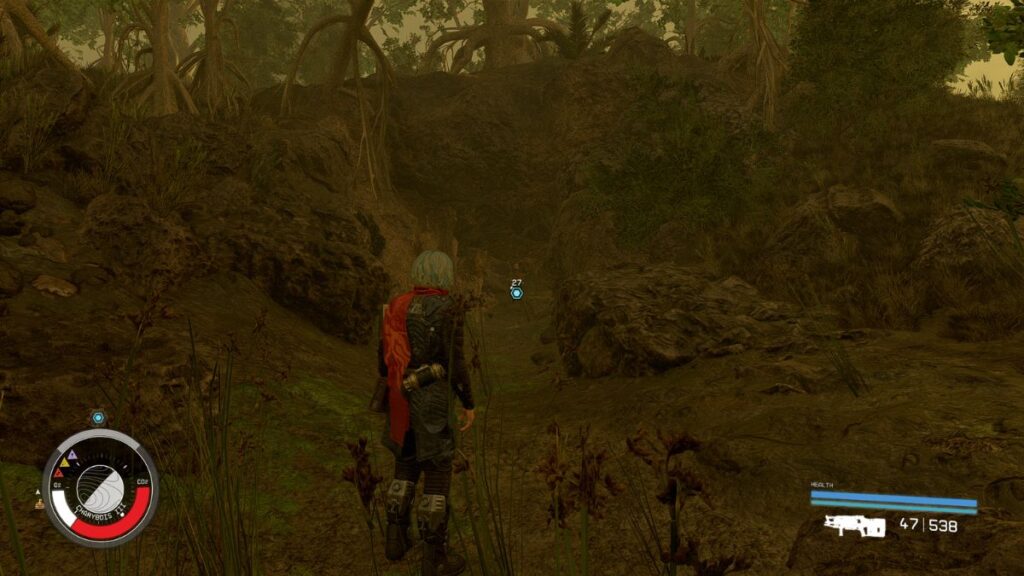
Make your way to the entrance of the settlement, and then turn to your right and follow the settlement’s outside walls toward the marker until you reach the aforementioned cave.
In a startling revelation, you learn that the individual you’ve been interacting with is, in fact, a clone of the notorious serial killer H.H. Holmes. He believes eliminating you is the only way to prevent society from uncovering its true identity. This revelation presents you with several critical choices, each leading to drastically different outcomes:
- Attack: If you choose confrontation, be aware of an explosive tank to the right of the cave, which he attempts to ignite in a desperate bid to eliminate both of you. Killing H.H Holmes will reward you with 2,500 Credits.
- Successfully Persuade: Should you persuade him, he decides against aggression, trusting you to keep his identity confidential as he returns to the settlement. You can now decide whether you want to inform the society leaders about Wyatt Earp’s real identity. You will also receive credits proportional to your character level (I received 5,800 Credits).
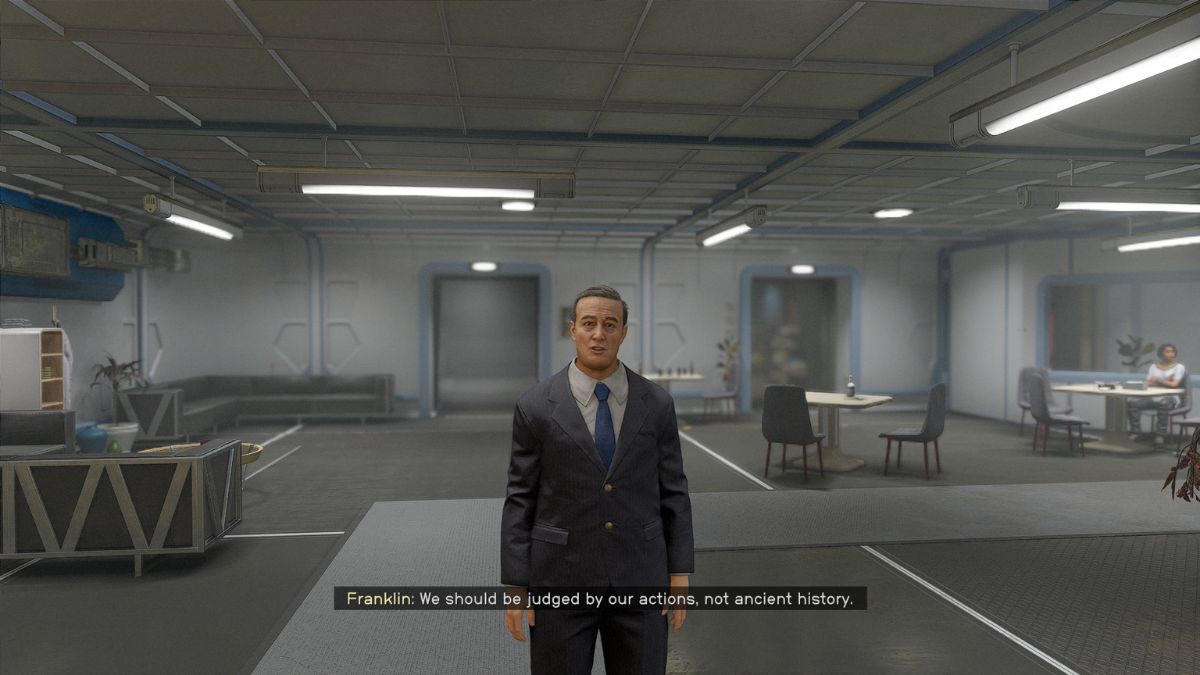
- Inform Roosevelt: On confiding in Roosevelt, the clone pleads for discretion, advocating that judgment should be based on one’s actions rather than historical legacy.

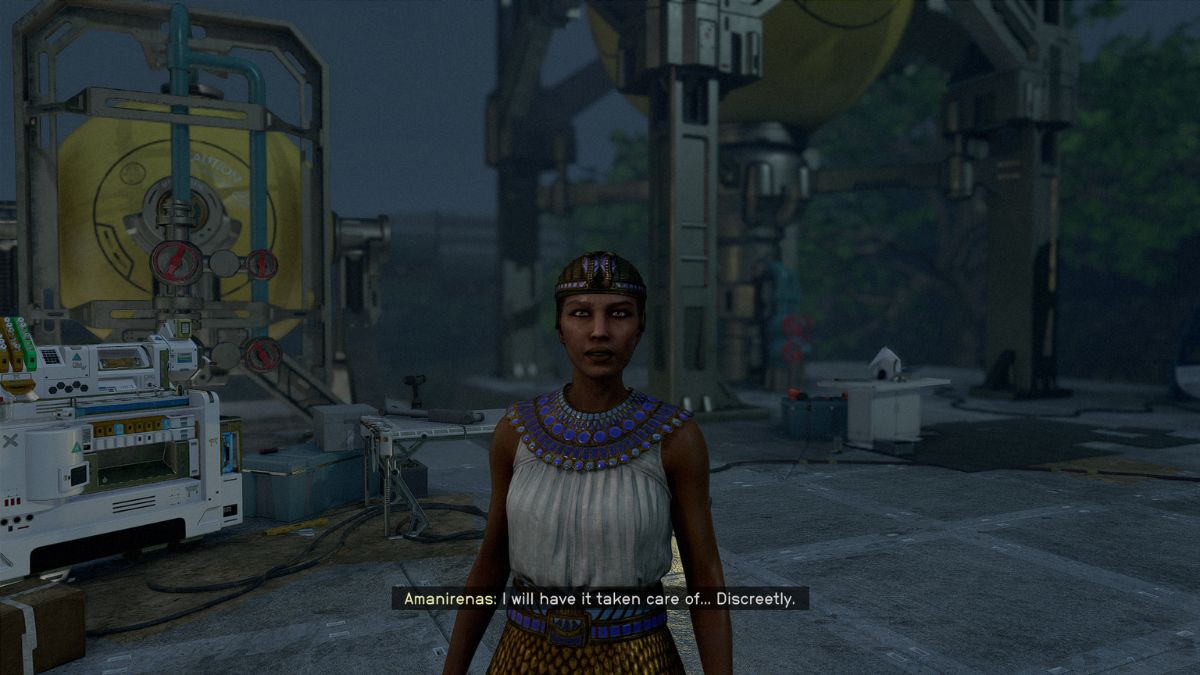
- Reveal to Amanirenas: Amanirenas takes a stark stance upon hearing the truth, believing that Holmes’ clone should face execution, and assures you she will handle the situation.
- Tell Genghis Khan: Genghis Khan, empathetic due to his own contentious historical identity, shows indifference towards the clone’s original persona, focusing instead on the individual’s present actions.
- Inform Roosevelt: On confiding in Roosevelt, the clone pleads for discretion, advocating that judgment should be based on one’s actions rather than historical legacy.
- Fail to Persuade: In this scenario, if persuasion fails, the clone resorts to a suicidal explosion in an attempt to take both of you out, similarly to when you attack them. The objective will change, and you will be tasked to kill H.H. Holmes and receive 2,500 Credits and his loot if successful.
Go to the Facility (Continued)

Back to Operation Starseed, you can open your mission log and head straight to the Facility. Upon landing, be cautious of the Hunting Spaceroaches and Hunting Maggotmaw lurking between your ship and the Facility. Once the coast is clear, make your way inside.
Immediately to your right, a doorway leads to a stairwell.
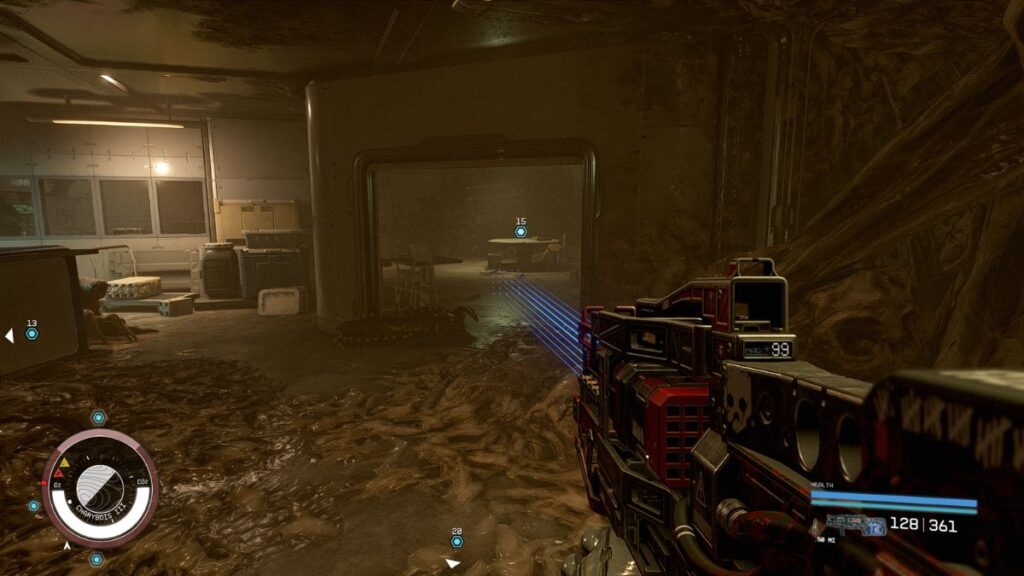
Descend the stairs and proceed straight through the next room, taking the left-hand door. This area is overrun with alien growth, Maggotmaws, and Spaceroaches. Amidst the chaos, atop a box in the room’s center, lies the first key item: ‘Diary Page – Discovering Galathea,’ the initial of seven clues unraveling the Facility’s secrets.
Continuing to the room’s rear, a right-hand door reveals the second diary entry, ‘Diary Page – Escape.‘
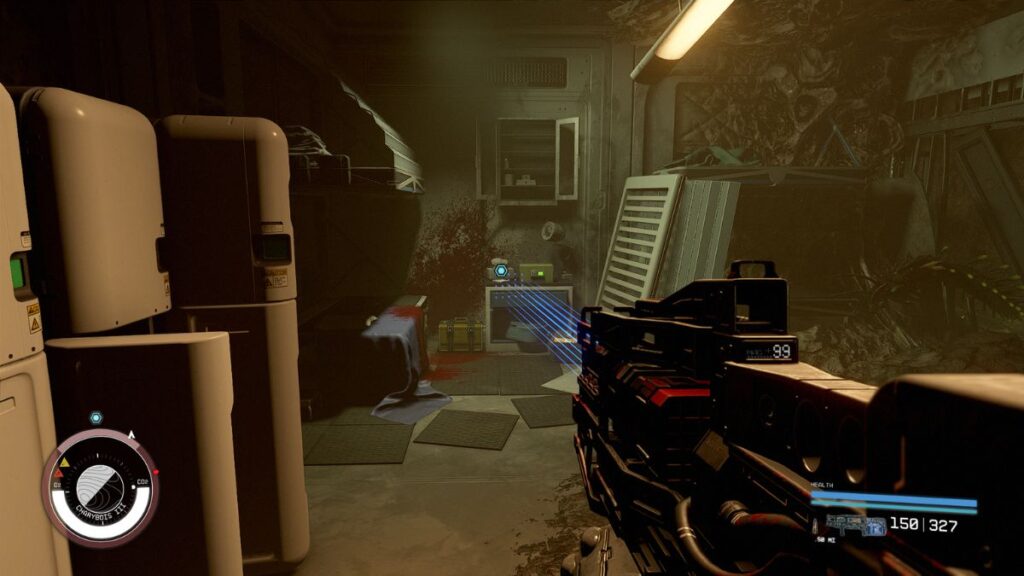
To your left, a hallway opens into a room where ‘Diary Page – Reborn‘ awaits on a table.
Rightward, a breach in the wall leads to a bathroom teeming with enemies and the ‘Diary Page – Genghis Explosion.’

At the bathroom’s end, turn right for additional loot and a med pack or left towards another enemy-filled corridor. Descending the stairs, you’ll encounter more space roaches and other enemies. To your left, a couch holds the fifth diary entry, ‘Anonymous Last Words.’
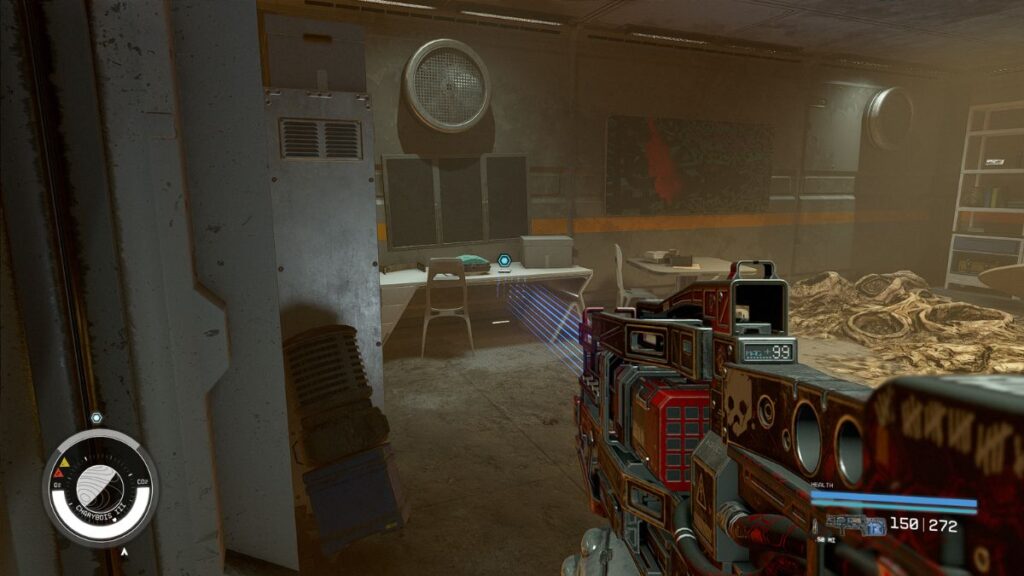
Circumvent the large hole in the room’s center, finding on the left a weight room (with loot and a med pack) and on the right a recreation room housing ‘Diary Page – Ada’s Questions.’
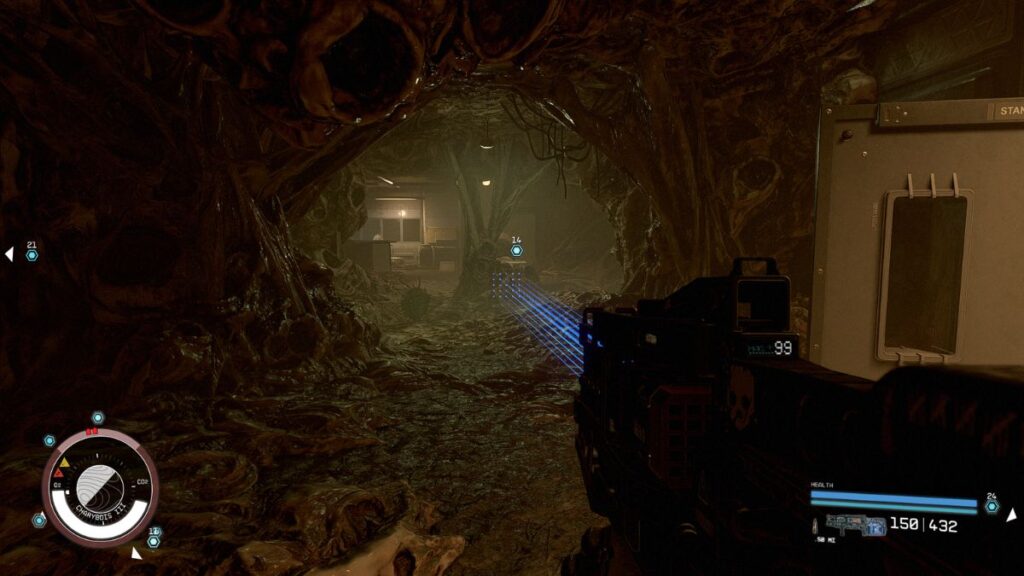
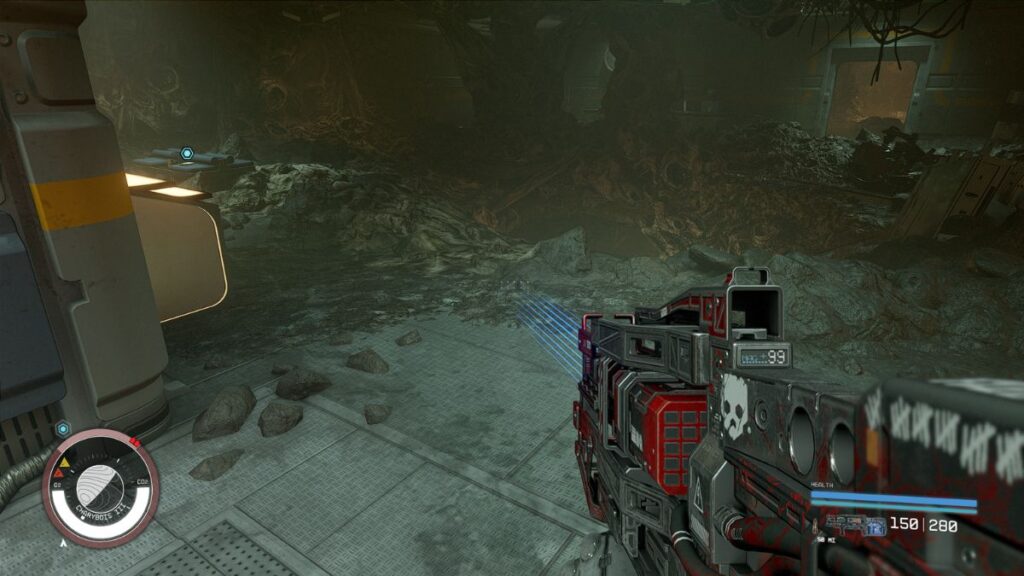
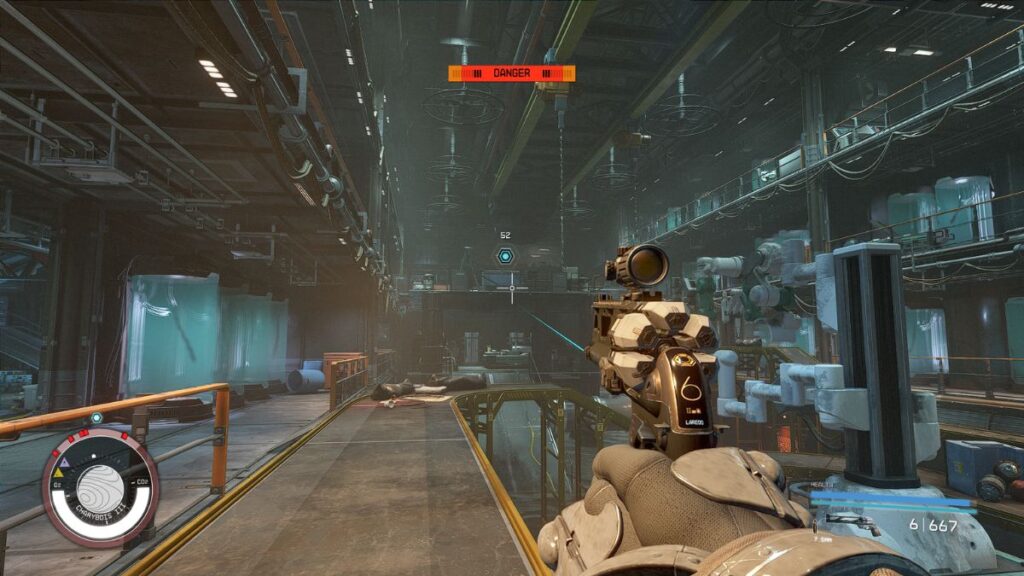
Retrace your steps to the hole, following a path leading to a high-level Hunting Maggotmaw (Level 85 in my case, while I was level 50). Consider climbing up the ladders to take it out or exiting the room and heading back to the pit, as it seems to get stuck if it gets down there (as shown in the image below).

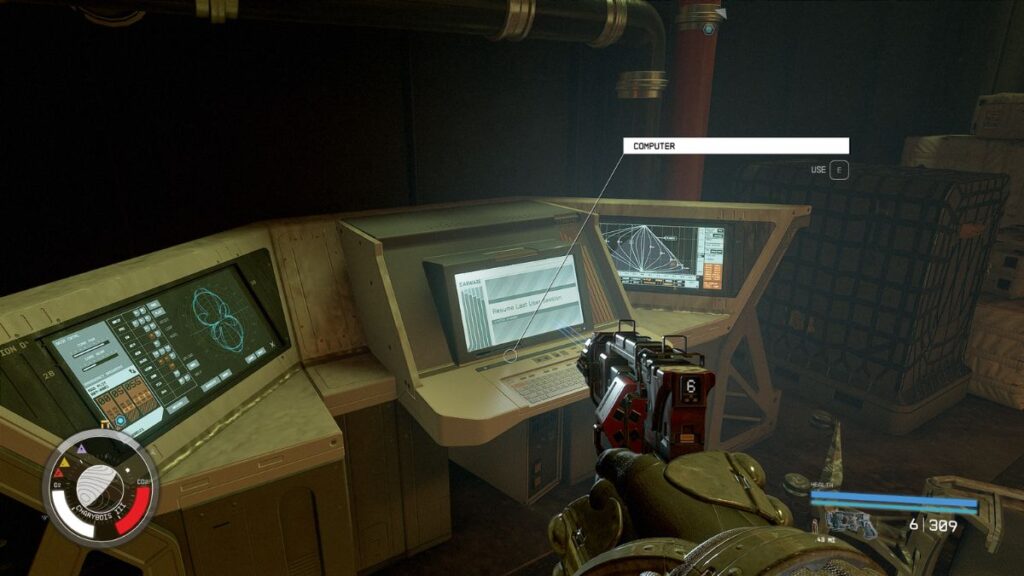
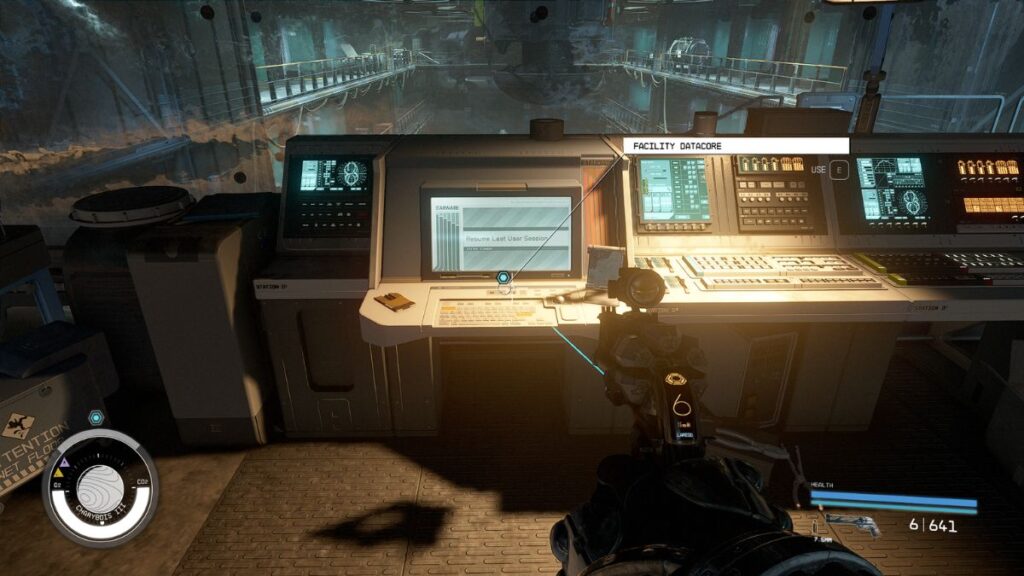
Post-battle, enter the next area with a ramp on the left, descending to a desk and computers. The desk holds ‘Ada’s Diary – Heart of the Facility,’ the final clue mentioning an override code.
Beside the desk is a computer that requires a code for a manual override of the doors to the Restricted Wing of the facility. You won’t be able to find any code, so you can take the stairs up to find another computer, which unlocks the door that leads you to the facility’s exit.
Once outside, head back to Crucible to make your choice. Whichever Society you inform, they will direct you to Ada Lovelace atop the platform where you first met Amanirenas.
Choose Which Society to Give Facility Information

The path forward varies significantly depending on your earlier alliance:
- Alliance with the Pragmatists: Genghis Khan ignites a conflict in this scenario. There’s an opportunity to persuade Amanirenas to remain neutral. If successful, your only confrontation is with Genghis Khan. Failing to keep Amanirenas out of the fray means facing both her and Genghis in battle.
- Alliance with the Believers: This route allows for a more diplomatic resolution. You can convince Franklin to avoid combat and persuade Genghis Khan to leave the Crucible. This approach offers a peaceful resolution, provided you don’t scrutinize the underlying tensions too closely.
- Alliance with the Renegades: Aligning with the Renegades presents a complex challenge. You can negotiate with Franklin to stand down, provided you also convince Genghis Khan not to demolish Crucible. However, this route inevitably leads to a confrontation with Amanirenas.
Talk to Ada Lovelace

Before the conflict spurts, though, you must talk to Ada to recover the code to the Restricted Wing of the Facility from the Beagle, Galathea’s sister ship in planet Bel V’s orbit, as the radio telescope points to this planet by default.
Investigate Bel V
Open your mission log and set course to the objective in the Bell Star System.

Once there, scan the damaged Beagle Navigation Beacon’s frequency to reveal the Beagle’s next planned stop.
Follow the Beagle’s Trail to Zelazny I
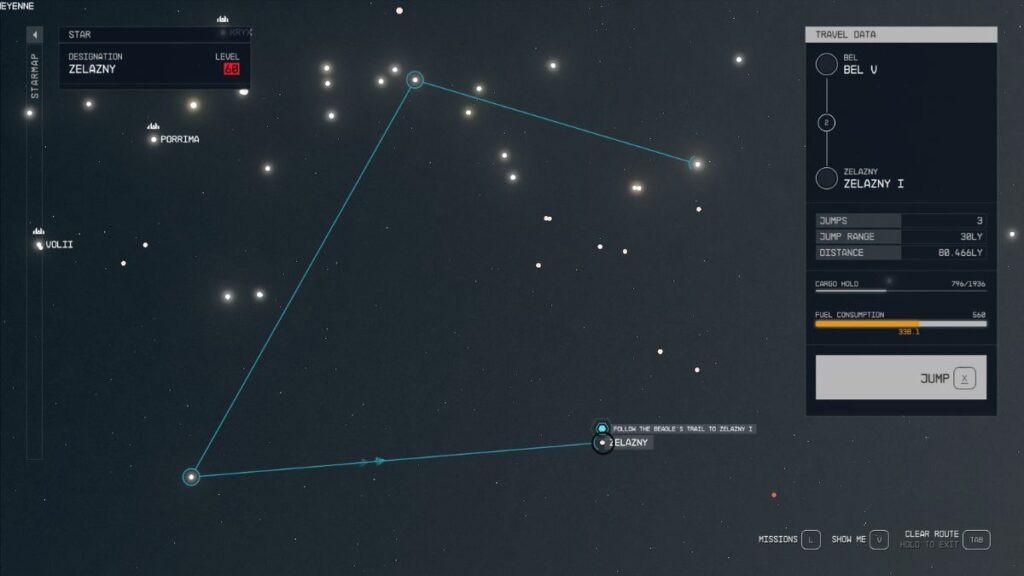
Note: To embark on your next major venture in Starfield, ensure your spacecraft is capable of a hyperjump covering a minimum distance of 27.243 light-years. This specification is crucial for reaching your destination: the Zelazny system. Make sure to upgrade your Grav Drive if you must.
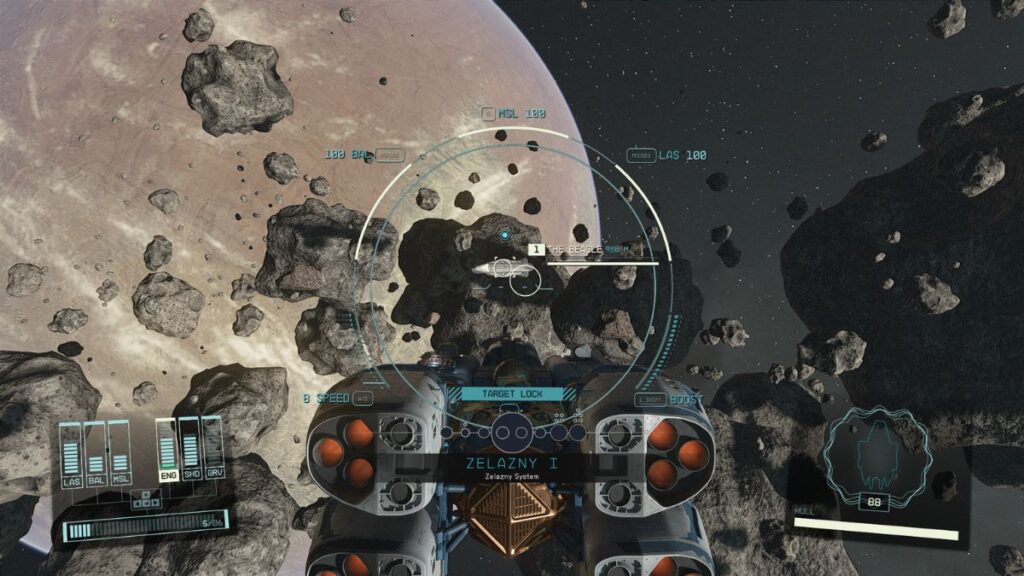
Upon arrival in the Zelazny system, your objective is to locate The Beagle. Utilize your ship’s scanner to pinpoint The Beagle amidst the cosmic expanse. Once identified, employ the docking command to align and dock seamlessly with The Beagle.
Find the Facility’s Security Override Code
Upon boarding The Beagle in Starfield’s Zelazny system, you’re immediately tasked with neutralizing a robot and a turret to the right. Navigate through the kitchen on the right to find a door at the kitchen island’s end.
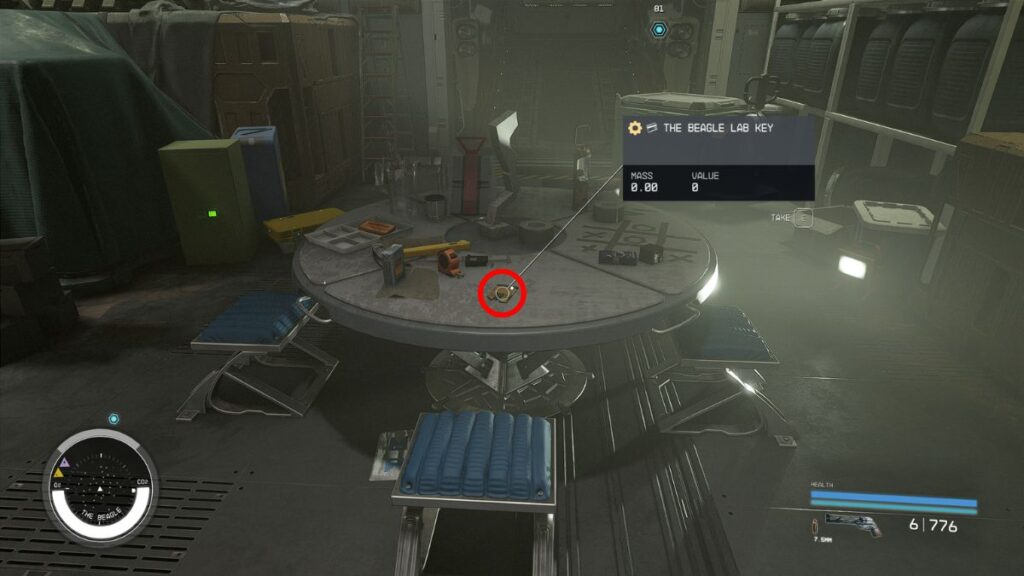
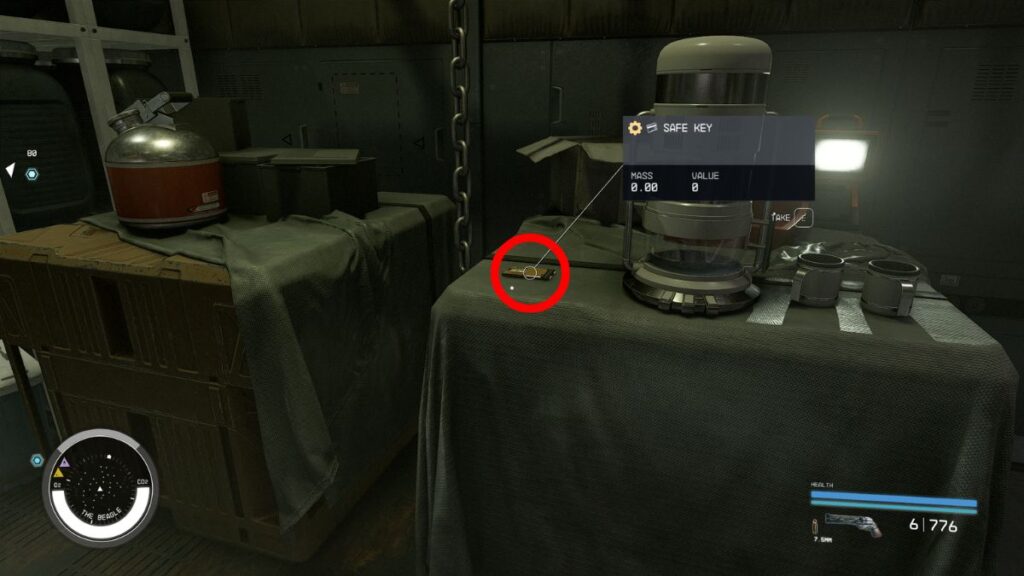
This door leads into a bedroom. Traverse the room to find another door on the left, which opens to a staircase. The stairs lead to a landing bay at the center and a hallway to the right. As you proceed down the hall, prepare to confront three medical bots. In the bay, on a table, you’ll discover the Beagle Lab Key. On the right side of the table, you will also find the Safe Key for the safe on the left side.
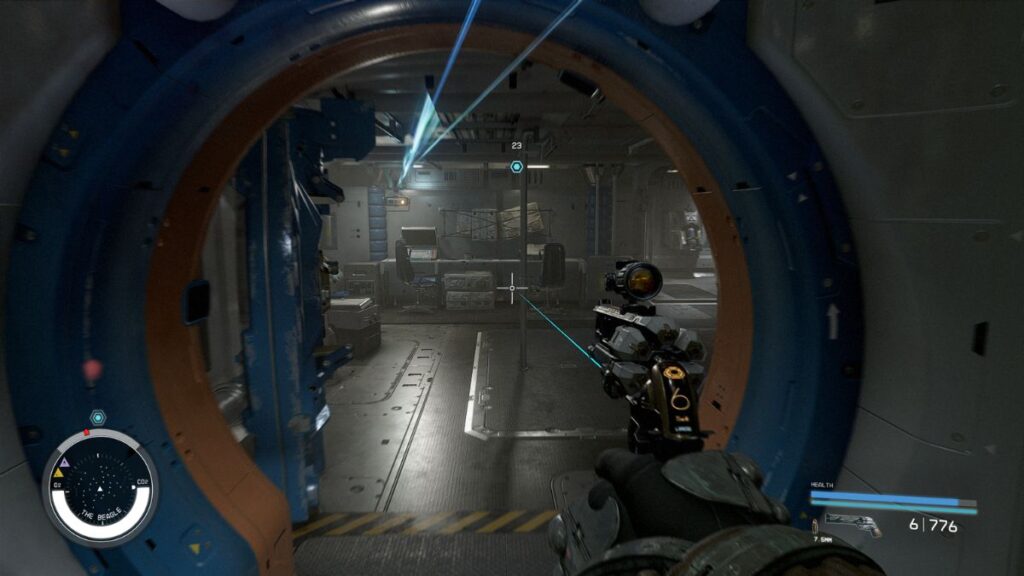
Retrace your steps down the hall to find another door. In the next room, there’s a turret on the right.
Destroy the turret and then head left, facing the turret’s location, to enter a hallway lined with robot storage containers.
At the end, a turret faces the door directly. To the right, a computer, accessible with a Digipick, allows you to control the turret. Further right, an opening leads to Helium 3 tanks and a staircase.
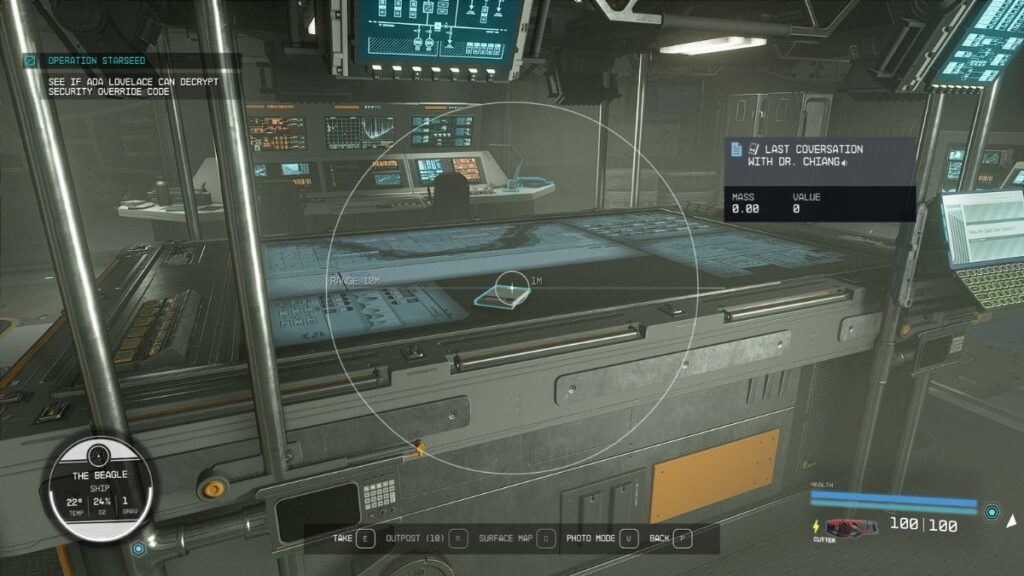
Ascend to the lab, unlocked with the key you found. The Beagle Datacore computer contains crucial reports and the Security Override Code on a central table. These documents reveal The Beagle’s unfortunate encounter with the Crimson Fleet and their dire situation in the Zelazny system.
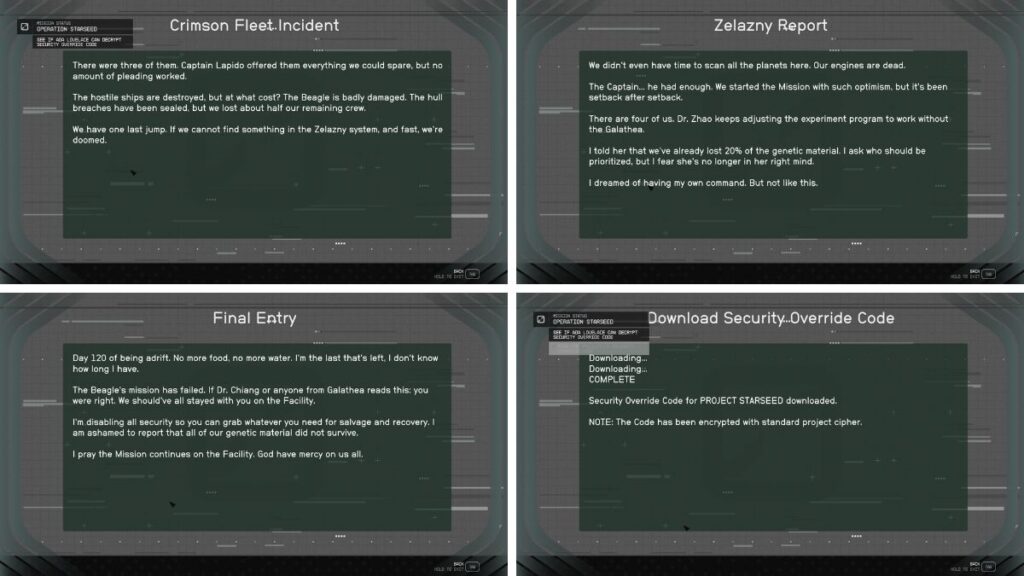
An audio file, ‘Last Conversation with Dr. Chiang,’ details the crew’s mission and internal conflicts.
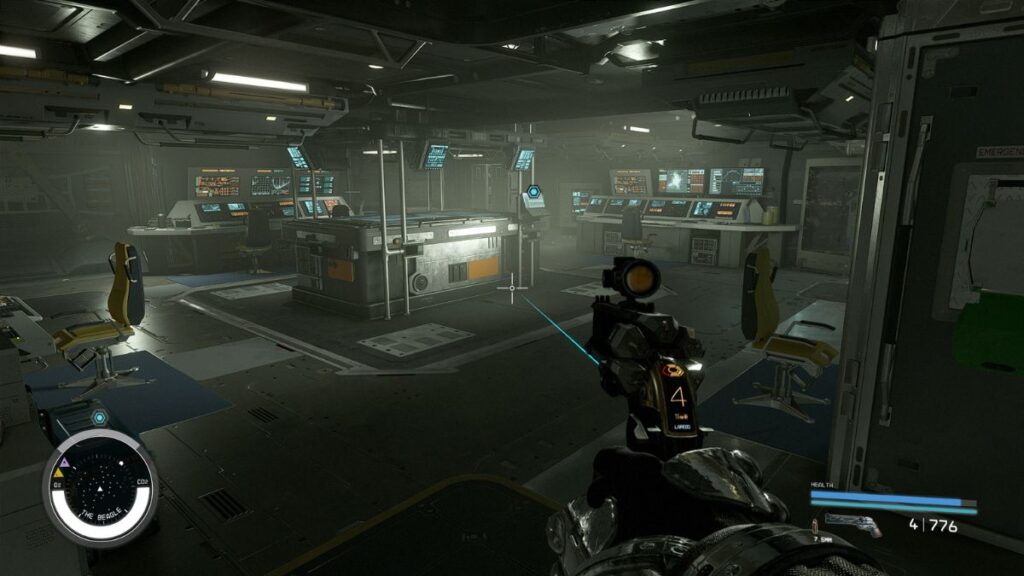
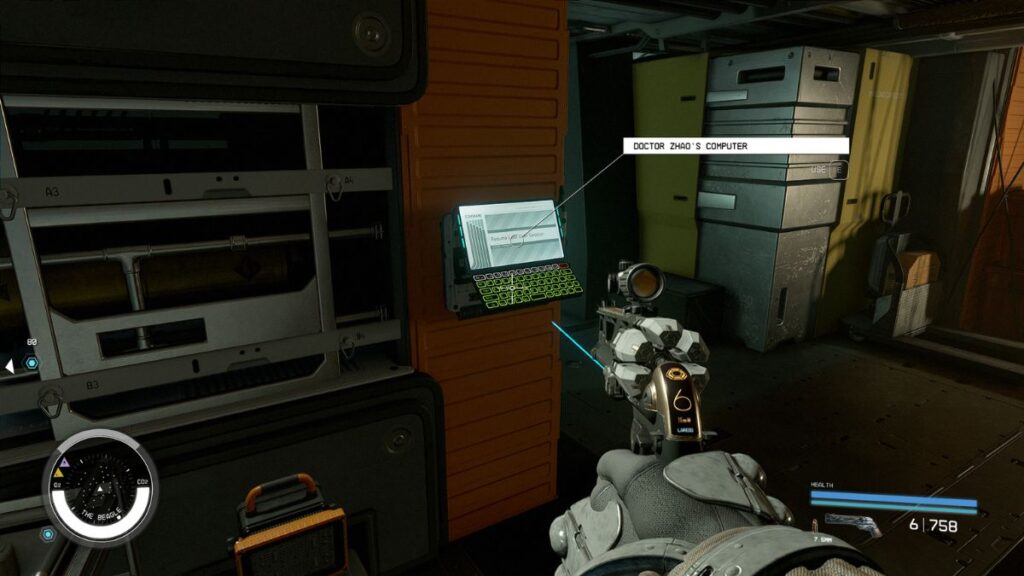
Exiting the lab, the previously dormant robots in the hallway activate. Beyond them, a gap to the left leads to Dr. Zhao’s computer, which offers additional insights and controls a nearby security door.
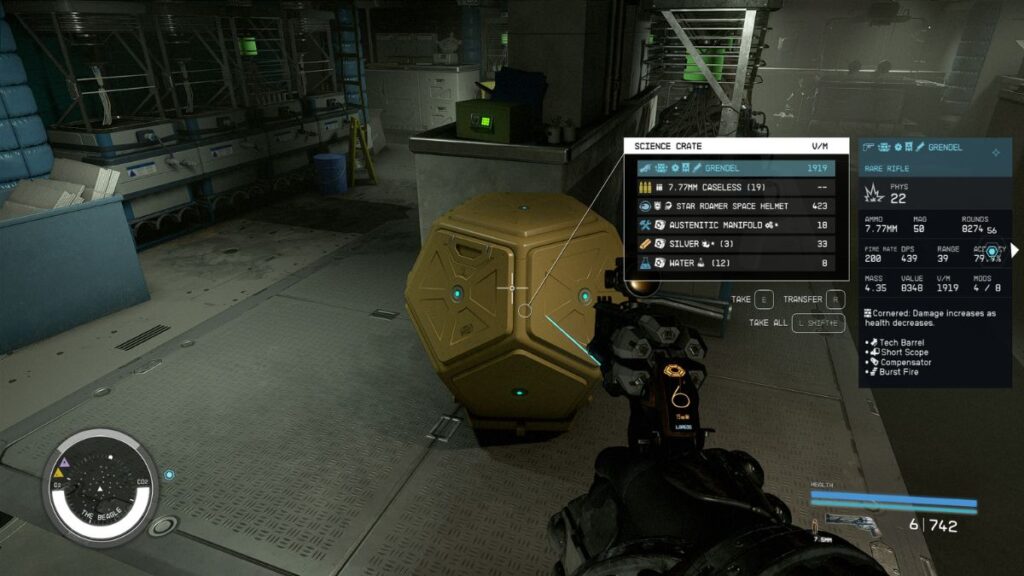
In the adjacent lab, confront a high-level robot. On a shelf is a note, ‘Our Mission is Over,’ revealing the destruction of all genetic material. Following the left hallway leads to a Science Crate.
In the room’s rear, Dr. Amani’s computer sheds light on the crew’s desperate measures.
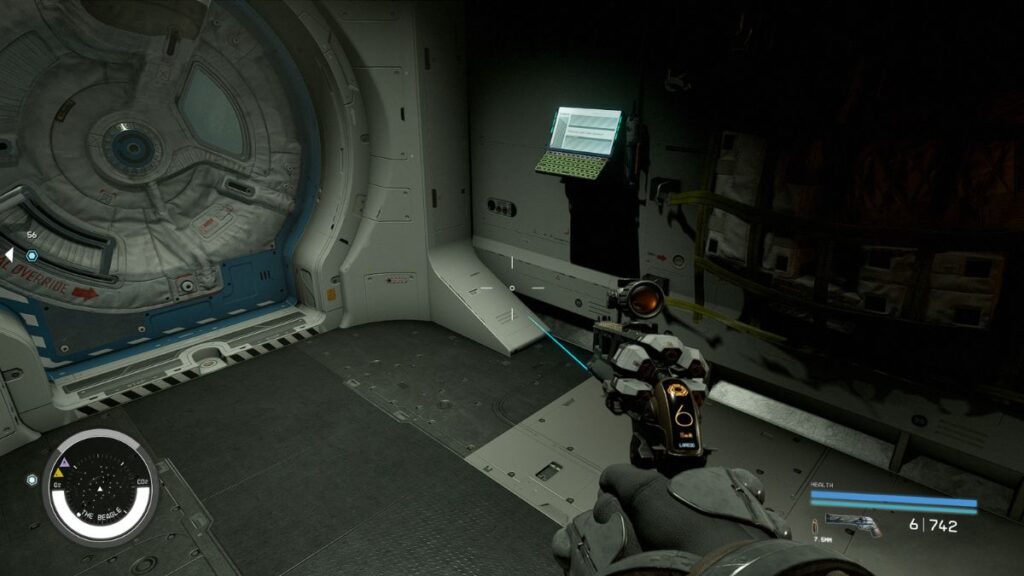
Use the computer’s Remote Security Door Control to access an exit leading to the front of the ship, where you can reboard your vessel. Undock and prepare to jump back to Charybdis carrying the revelations from The Beagle.
See [Society Leader] About an Emergency
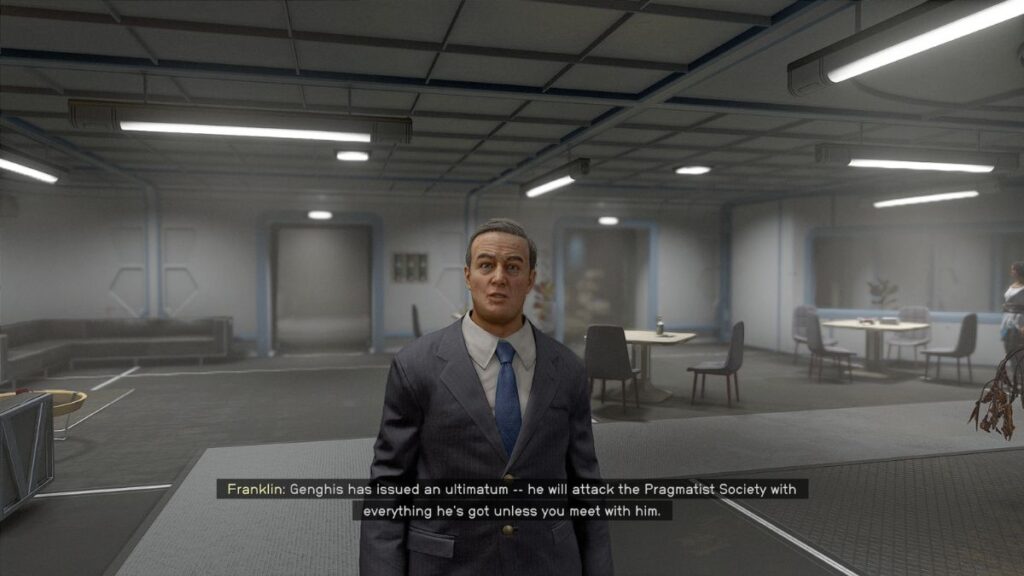
Your initial objective to return to Ada Lovelace will be interrupted. You must head to the society leader you have sided with to learn that the other two leaders are about to start a war.
Attempt Meeting with the Crucible Leaders
Here, I will repeat the same information from earlier as to what you can expect depending on your alliance choice.
- Siding with the Pragmatists: Genghis Khan ignites a conflict in this scenario. There’s an opportunity to persuade Amanirenas to remain neutral. If successful, your only confrontation is with Genghis Khan. Failing to keep Amanirenas out of the fray means facing both her and Genghis in battle.
- Siding with the Believers: This route allows for a more diplomatic resolution. You can convince Franklin to avoid combat and persuade Genghis Khan to leave the Crucible. This approach offers a peaceful resolution, provided you don’t scrutinize the underlying tensions too closely.
- Siding with the Renegades: Aligning with the Renegades presents a complex challenge. You can negotiate with Franklin to stand down, provided you also convince Genghis Khan not to demolish Crucible. However, this route inevitably leads to a confrontation with Amanirenas.
Be aware of a current glitch in Starfield that might affect your gameplay experience. Following the battle, you might encounter an issue where all NPCs unexpectedly become hostile. To resolve this, there are a couple of strategies you can employ:
Resting Strategy: A simple yet effective method involves returning to your ship and resting for an hour. This brief respite often resets the NPCs’ behavior, allowing you to return to a more peaceful environment where everyone has calmed down.
Selective Engagement: Another approach is to exercise restraint during the conflict. Focus solely on your primary targets and avoid engaging other NPCs. This method helps prevent triggering widespread hostility, maintaining a more controlled situation.
See If Ada Lovelace Can Decrypt Security Override Code
Whoever you decide to side with does not affect Starfield’s grand scheme of things. Operation Starseed is a testament to your own morals and what you consider right or wrong. Upon completion of the confrontation, you can proceed to Ada Lovelace to gain the passcode for the computer that opens the gate to the Restricted Wing of the Facility.
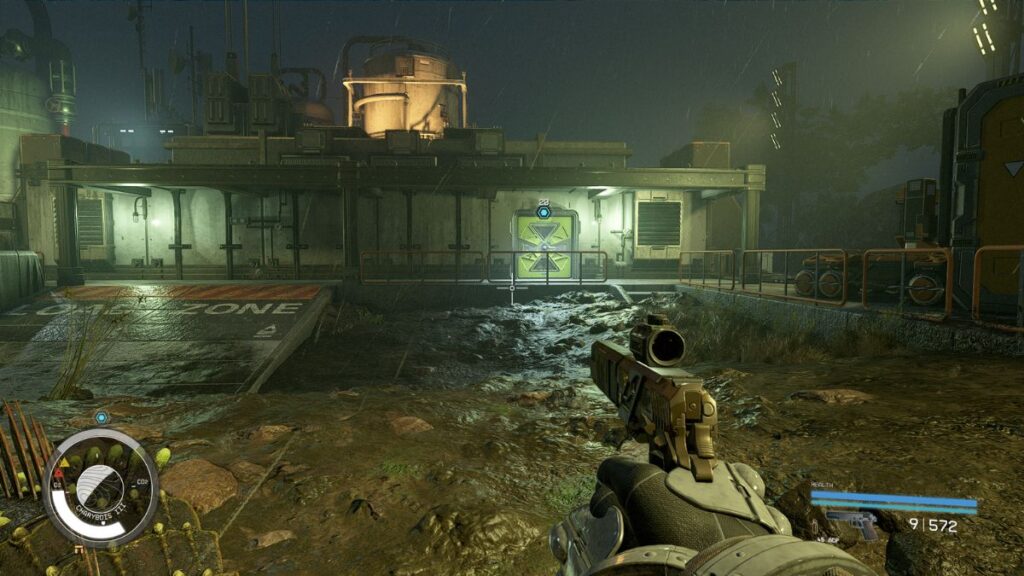
Deal with the Facility

Upon reaching The Facility, consider using the warehouse exit as your entry point, offering a more faster route to the computer than the main entrance. Descend the stairs and proceed directly to the computer ahead. With the Security Override Code, you can now access the Restricted Wing, unlocking the gate behind the computer.
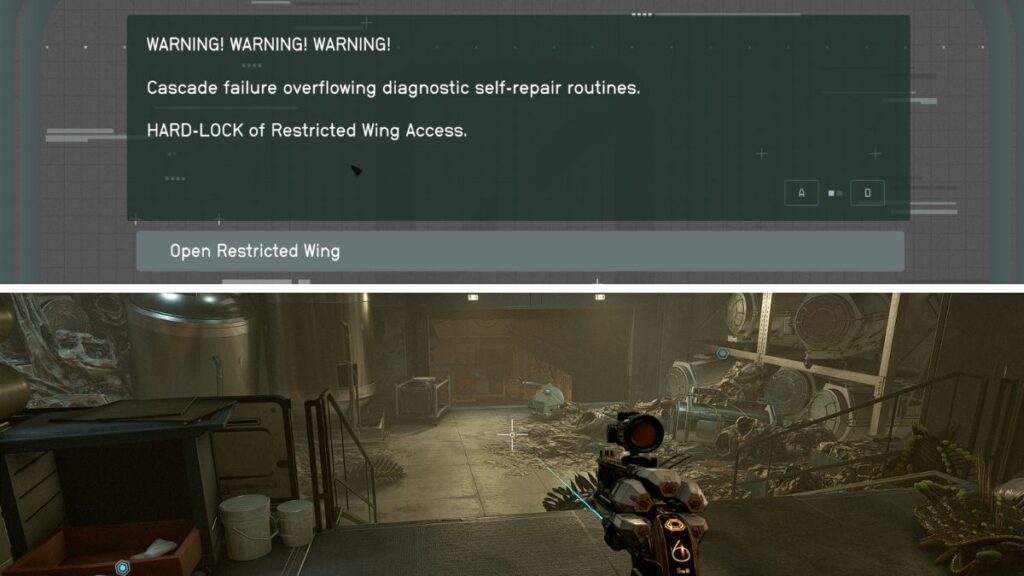
Entering the Restricted Wing, you’re immediately confronted by a robot at the end of the hallway, visible as soon as the right-hand door opens.

Navigate right at the hall’s end, then take a left into another corridor.
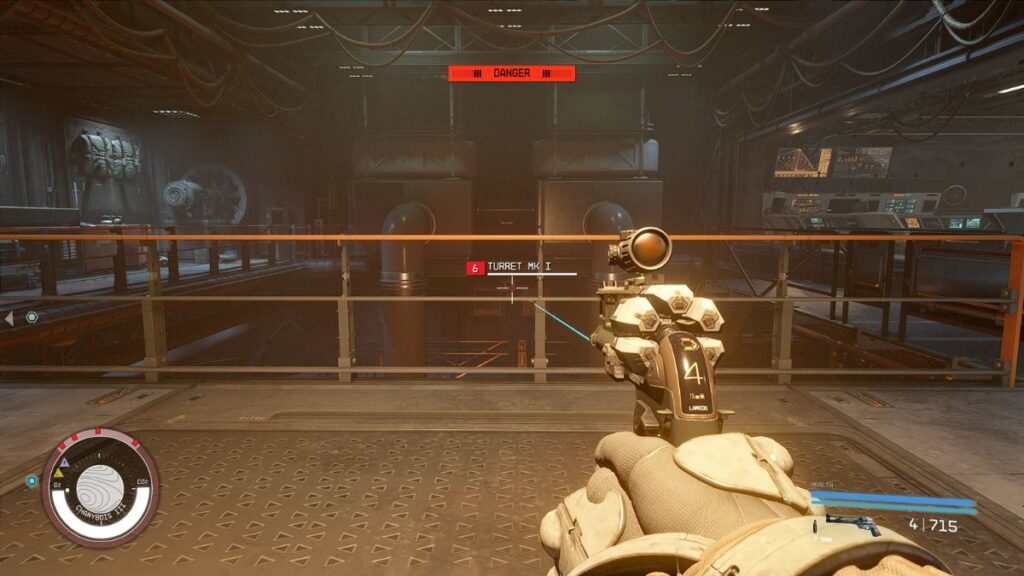
This route leads to a room with two turrets directly opposite the open doorway. On the right, there’s a room housing a control computer for the turrets, accessible with a Digipick.
Descending the nearby stairs, you’ll encounter several clones and an additional turret. At the bottom lies a red pit. Leap into the pit to find a window with broken glass, providing a route forward.
The water below contains microbial contamination, so it’s advisable to traverse using the floating debris. As you ascend the ramp on the left, be prepared for a confrontation with turrets, more clones, and robots.
Continue along the walkway, veering left into a hallway. This leads to stairs descending into the cloning area, teeming with enemies and turrets. For efficient clearance, ranged weapons and throwables are recommended. To the left, a stairwell provides access to the upper levels, each guarded by a turret, so proceed cautiously. The room’s rear houses a laboratory filled with chests, revealing further secrets of The Facility.
Operation Starseed: The Facility Datacore Choices
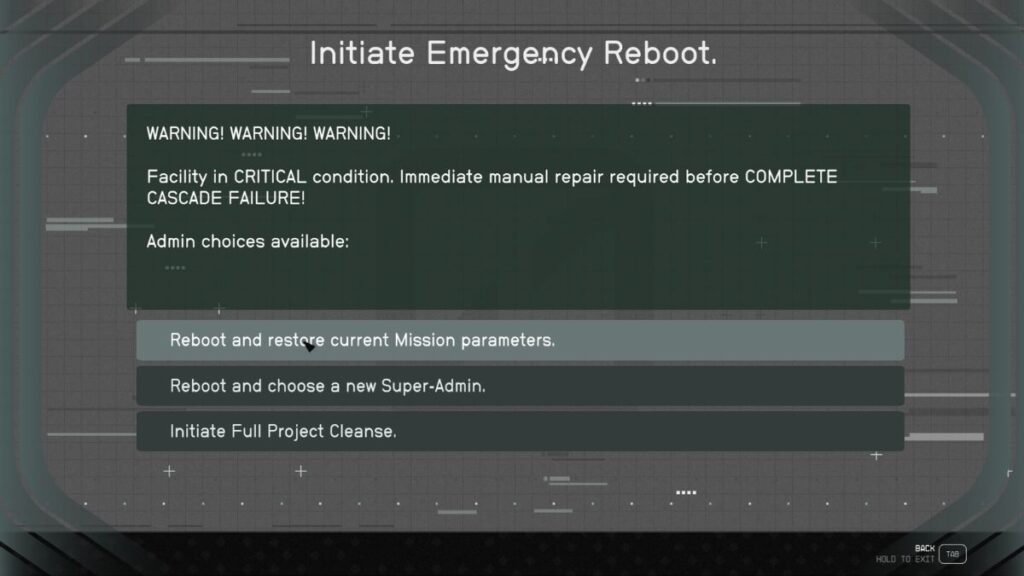
In the climax of Operation Starseed, you’re faced with a pivotal decision at the Facility Datacore computer, located to the right as you enter the room. A key lies on the computer’s keyboard, which is essential for accessing the system. Once you’ve retrieved the key and activated the computer, you are presented with three critical choices:
- Reboot and Restore Current Mission Parameters: Opting for this will maintain the status quo at the Crucible. It’s a conservative choice that yields a reward of 3,000 credits. Additionally, it doesn’t affect your ability to recruit Amelia Earhart to your crew.
- Reboot and Choose a New Super-Admin: This option allows you to empower your chosen faction, effectively putting them in control. This significant change comes with a reward of 6,000 credits for your efforts. Similar to the first option, it also allows the recruitment of Amelia Earhart to your team.
- Initiate Full Project Cleanse: The most drastic choice, this initiates a complete purge, resulting in the termination of all clones, including Amelia Earhart. Though it comes with a moral cost, this choice does grant you a reward of 2,000 credits.
Each option carries its own consequences and rewards, shaping the future of the Crucible and your journey in Starfield. Choose wisely, as your decision here will impact the game’s narrative and your experiences within its universe.
Report Back to [Society Leader]
After you decide what to do, you can return to the Crucible and talk to the faction leader you sided with to receive the mission rewards and recruit Amelia Earhart if you did not initiate a full project cleanse.

- How to Beat Juggernaut in Armored Core 6 Cheese Build - May 8, 2024
- How to Beat EC-0840 Smart Cleaner (Best Cheese Builds) - May 8, 2024
- How to Use Photo Mode in Armored Core 6 - May 8, 2024