

Google Chrome often delivers an efficient and user-friendly web browsing experience, which I’ve found true in my own use. However, it’s not without its flaws. A common issue Chrome users encounter is the infamous “Aw Snap!” error message that appears when attempting to access a webpage.
A weak internet connection, corrupted Chrome data, excessive memory usage, or running an outdated Chrome version can trigger this error.
To address this issue, we have compiled a list of effective solutions. It’s important to note that these fixes should be tried one at a time, as their effectiveness can vary from user to user.
Check Internet Connectivity
A primary step to tackle the “Aw Snap!” error in Google Chrome is to verify and secure a stable internet connection. Once a solid internet connection is established, reload the tab displaying the error.
It might require reloading the tab several times, but once the internet connection is stable, the page should eventually load.
Optimize Memory Usage by Closing Unnecessary Chrome Processes
When Google Chrome encounters memory constraints, it may exhibit unpredictable behavior. To manage this, reducing the load on your device’s memory can often help.
Begin by closing all additional browser tabs, leaving only the one displaying the “Aw Snap!” error. Then, shut down any other applications active on your device, ensuring that Chrome is the only program running.
Additionally, halt any ongoing downloads to free up more system resources. Lastly, review and manage the extensions in your Chrome browser, ensuring they are necessary and do not excessively consume memory. This approach can help streamline Chrome’s performance and potentially resolve the issue.
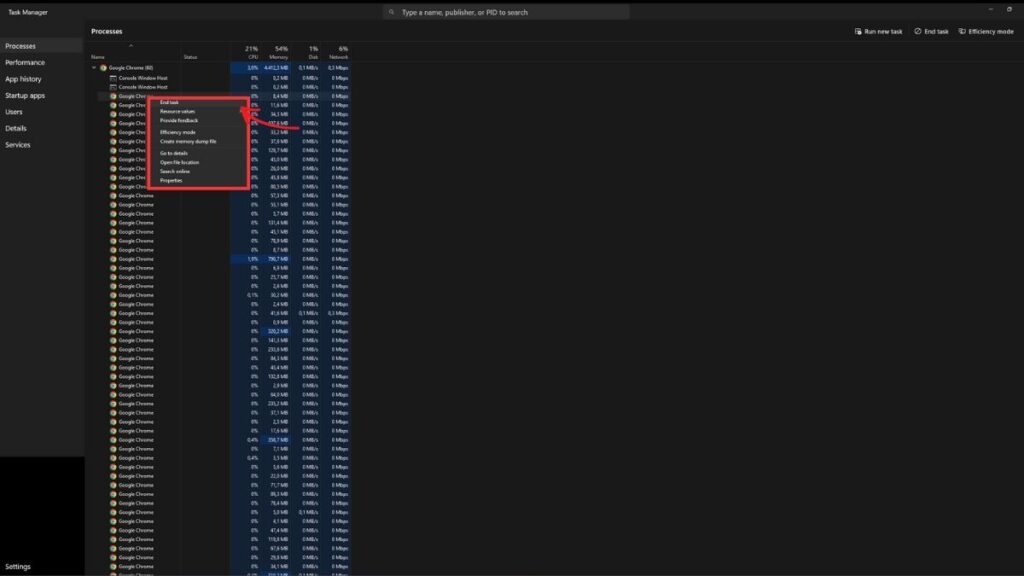
You can also end Google Chrome tasks from the Task Manager (press CTRL+Shift+ESC to open the Task Manager) by selecting them, right-clicking them, and then selecting the End Task option.
Address Persistent “Aw Snap!” Errors by Clearing Chrome Data
If the “Aw Snap!” error continues in Chrome despite a stable internet connection, the issue may be with the browser itself. A useful step is to clear Chrome’s browsing data. Here’s how to do it:
- Click on the vertical three-dot Menu icon
 at the top right corner of your Chrome browser.
- Open the Settings page.
- In the Settings menu, locate the Privacy and Security section.
- Within this section, find and select the Clear Browsing Data option.

- In the Clear Browsing Data menu, choose ‘All time’ as the time range.
- Make sure to select the following:
- Cookies and other site data
- Cached images and files
- Click on the Clear Data button and wait for the process to complete.


This action will remove any stored site data that may be incorrect or outdated in your Chrome browser. Doing so can help eliminate issues caused by old data interfering with your current browsing experience.
Disable or Uninstall Potentially Harmful Google Chrome Extensions
Disabling or removing any unnecessary, suspicious, or potentially harmful extensions is crucial in enhancing Chrome’s performance and security. Follow these steps to do so:
- Open your Google Chrome browser.
- Click on the vertical three-dot Menu icon to access more options.
- Hover over the Extensions option, then click on Manage Extensions.
- This will display a list of all the extensions installed in your Chrome browser.
- Identify suspicious or unnecessary extensions and click the Remove button to uninstall them.


After removing these extensions, you are stopping any background processes that might be using up memory. Once done, try reloading the problematic tab to see if the issue has been resolved.
Update Chrome to the Latest Version
The final solution to address issues in Chrome is updating it to the latest version. Here’s a straightforward guide to updating Google Chrome:
- Open Google Chrome.
- Click on the vertical three-dot icon at the top right corner.
- Hover over the Help option.
- Click About Chrome in the submenu.
- Chrome will then automatically check for updates. If there are any pending updates, it will download and install them. You will see either a Relaunch button or a notification that your ‘Chrome is up to date.’


If the Relaunch button appears, it means an update is available. Clicking this button will apply the update.
Regularly updating your Chrome browser is beneficial for overall performance and security. It might also resolve the current issue you are facing. Always keep Chrome updated to minimize potential problems and enhance your browsing experience.
Conclusion
This concludes our list of potential solutions to address the “Aw Snap!” error in Google Chrome. If you’re struggling with this issue, try applying each of these fixes one by one to determine which one effectively resolves the problem.
In my experience, despite having an updated Chrome browser and a strong internet connection, the action that made a significant difference was clearing the browser data. This simple step worked wonders for me.
Given the ambiguous nature of this error, it’s important to exhaust all available options to overcome it. Each of these solutions has the potential to rectify the issue, so it’s worth trying them all to find the one that works for you.

- Reladyne Nova 1050 Engine: Starfield - April 30, 2024
- Reladyne Nova 1040 Engine: Starfield - April 30, 2024
- Reladyne Supernova 2000 Engine: Starfield - April 30, 2024